


• Quilling Starter Kit – 19802
• Cardboard Greeting Cards – White – Pack of 20 – 10609
• CleverPatch™ Fine Glitter – Gold – 145g Shaker Tub – 15148
• CleverPatch™ Tacky Glue – 250ml – 16494
• Other materials required: Scissors, a pencil and scrap paper.
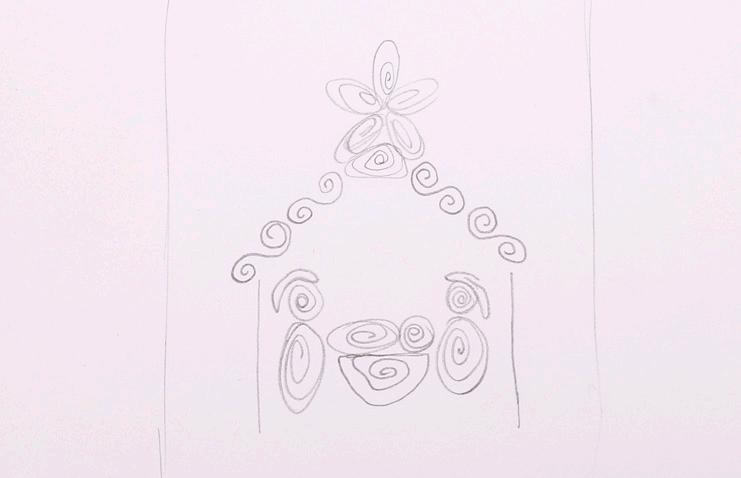
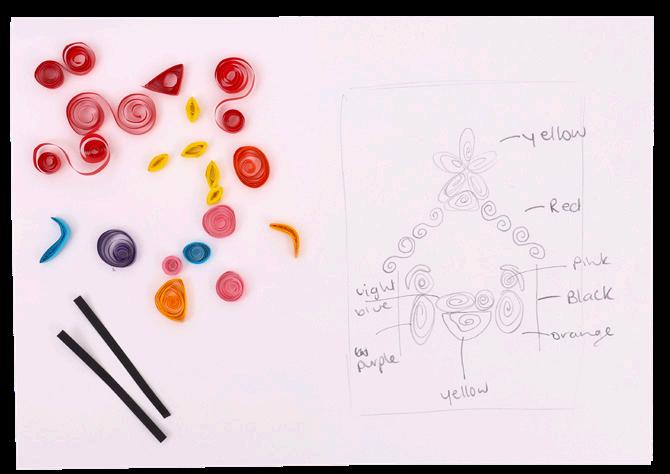
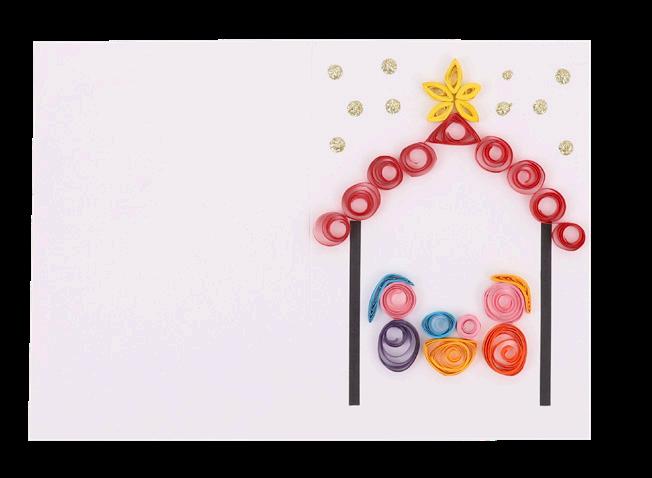
1. On a piece of scrap paper, sketch your nativity scene design. We have chosen to include Baby Jesus, Joseph, Mary and a star. Think about the colours for each character in your scene and the shapes you need to make with the quilled paper. You can cut strips shorter or glue two ends together to achieve different size coils. You might like to practice making quilled shapes to get familiar with the process.

2. Use the quilling tool to create the coils you need for your design by wrapping your strips of paper around the end of the tool.
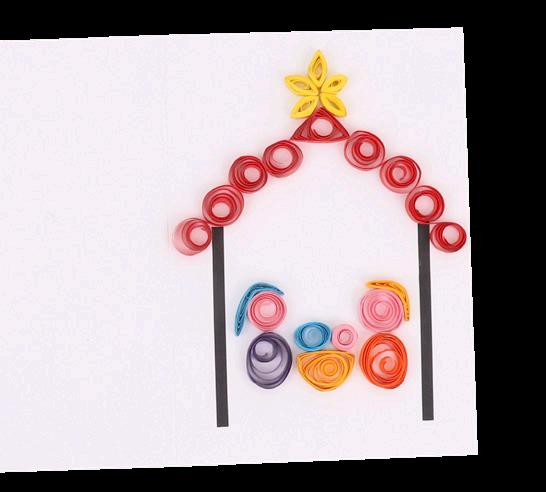
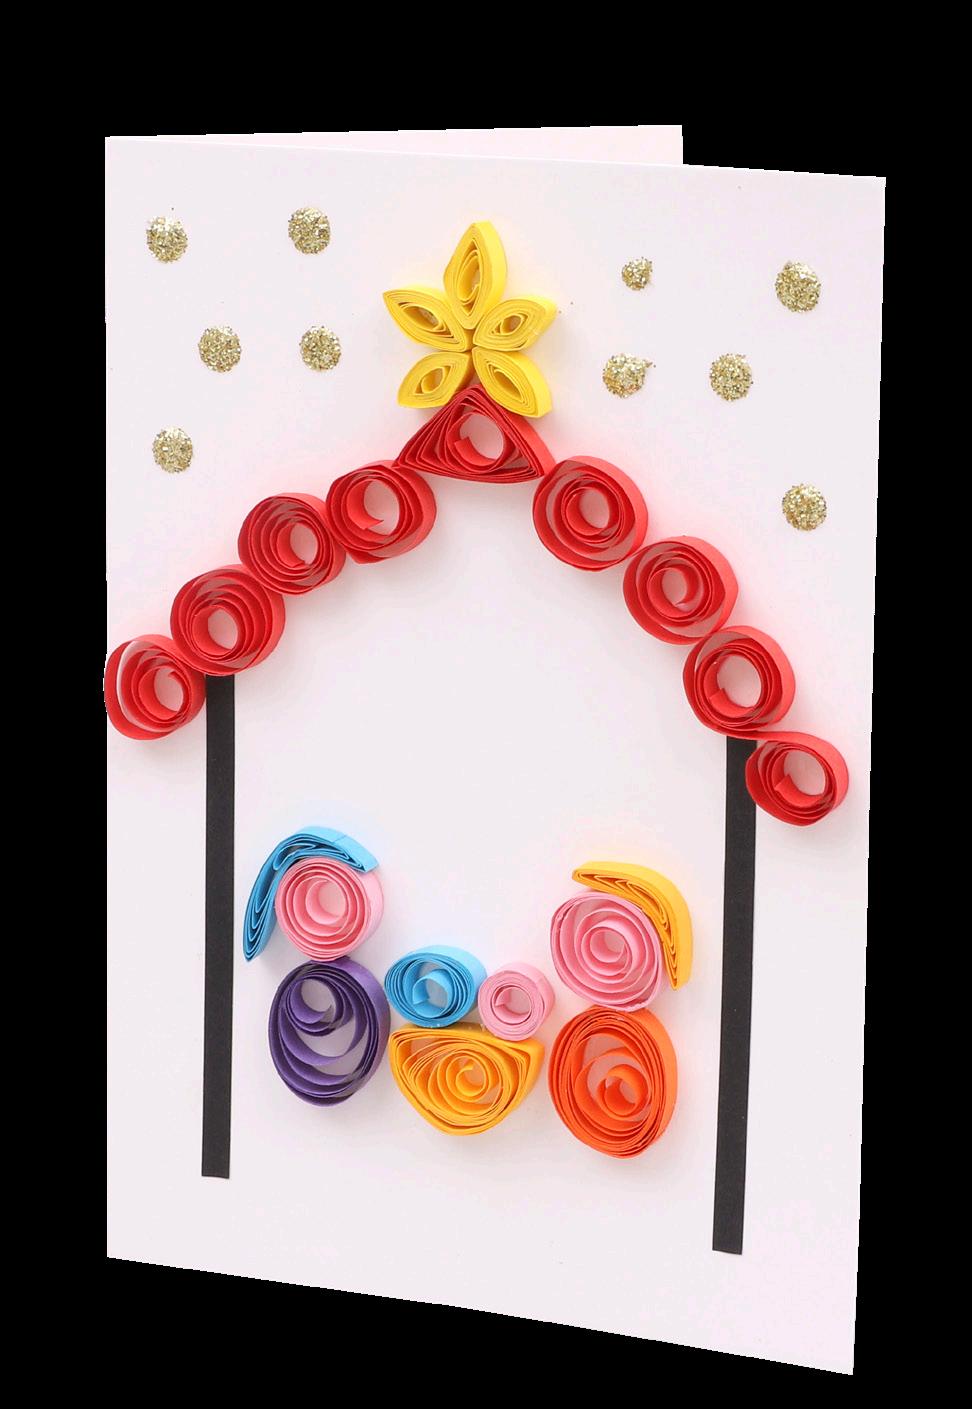
5. Once you are happy with the position of the quilled pieces, glue them in place and allow to dry.
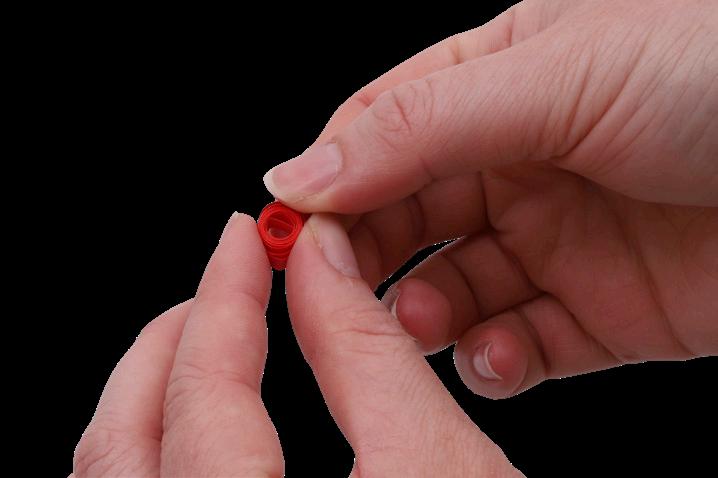
3. Carefully remove the paper from the tool. Hold the coil together with your thumb and index finger then gently release to create the size you need. Use the quilling board to help create different shapes. Apply a small amount of glue on the end of the coil to secure. Allow to dry.
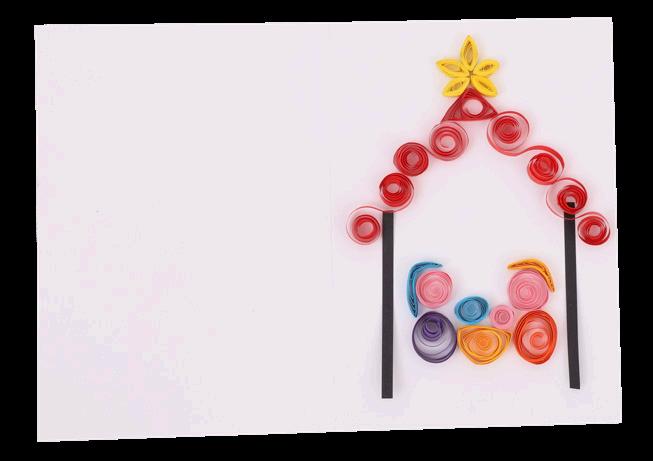
6. Add glitter using glue to the front of your card for extra sparkle! Allow to dry.
4. Continue creating quilled paper shapes, placing them onto the front of a greeting card, until you have created your design. You may wish to use flat strips of paper to create some elements of your design.
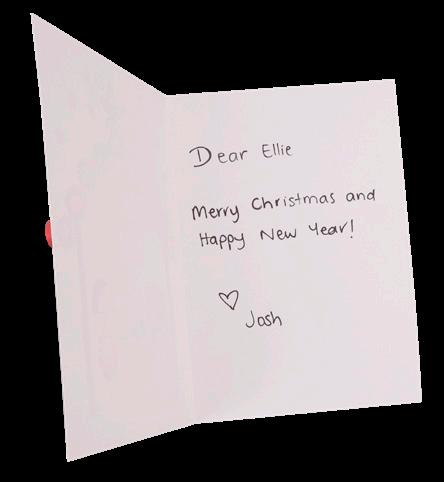
7. Write a message on the inside of the card for someone special. Your Quilled Nativity Card is now ready to gift!
• Doilies – White – Pack of 250 10773
• Popsticks – Natural Pack of 1,000 – 10864
• Chenille Stems – Tinsel Silver Pack of 100 – 11555
• Wooden Beads – Natural 340g Pack – 10841
• CleverPatch™ Acrylic Paint Tubes – 75ml – Set of 14 Colours – 20811
• CleverPatch™ Glue Gun Starter Set – 12505
• Other materials required: Scissors, a pencil and paint brushes.
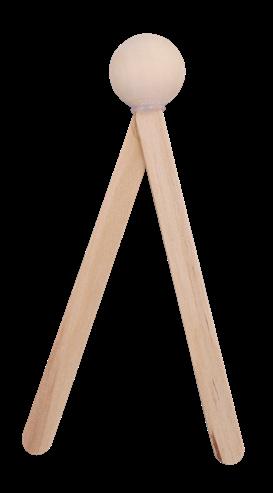
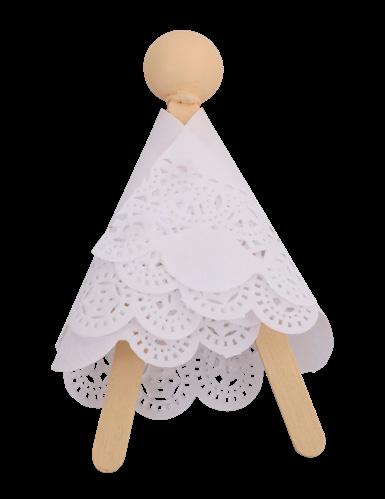
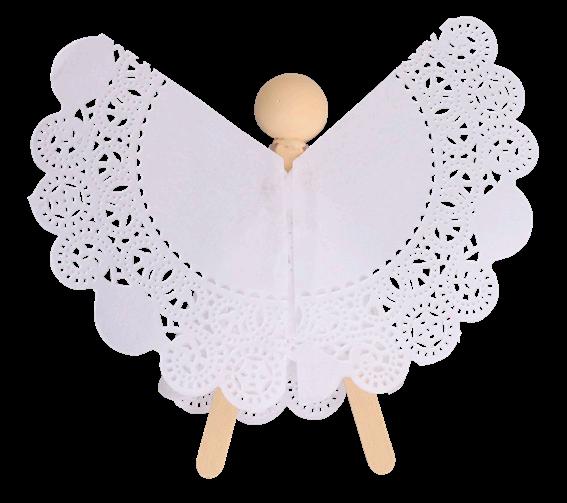
1. Place two popsticks together as shown and secure in place using a glue gun. Glue a large wooden bead, with the hole at the top, onto the joined ends. Allow to dry.

4. Lightly sketch a Y shape onto a second doily, so that you have two pieces that are the same and another smaller piece. Cut along the lines.
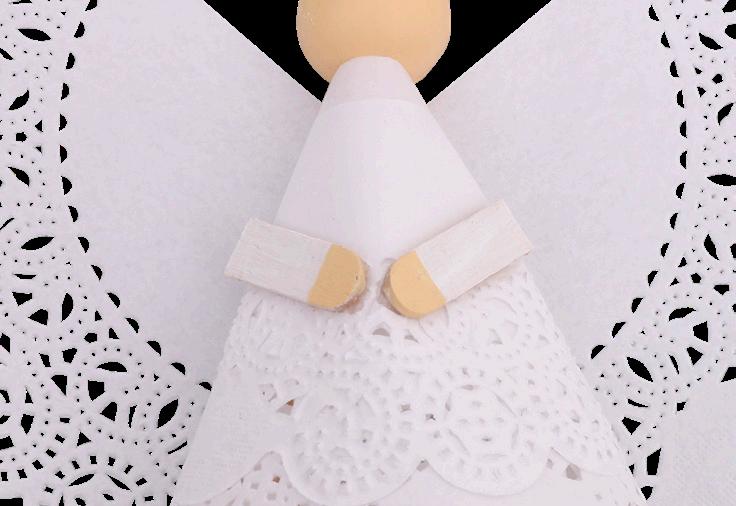
7. Cut a popstick in half then cut each in half again. Paint the two end pieces white. Allow to dry. Paint the rounded end of each using your peach mixture to create the hands. Allow to dry. Glue the arms to the front of your Angel and allow to dry.
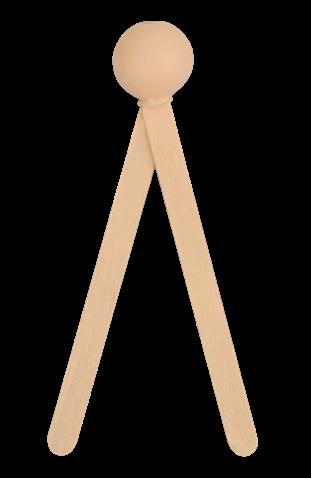
2. Paint the popsticks and bead using a light peach colour. You can create this paint by mixing a small amount of red and yellow with white. Add blue to create a darker tone or more white and yellow to create a lighter tone. Allow to dry. Set aside some of the paint to use later.
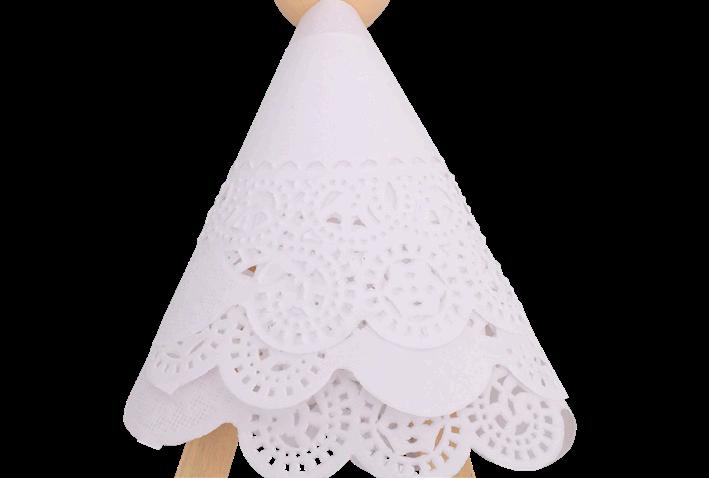
5. Cut the pointed end off the small doily piece. Wrap the doily around the front of the Angel as shown. Glue the ends to the back and allow to dry.
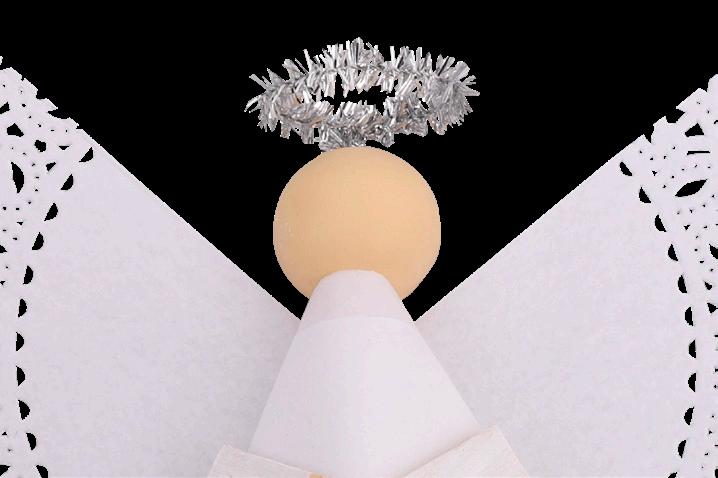
8. Curl the end of a silver chenille stem into a small circle. Twist the end around the long section to secure. Cut the stem leaving a small tail. Insert the tail into the hole at the top of the bead. Glue in place and allow to dry.
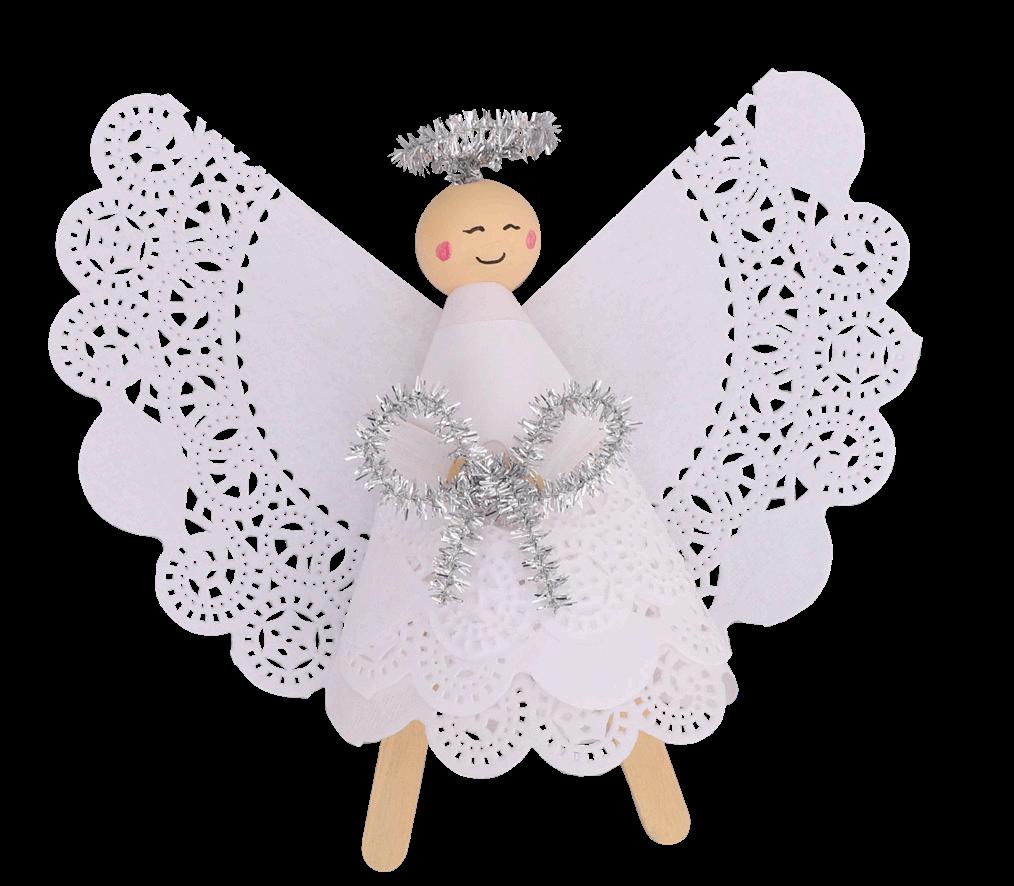
Perfect as a tree topper!
3. Cut a doily in half. Layer the halves on top of each other so the curved edges are at the bottom. Place the popsticks onto the centre of the doilies. Bring the left side of the doily halves over and glue to the right popstick. Bring the other side over and glue in place. Allow to dry.
6. Glue the remaining two doily pieces, positioned as shown, to the back of the Angel to create the wings. Allow to dry.
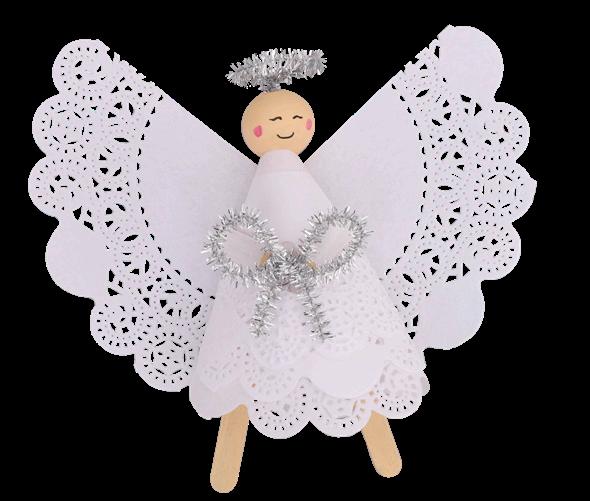
9. Add facial details to the bead using paint. Allow to dry. Make two loops with the remaining piece of chenille stem and twist the ends over the centre to create a bow. Glue the bow to the hands and allow to dry. Your Doily Angel is now ready to display!
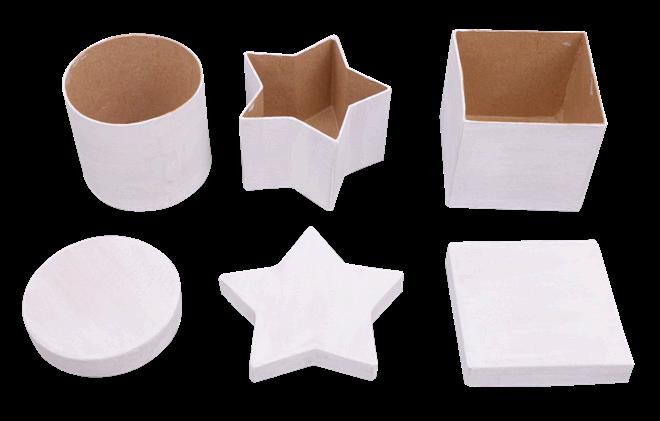
• Papier Mache Box – Round – 12127
• Papier Mache Box – Star – 11572
• Papier Mache Box – Square – 11205
• CleverPatch™ Acrylic Paint Tubes – 75ml Set of 14 Colours – 20811
• CleverPatch™ Glitter Shakers – 9g Set of 7 Colours – 17914
• CleverPatch™ Tacky Glue – 250ml – 16494
• Other materials required: Paint brushes, a pencil and scrap paper.
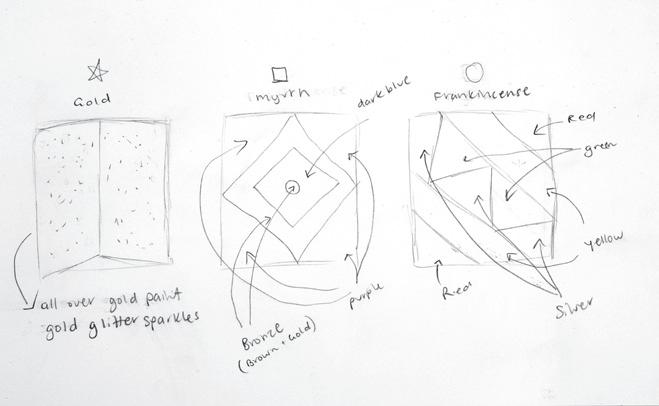
1. For each of the 3 gifts (gold, frankincense and myrrh) sketch your designs onto a piece of scrap paper. Think about where you would like to add glitter and decide which box you will use for each gift. We have chosen to use the star for gold, round for frankincense and square for myrrh.
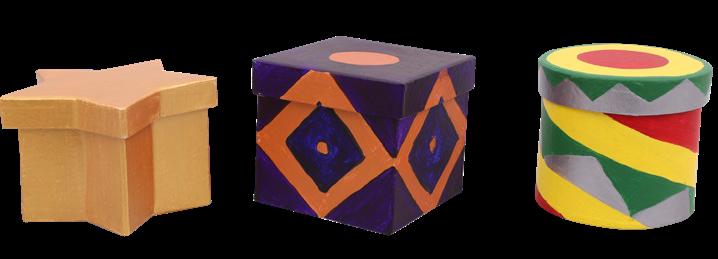
4. Paint the boxes using your choice of colours and allow to dry. We made a bronze colour by mixing gold and burnt sienna together.

2. Paint your boxes with a coat of white. This will ensure the colours you choose will be vibrant. Allow to dry.
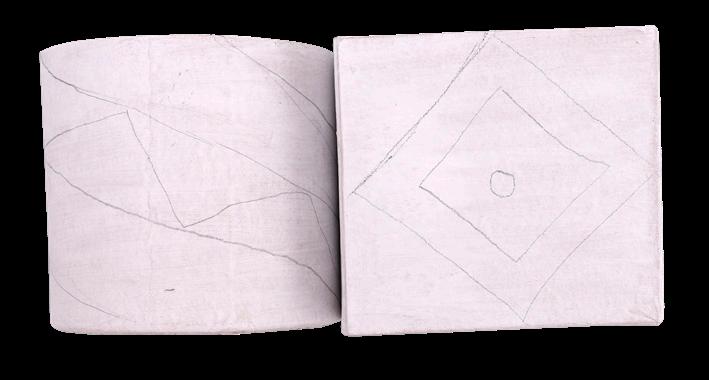
3. Use a pencil to sketch your designs onto the boxes according to your plan.
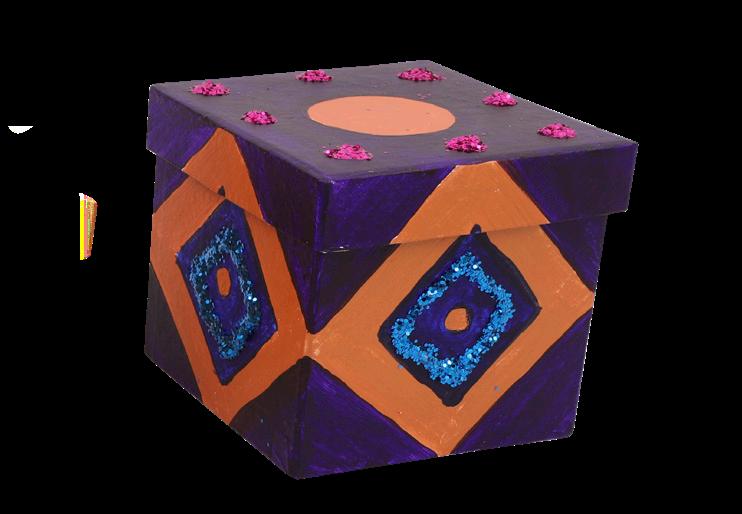
5. Add glitter using glue to give your boxes an extra touch of sparkle. Allow to dry.
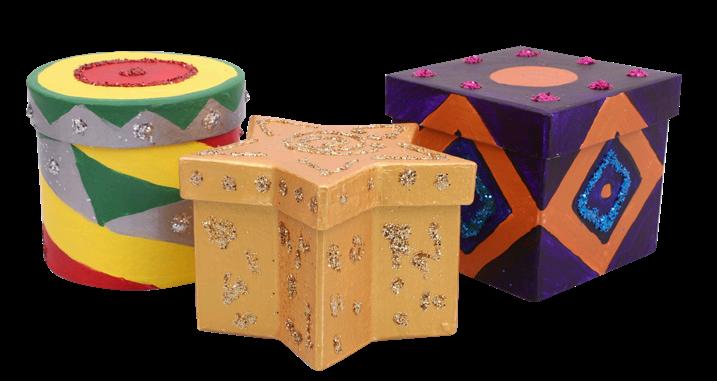
6. Your Wise Men’s Gifts are now ready to display for Christmas!
• Cardboard Match Boxes – White – Pack of 20 – 20239
• Felt Squares – Pack of 100 – 10785
• Wooden Beads – Natural – 340g Pack – 10841
• Wiggle Eyes Black – 0.5cm – Pack of 100 – 16476
• CleverPatch™ Glue Gun Starter Set – 12505
• Other materials required: Scissors, ruler and a pencil. GLUE GUN
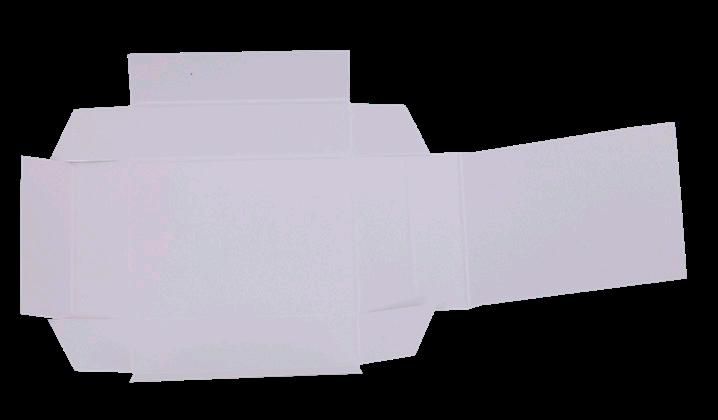
1. Valley fold along all the creases on the tray piece of your cardboard match box.
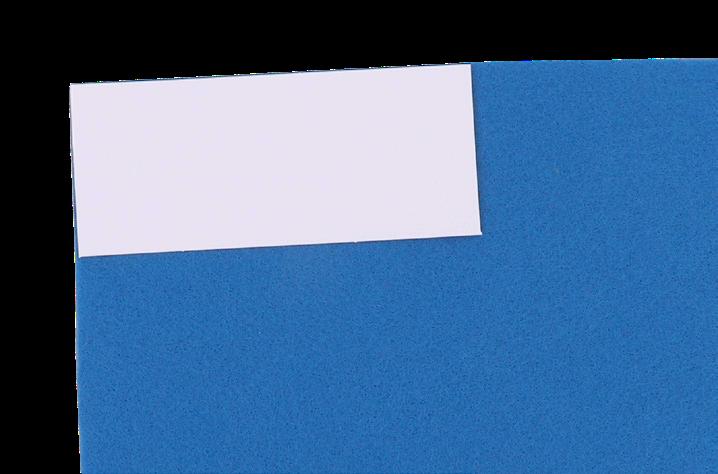
4. Place the sleeve piece of your match box onto a sheet of your choice of coloured felt. Trace around the sleeve onto the felt and cut it out.
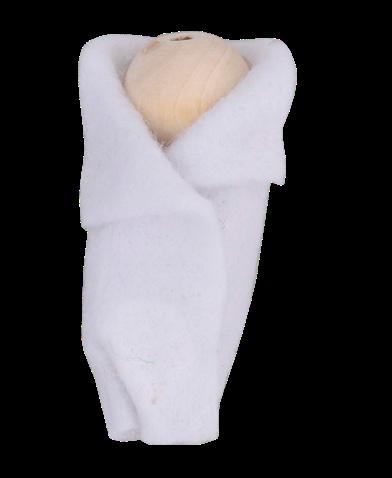
7. Place a wooden bead into the folded opening of the felt and glue in place. Pinch the bottom end of the felt together and glue to secure. Allow to dry.


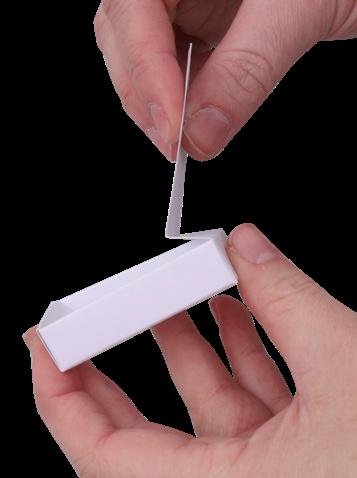

2. Bring the long sides of the tray up and push the flaps towards the middle of the tray. Fold the short end over the two smaller flaps to hold them in place.
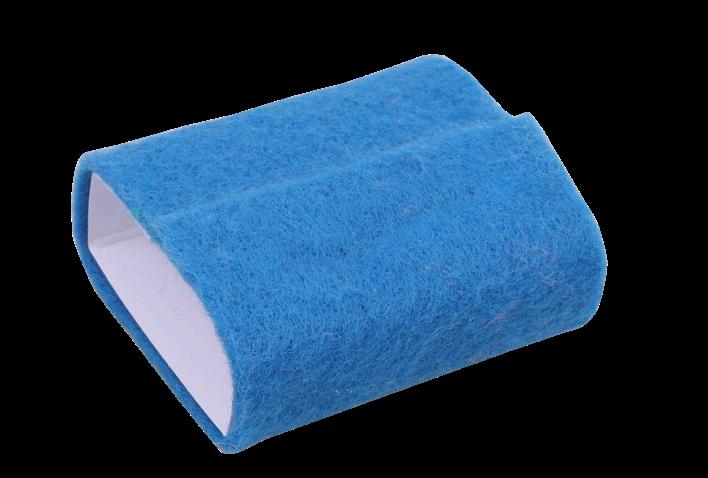
5. Fold along the creased lines on the cardboard sleeve and glue to secure. Place the sleeve onto the felt piece. Use a glue gun to secure the felt and cardboard together. Allow to dry.
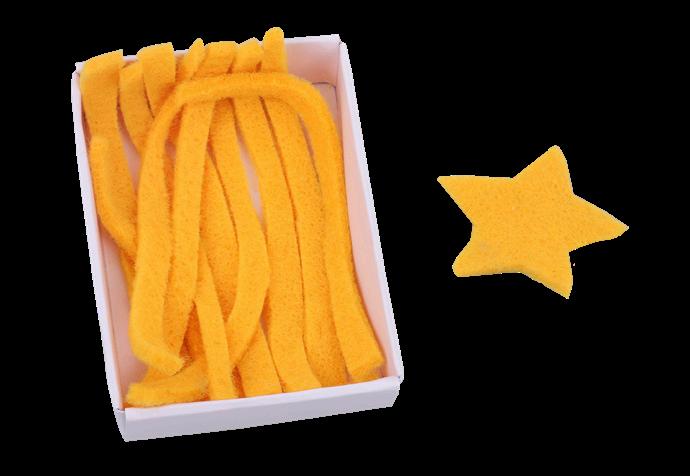
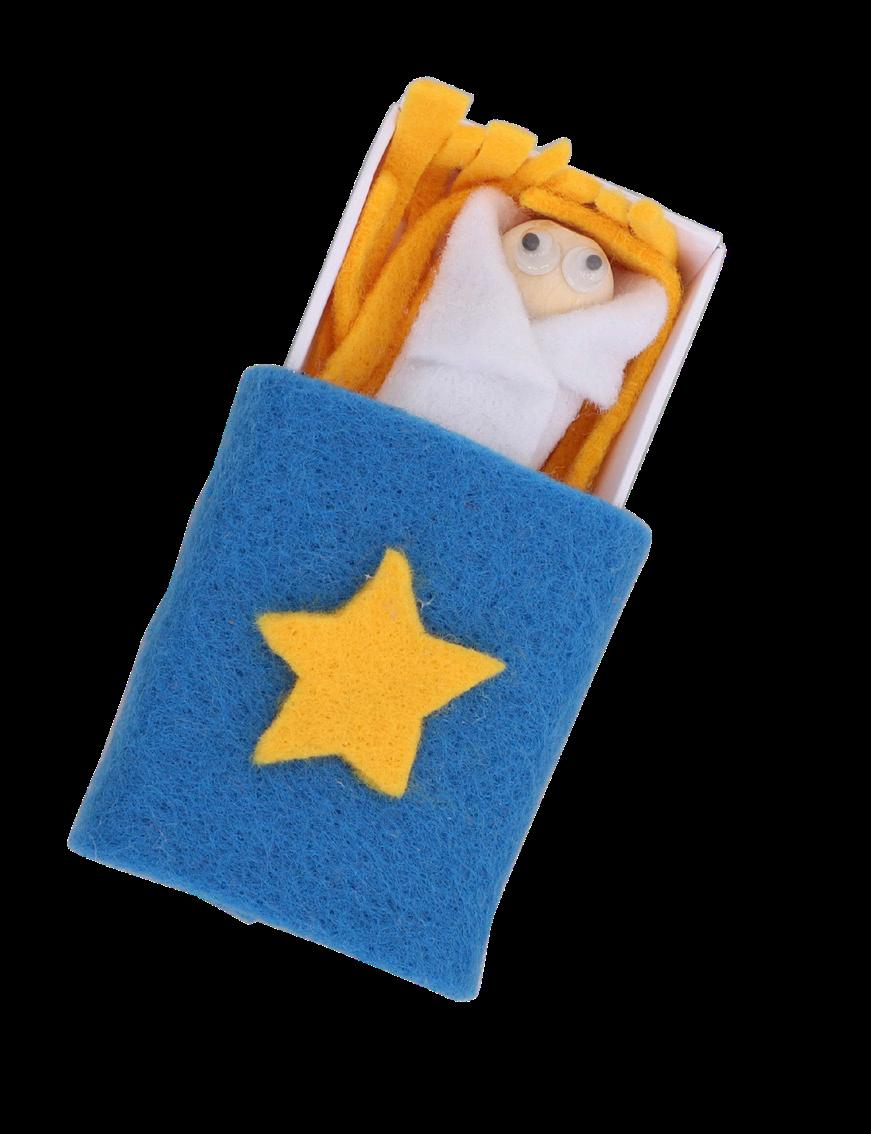
8. Cut out a small star from yellow felt. Cut ten thin 6cm long strips of yellow felt and gather them together. Place the strips into the match box tray. Glue the star to the front of the match box sleeve. Allow to dry.
3. Bring the large end flap up and over the two smaller flaps. Push the large flap down into the centre of the tray.
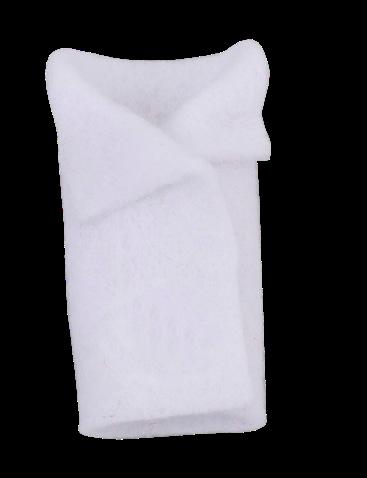
6. Cut out a 4.5 x 6.5cm rectangle from a different colour of felt. Bring the short ends together so they overlap. Glue the bottom corner in place. Fold the top two corners down as shown and glue in place. Allow to dry.
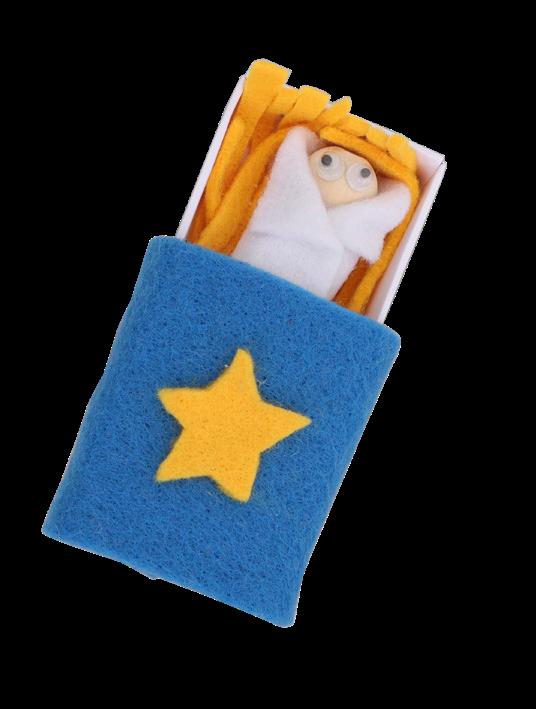
9. Glue two wiggle eyes onto the bead and allow to dry. Place Baby Jesus into the tray and then slide into the sleeve. Your Match Box Manger is now ready to display or gift!
• Tiny Pegs – Natural – Pack of 60 – 11197
• Wooden Circle Frames – Pack of 20 – 11680
• Satin Ribbon – Red – 25 Metres – 11150
• Cardboard – White – A4 – Pack of 100 16288
• CleverPatch™ Acrylic Paint Tubes – 75ml Set of 14 Colours – 20811
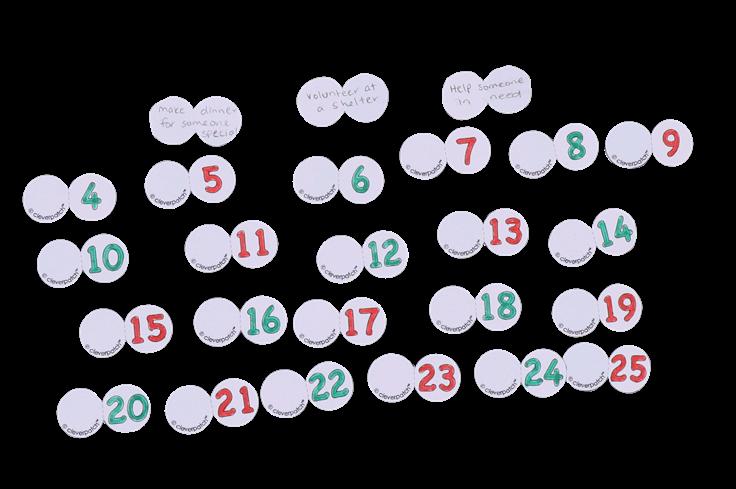
1. Print out the templates on page 8 onto white cardboard. Decorate the templates using markers. Cut out the shapes then write a good deed on the back of each. Mountain fold each one in half along the dotted line.
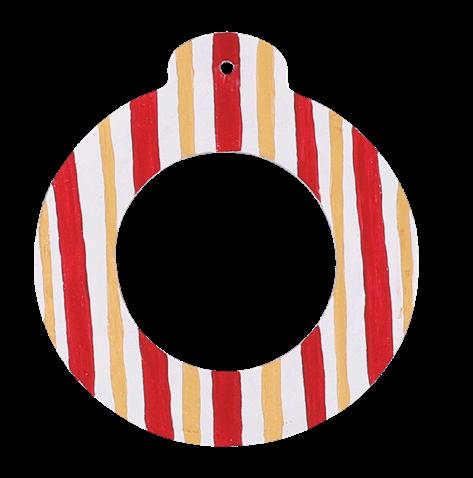
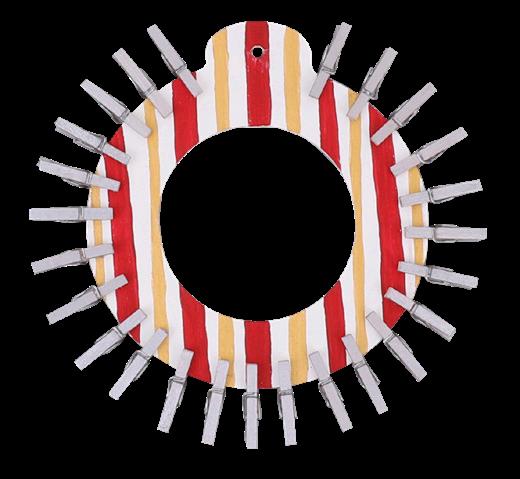
2. Decorate your wooden circle frame using paint. You can create a pattern or paint your frame a solid colour, be as creative as you like! Allow to dry.
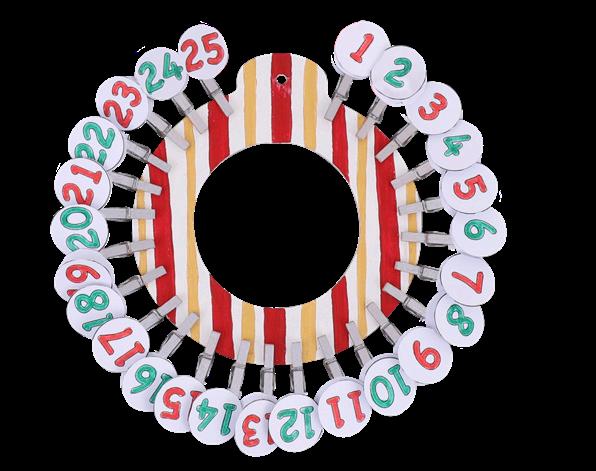
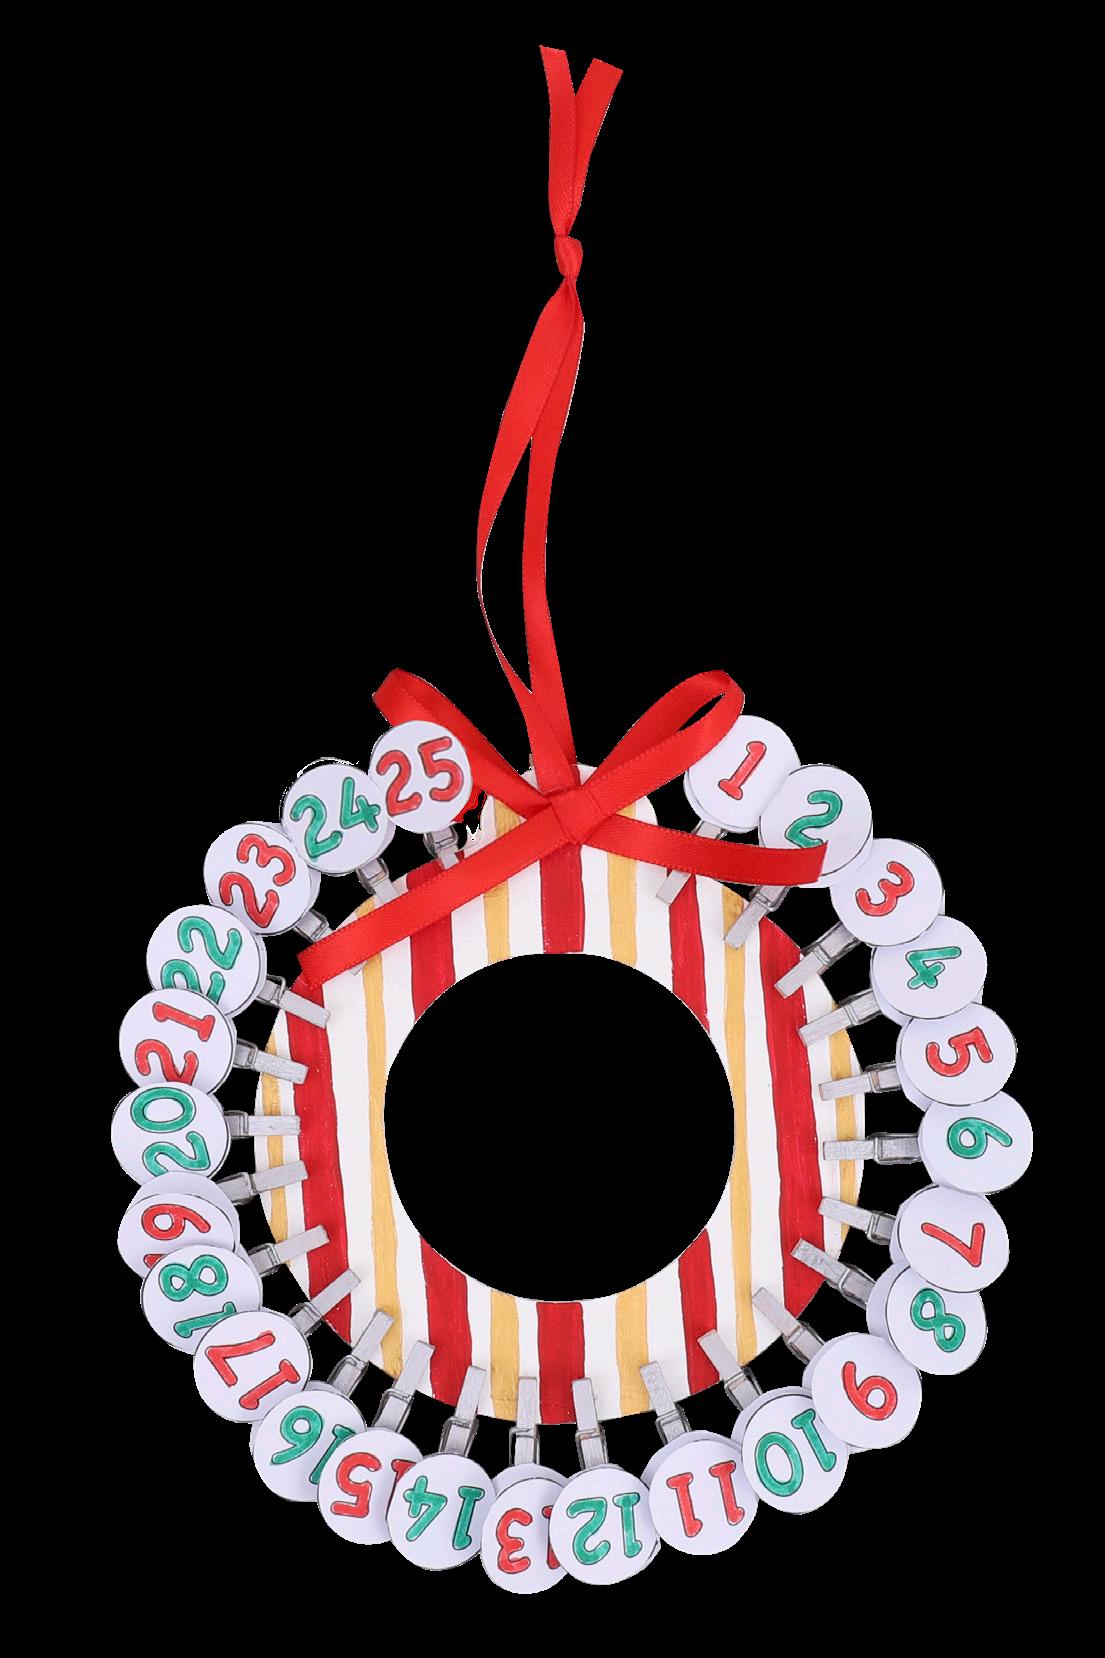
5. Glue the back of each of the numbers to the top of each peg. Position the numbers in the order of your choice. We have placed ours counting up, in a clockwise direction. Allow to dry.
CleverTip: Alternatively, glue the numbers to the pegs first, then attach the pegs evenly around the frame.
• CleverPatch™ Triangular Coloured Markers – Pack of 10 – 16232
• CleverPatch™ Tacky Glue 250ml – 16494
• Other materials required: Scissors, paint brushes, a pencil, ruler and templates (page 8).
Remove a peg as you count down to Christmas and carry out each of your good deeds!
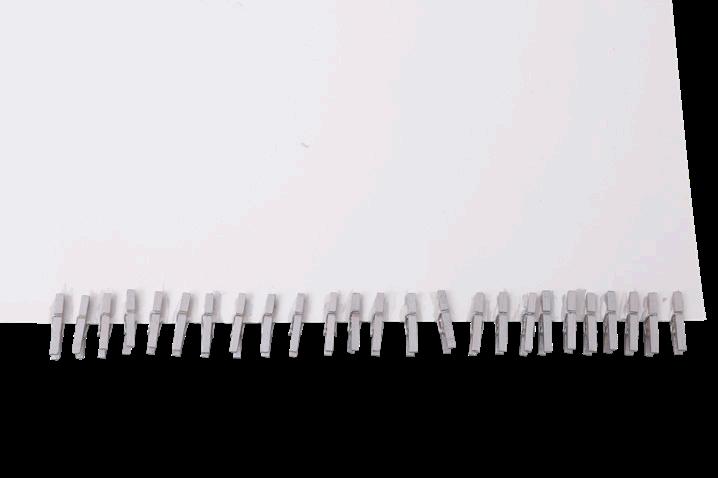
3. Paint 25 wooden pegs using your choice of colour. Peg them onto a sheet of cardboard so you can easily paint each side. Allow to dry.
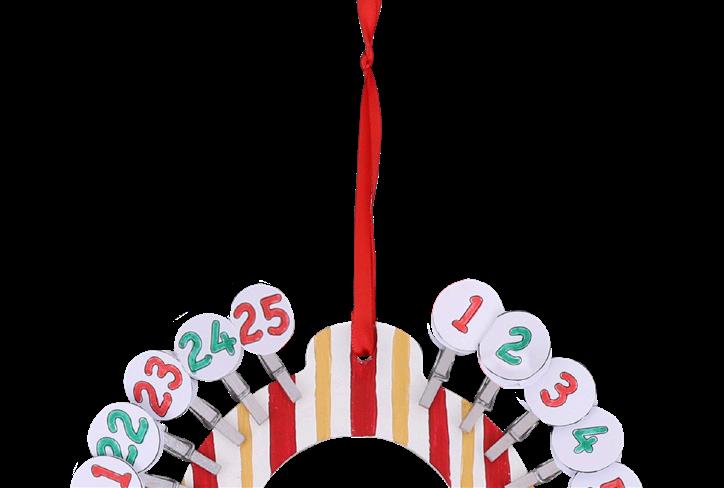
6. Cut a 30cm length of ribbon and thread through the hole at the top of the wooden frame. Tie the ends together in a knot to create a hanger.
4. Attach each painted peg to the outside edge of the circle frame. Ensure they are positioned evenly.
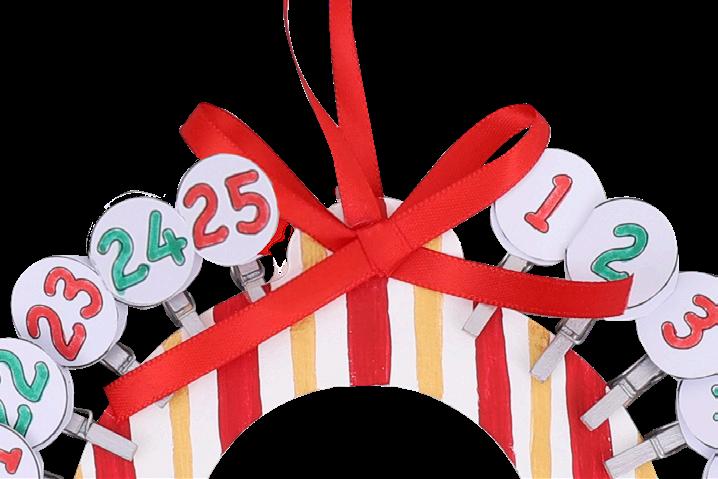
7. Cut a second 30cm length of ribbon and make two even loops. Tie the loops together to create a bow. Adjust the length of the tails and loops to your liking. Glue the bow at the top of your frame. Allow to dry. Your Mini Advent Calendar is now ready to count down to Christmas!
Use these templates to help you complete the activity on page 7.
©cleverpatch ™
cleverpatch ™
cleverpatch ™
cleverpatch ™
cleverpatch ™
cleverpatch ™
cleverpatch ™ ©cleverpatch ™ ©cleverpatch ™
cleverpatch ™
cleverpatch ™
cleverpatch ™
cleverpatch ™
cleverpatch ™
cleverpatch ™
cleverpatch ™
cleverpatch ™
cleverpatch ™
cleverpatch ™
cleverpatch ™
cleverpatch ™
cleverpatch ™
cleverpatch ™
cleverpatch ™
cleverpatch ™