


Submit an Enquiry: www.cleverpatch.com.au/contact
Phone: 1300 836 522
Fax: 1300 244 139
The Patch: 9 Balbu Close, Beresfield, NSW 2322 Australia
Mail: PO Box 7, Hunter Region Mail Centre, NSW 2310 Australia

Submit an Enquiry: www.cleverpatch.com.au/contact
Phone: 1300 836 522
Fax: 1300 244 139
The Patch: 9 Balbu Close, Beresfield, NSW 2322 Australia
Mail: PO Box 7, Hunter Region Mail Centre, NSW 2310 Australia
• String Art Boards – Square – Pack of 10 – 17667
• Nails – 20mm – 100g Pack – 19803
• Wooden Children’s Hammer – 15337
• Soft Yarn – White – 100g – 11307
• CleverPatch™ Acrylic Paint Tube – Black 75ml – 16885
• Other materials required: Scissors, paint brush and template (page 9).
1. Paint your string art board black. Allow to dry.
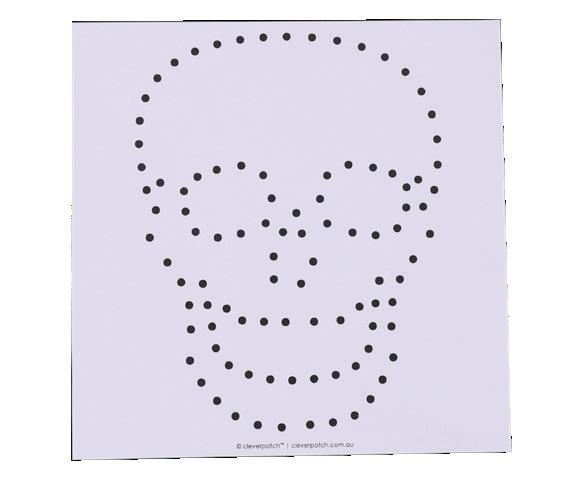
2. Print out the template on page 9. Cut around the grey outline on the template and place it onto your string art board so the edges are aligned.
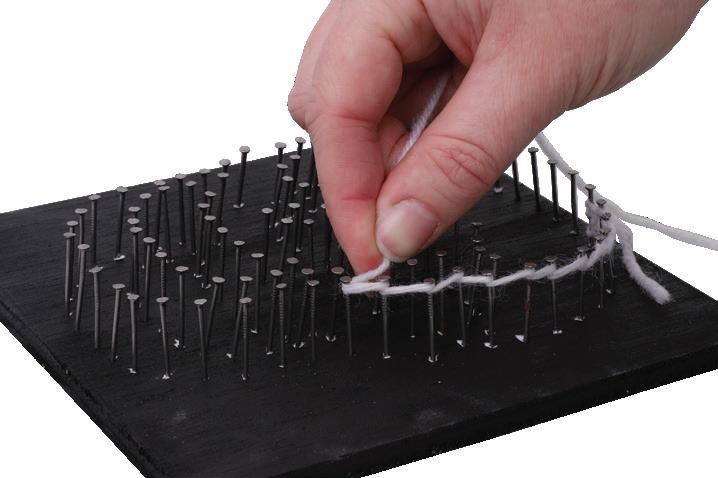
5. Tie one end of white yarn securely to a nail then wrap the yarn around each nail on the outside of the design. Once you return to the starting point, tie a double knot to secure. Trim the excess yarn.
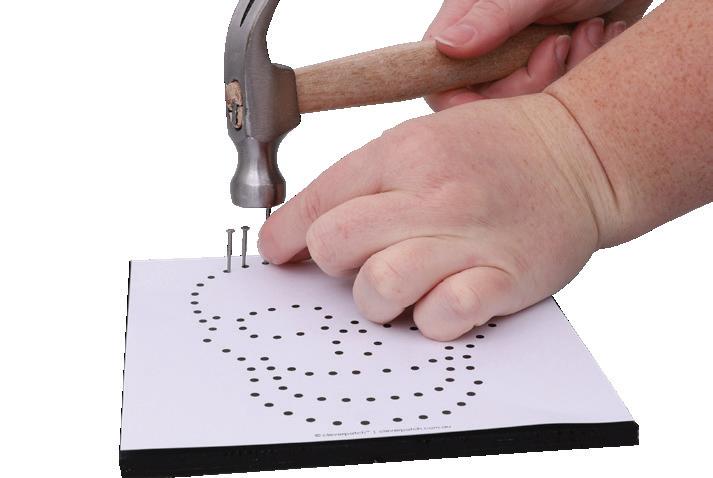
3. Use the dots on the template as a guide to carefully hammer nails into your string art board.
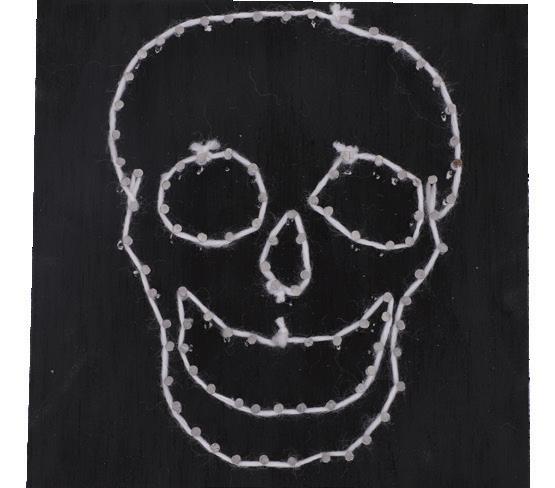
6. Wrap yarn around the eyes, nose and mouth in the same way as step 5. Trim the knots to keep your design neat and tidy as you go.
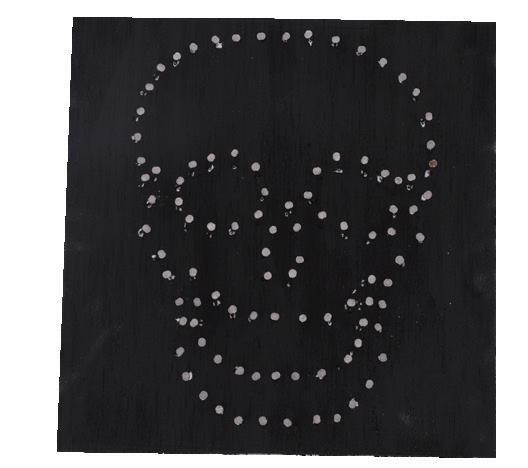
4. Continue hammering nails around the design. Once you have finished adding each nail, you can carefully tear the template from the board.

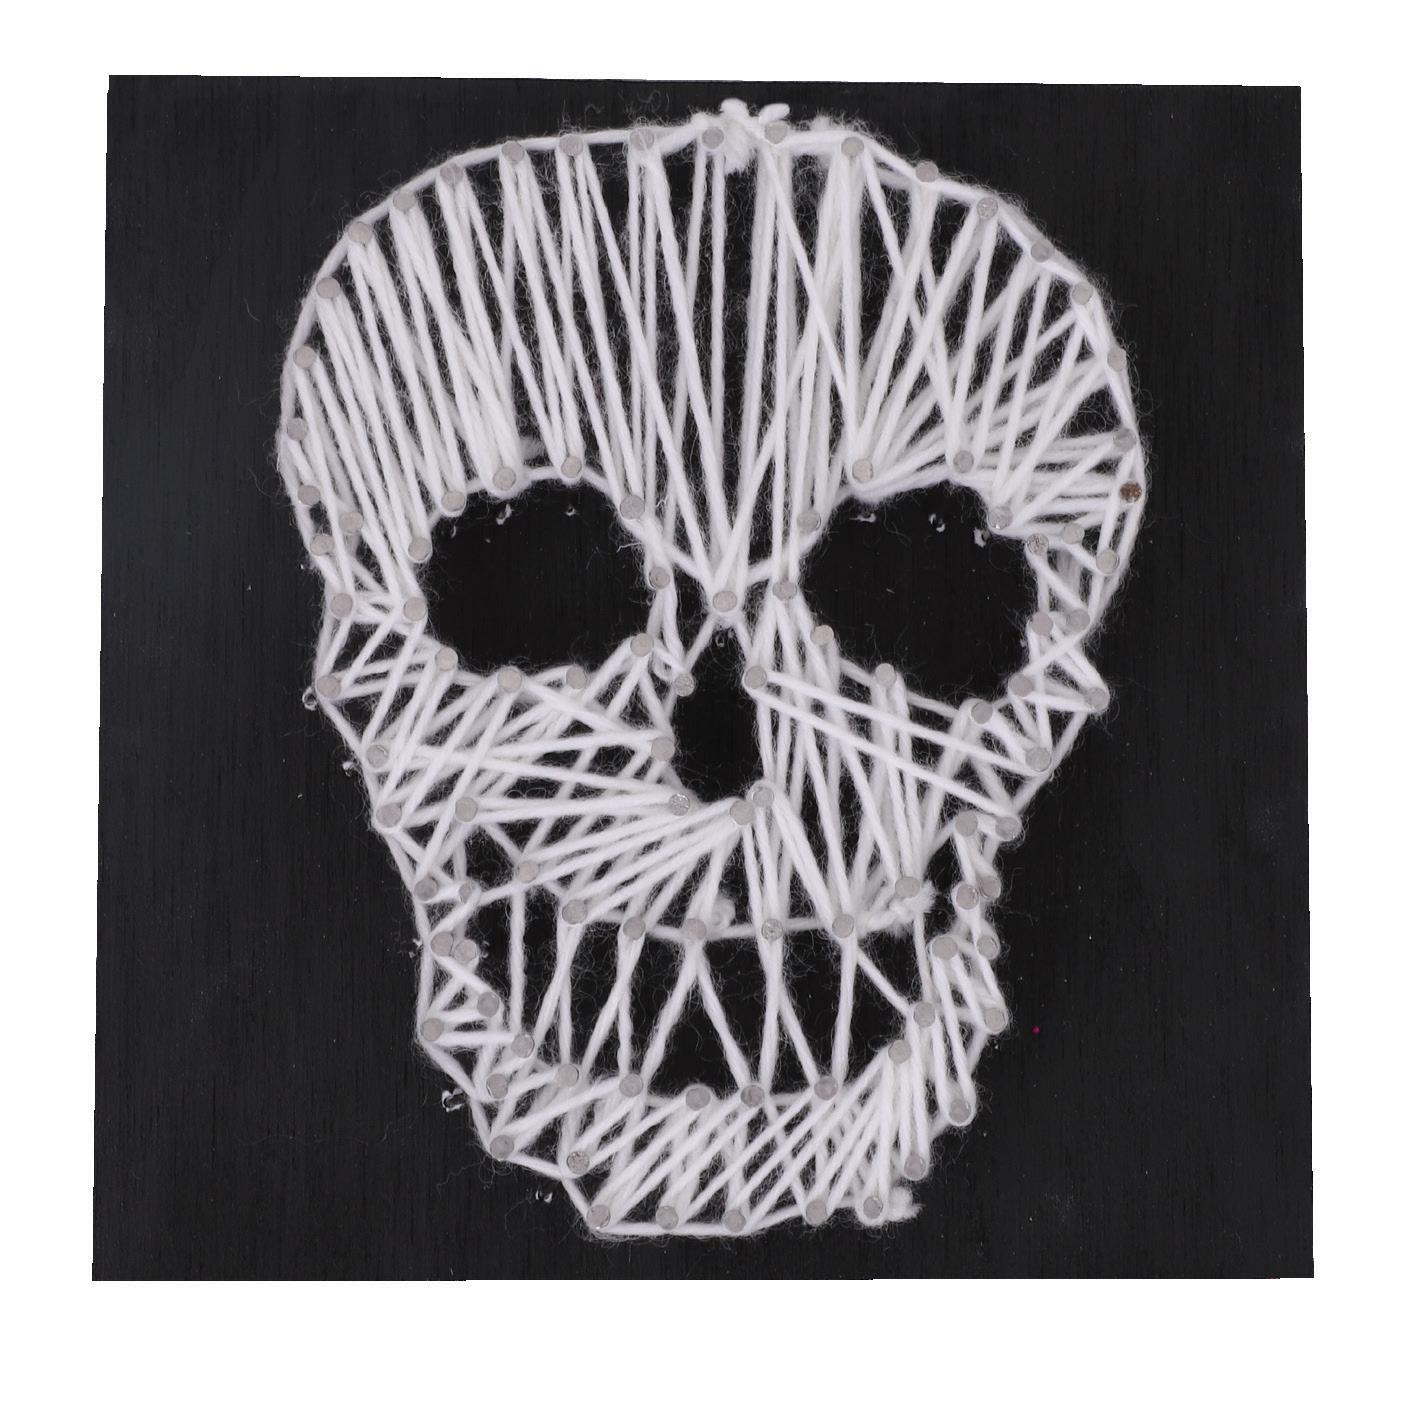
7. Once you have outlined the design, fill in your skull leaving the eyes, mouth and nose empty. You can wrap the yarn in any direction, you can even add teeth to the mouth! Tie the yarn to secure and trim any excess. Your Skull String Art is now ready to display!
• Decofoam Wreaths – Pack of 10 20398
• Tissue Paper – Assorted – Pack of 100 10933
• CleverPatch™ Cover Paper – Assorted A4 – Pack of 275 – 13652
• CleverPatch™ Junior PVA Glue 250ml – 10364
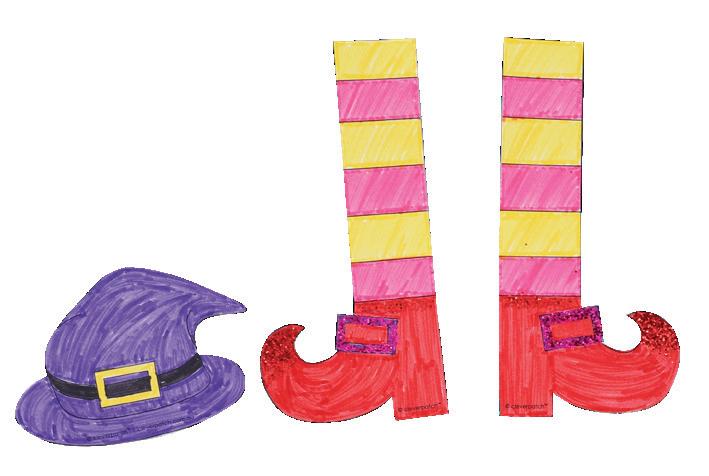
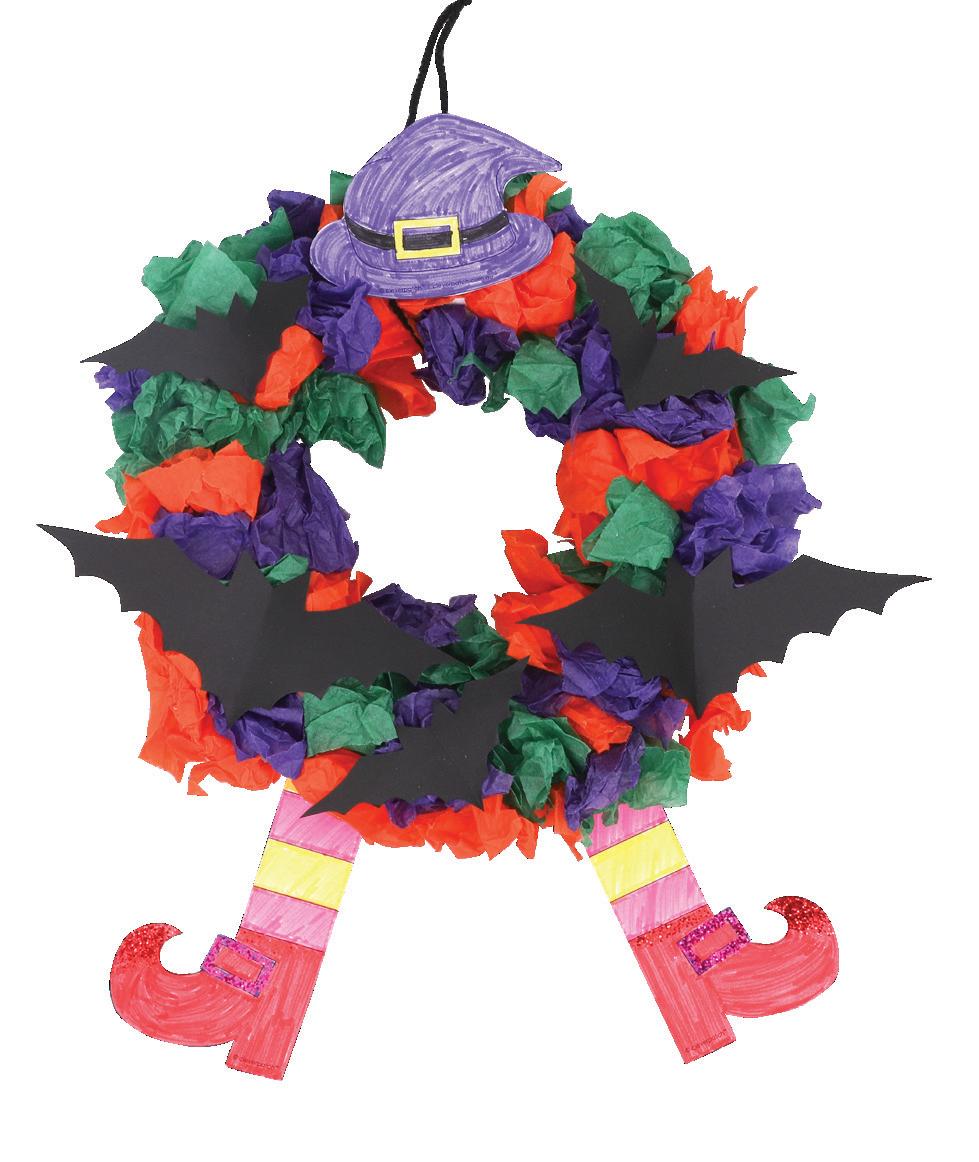
1. Print out the templates on page 10 onto white cover paper. Decorate the witch’s hat and legs template pieces using markers and glitter with glue. Allow to dry. Cut out the template pieces.
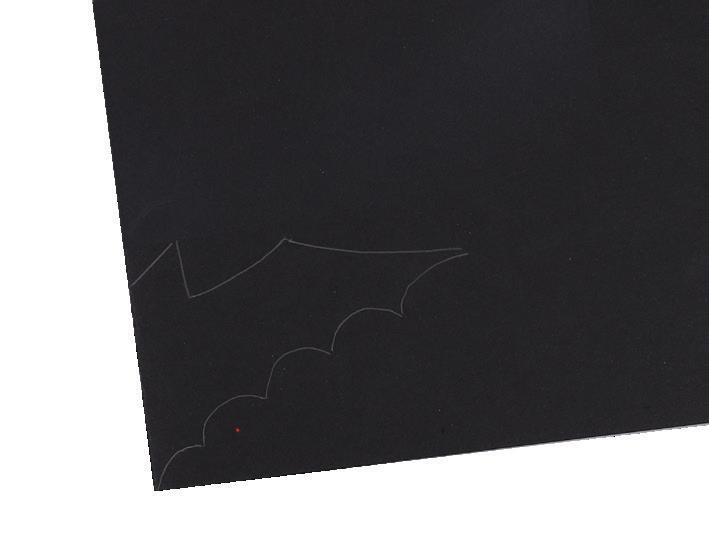
4. Cut out the half bat templates and place one bat shape onto a sheet of black cover paper folded in half. Align the straight edge of the template with the folded edge of the black paper. Trace around the template.
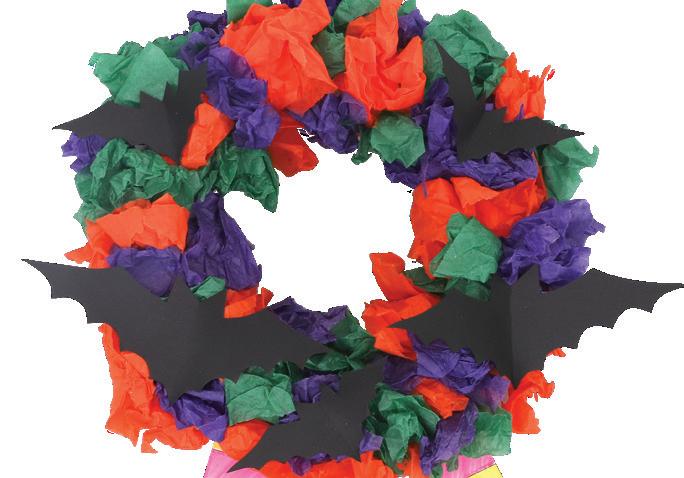
7. Glue your bats to the front of the wreath wherever you like. Allow to dry.
• CleverPatch™ Glitter Shakers – 9g Set of 7 Colours – 17914
• CleverPatch™ Triangular Maxi Coloured Markers – Pack of 10 – 16523
• Soft Yarn – Black – 100g – 12008
• Other materials required: Scissors, pencil, ruler and templates (page 10).
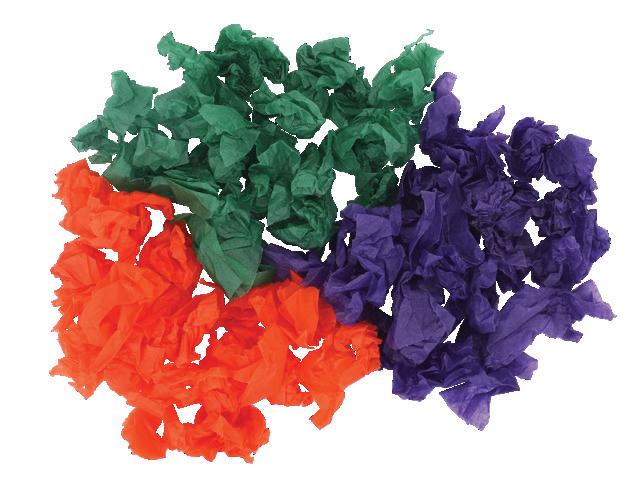
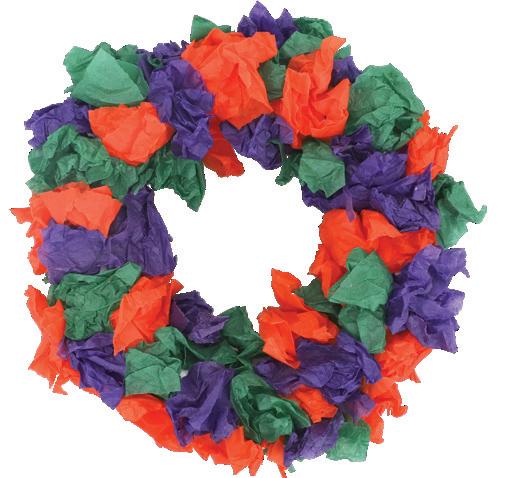
2. Rip pieces of tissue paper in your choice of colours. We have chosen to use orange, green and purple. Scrunch each piece into a loose ball, keeping them a consistent size.
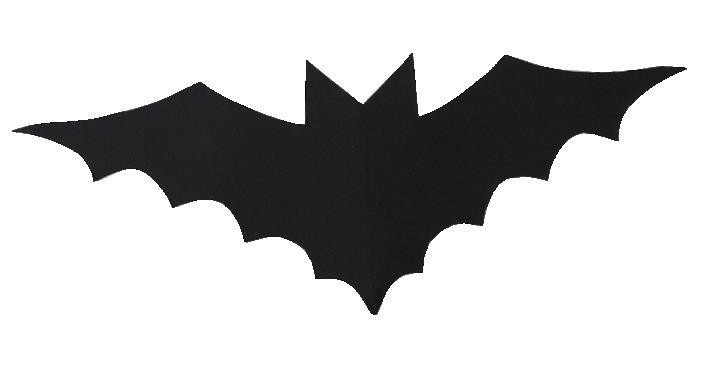
5. Cut along the outline and then unfold the paper. You will now have a bat shape. You can create more bat shapes if you wish – simply repeat steps 4 and 5.
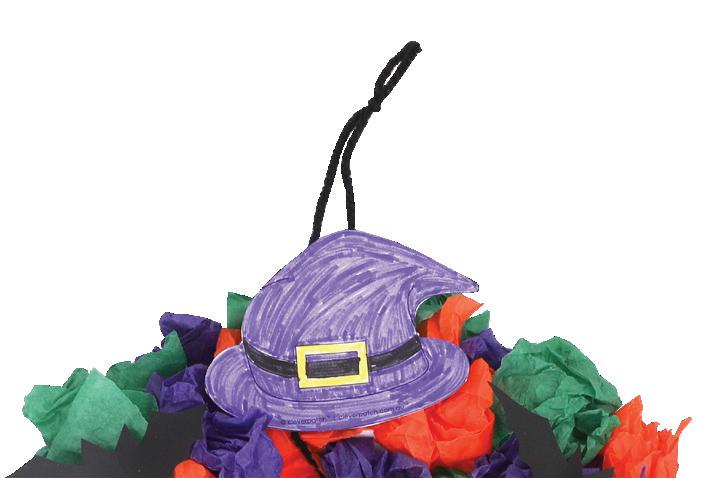
8. Cut a 40cm length of black yarn. Thread it through the centre of the wreath and bring the ends together. Tie a knot to create a hanger. Glue the hat to the front, top of the wreath. Allow to dry.
3. Glue each of the tissue paper balls onto the front of the decofoam wreath until it is fully covered. Allow to dry.
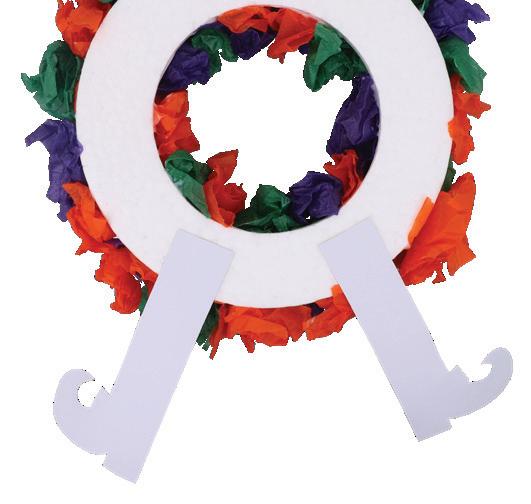
6. Glue the legs to the back, bottom of the wreath. Allow to dry.
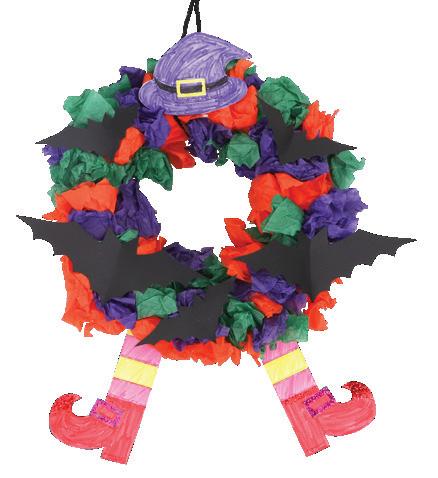
9. Your Witch Wreath is now ready to display for Halloween!

• Metal Hoop – 19750
• Soft Yarn – Black – 100g – 12008
• Soft Yarn – White – 100g – 11307
• Chenille Stems – Bright Pack of 100 – 10825
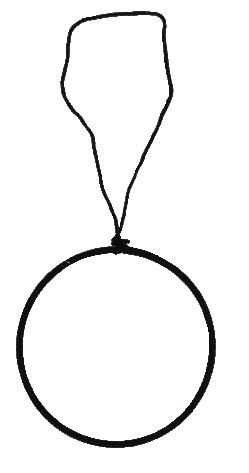
1. Cut a 4m length of black yarn. Secure one end of the yarn to the hoop in a double knot. Wrap the yarn around the hoop until it is covered. Tie the yarn to the tail of the original knot to secure. Use the excess yarn to create a hanger.
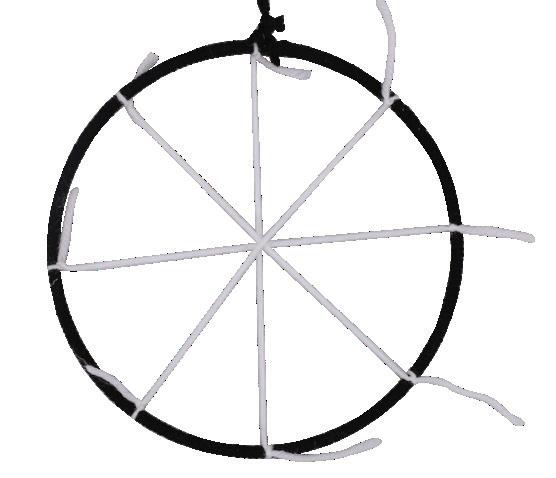
3. Tie the other two lengths to the hoop, creating an X shape. You should now have an X and a plus shape tied to the hoop. These will become the foundation lengths of your web.
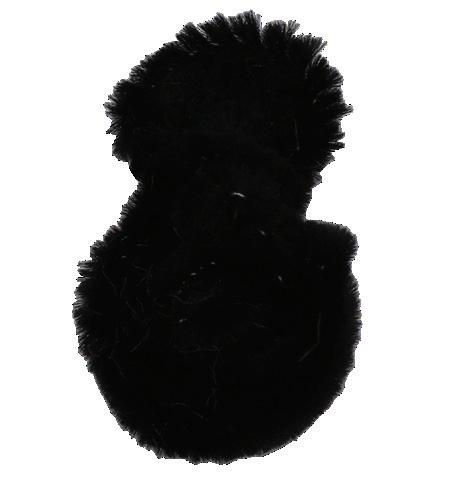
5. Coil a black chenille stem to create the spider’s body. Coil half a chenille stem to create the head. Secure the head to the body using the other half of the chenille stem. Tuck the ends towards the body to secure.
• Wiggle Eyes Black – 1cm Pack of 100 – 10815
• CleverPatch™ Junior PVA Glue 250ml – 10364
• Other materials required: Scissors and a ruler.
2. Cut four 25cm lengths of white yarn. Tie one of the lengths to the top and bottom of the hoop as shown. Tie another length to the right and left sides of the hoop so that it overlaps the yarn in the middle, creating a plus shape.
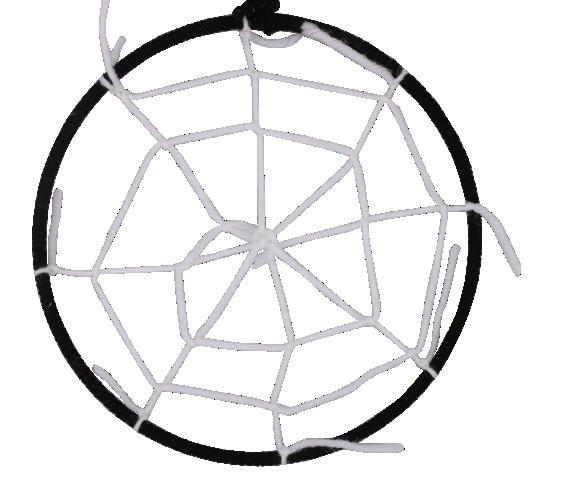
4. Tie an 80cm length of yarn to the top left foundation length. Bring the yarn to the right and wrap around the next foundation length. Tie the yarn to the length to secure. Continue wrapping and tying to each length in a clockwise direction to create a spiral. Once you reach the centre of the hoop, tie the yarn to secure. Trim any excess yarn from all knots.

6. Cut two chenille stems into four lengths measuring 7.5cm each. Thread a length into the side of the body and twist to secure. Repeat for the other seven lengths, attaching four lengths to each side. Bend the stems to create spider legs. Glue two wiggle eyes to the head. Allow to dry.
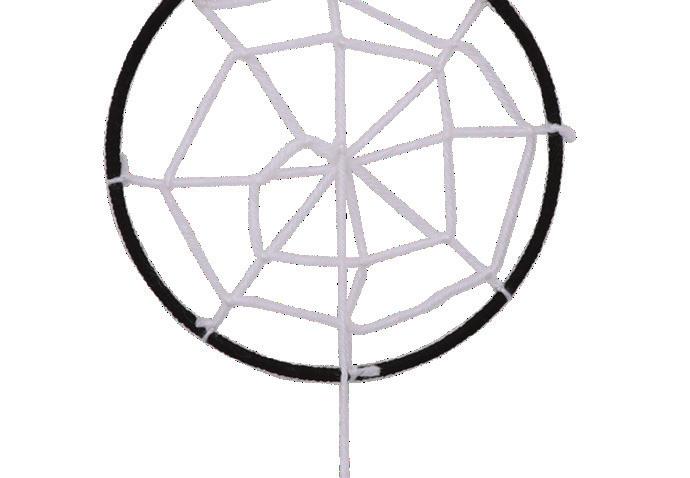
7. Tie a 20cm length of white yarn to the bottom section of the spider’s body then tie the other end to the middle of the hoop. Your Spider Web Decoration is now ready to hang!
• Design Your Own Board Game Kit – 19522
• CleverPatch™ Cover Paper – White – A4 – Pack of 250 – 16142
• CleverPatch™ Glue Stick – 40g – 13974
• CleverPatch™ Triangular Coloured Markers – Pack of 10 – 16232
• CleverPatch™ Coloured Pencils – Pack of 12 – 20770
• Other materials required: Scissors, pencil and templates (pages 11-13).
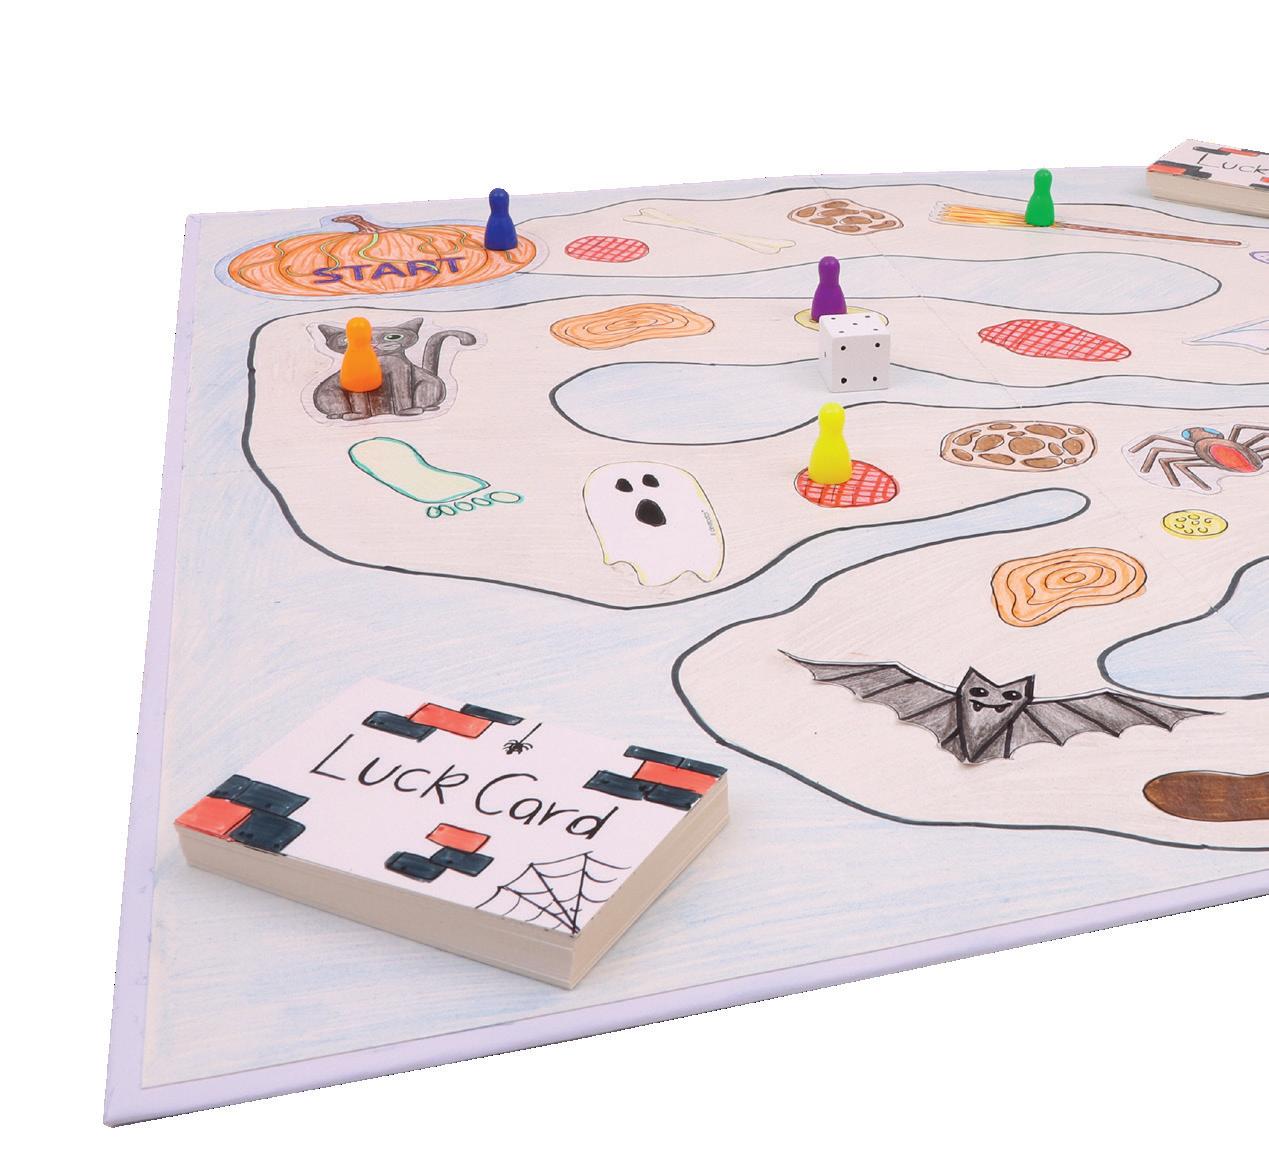
Follow the steps below or create your own Halloween inspired board game!
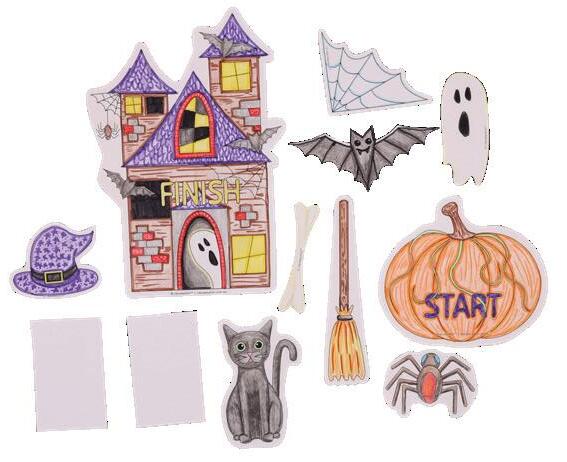
1. Print out the templates on pages 11-12 onto white cover paper. Decorate the templates using markers and pencils. Use the grey outlines to help easily cut out the more intricate shapes.
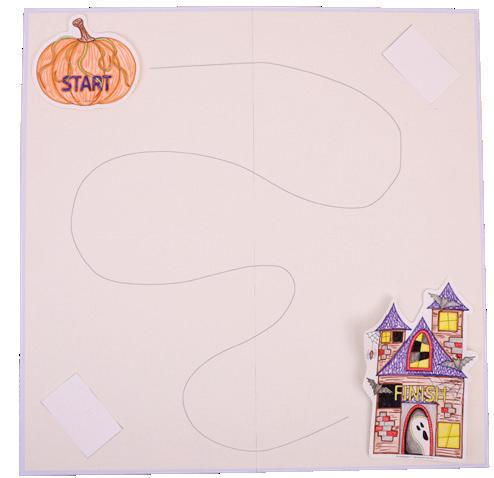
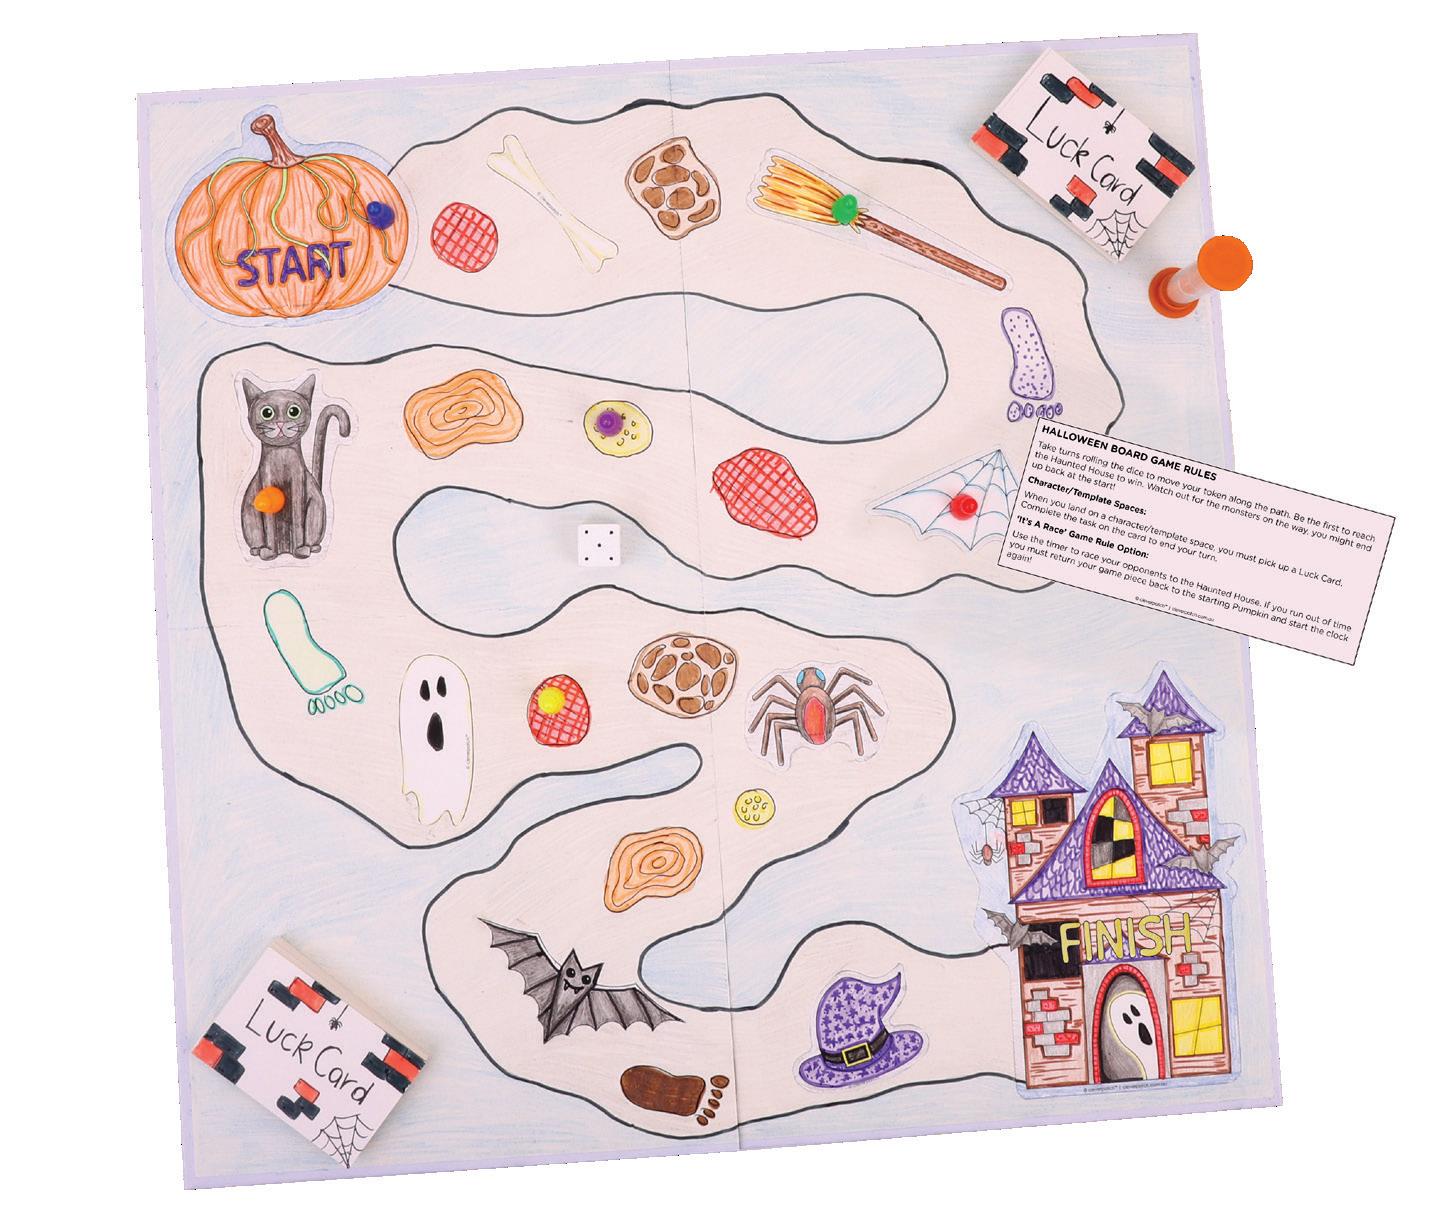
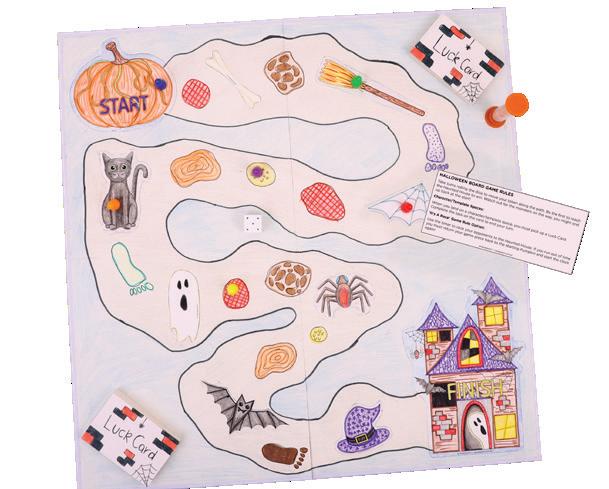
4. Draw a faint line from the pumpkin start piece to the haunted house finish piece in any direction or path you like.
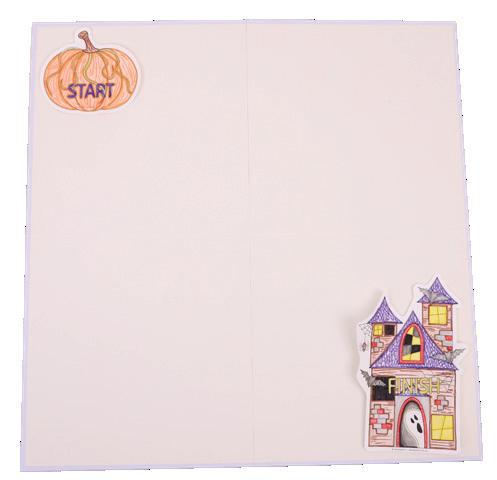
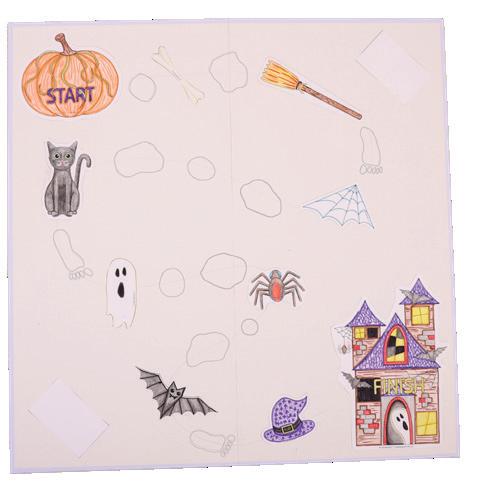
2. Open the gameboard so that it is laying flat. Place your pumpkin start piece in the top left corner. Place the haunted house in the bottom right corner.
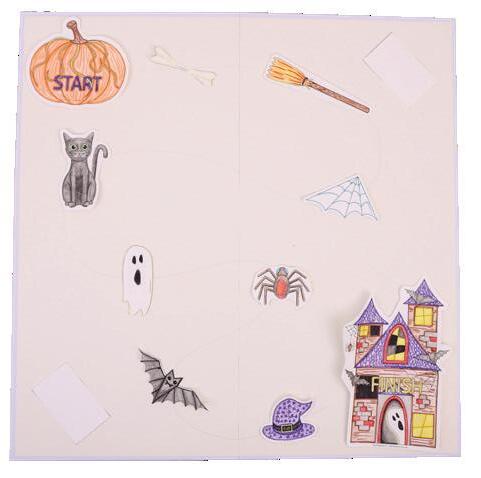
5. Place the Halloween character and object templates along the line so they are spaced out evenly. Try to place the templates away from the fold lines so they don’t crease when the board is packed away!
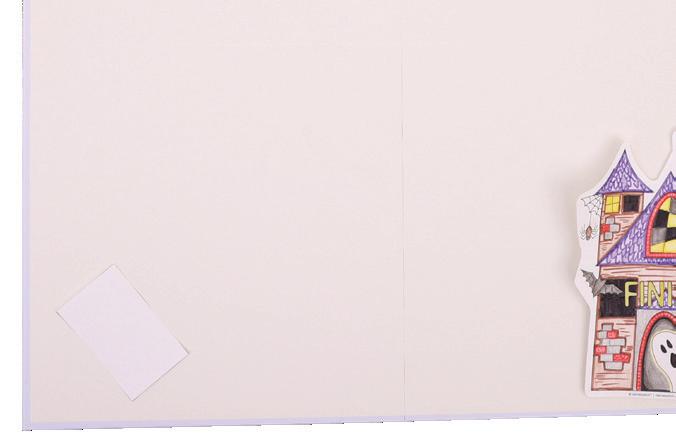
3. Place one card space on each of the remaining two corners.
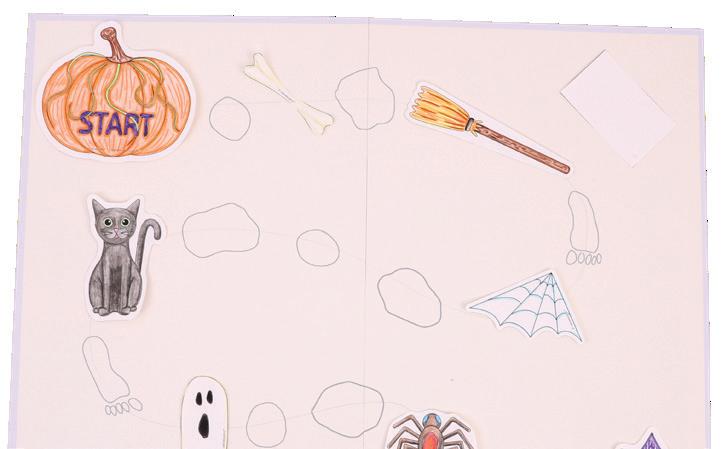
6. Sketch extra playing spaces between the templates. You could draw the spaces as circles, stepping stones, or footprints. Be as creative as you like!
7. Once you are happy with the placement of all of your templates, playing spaces and the direction of the playing path, glue the templates to the board. Allow to dry.
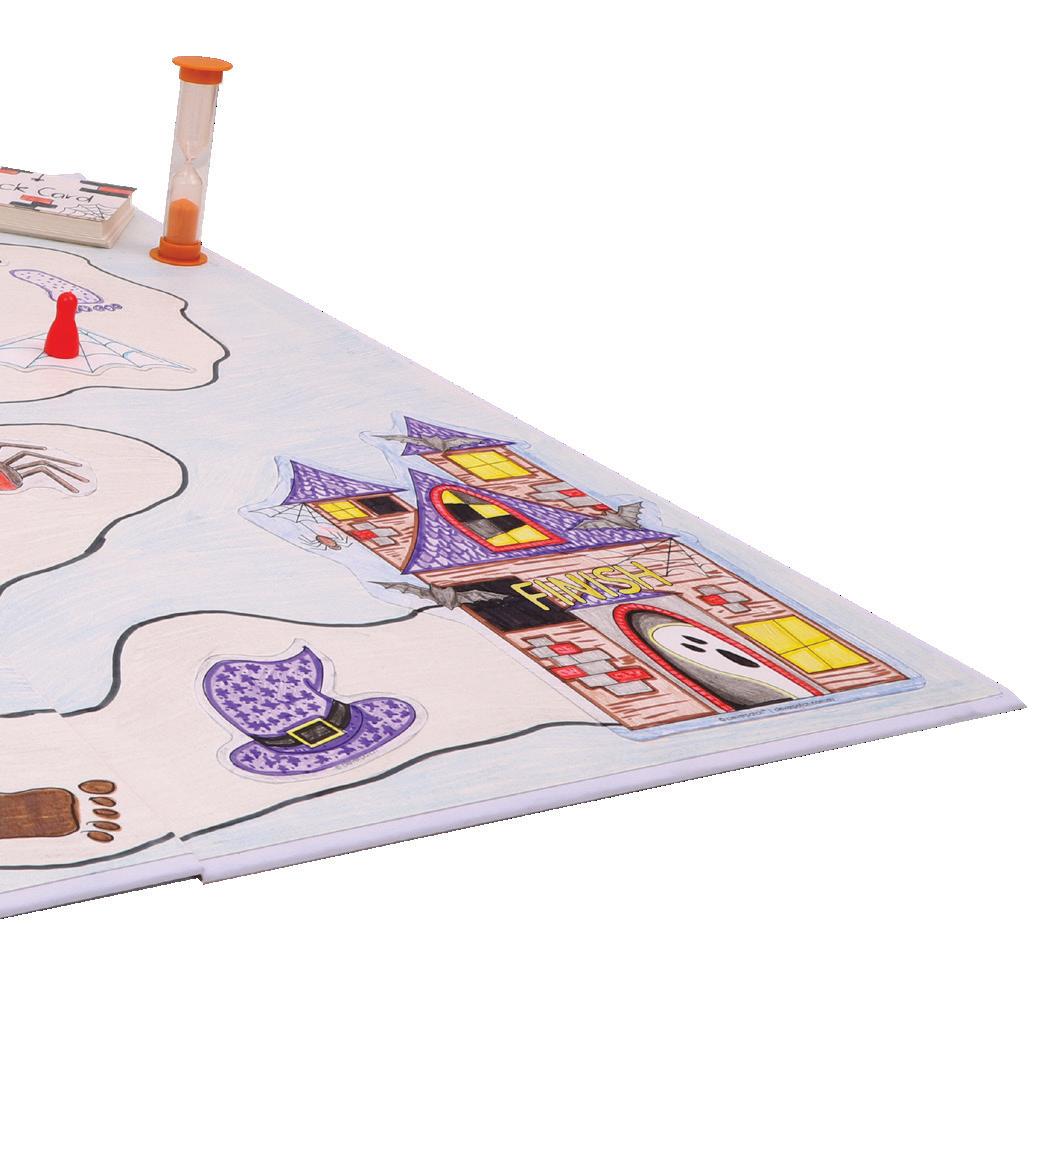
Create and play your Halloween Board Game after your Trick-or-Treating adventures! Use the timer to race your opponents to
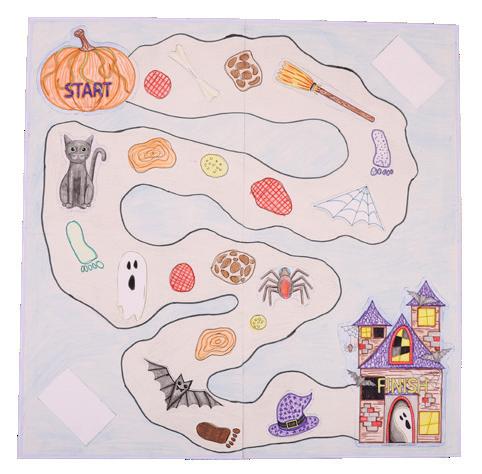
8. Add colour to your extra playing spaces and erase any of the pencil lines. Add any extra details to the gameboard to finish your game design. Don’t forget to include a path outline!
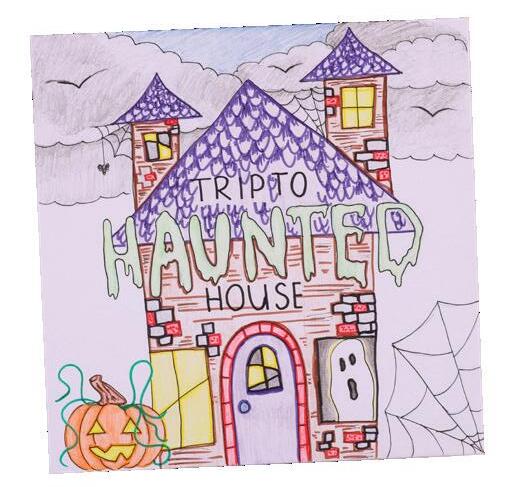
11. Decorate the game box using markers and coloured pencils. Don’t forget to give your game a name!
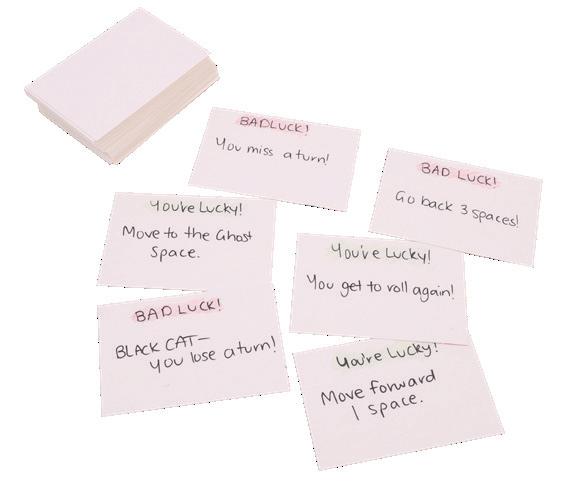
9. Use the suggested card tasks on page 13 or make up your own tasks. Write each task on a separate card. You can repeat tasks or create a different task on each card.
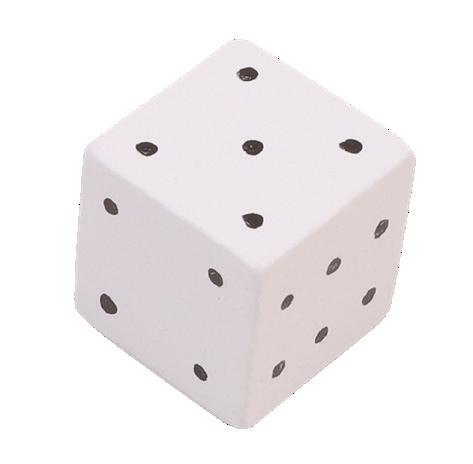
12. Create your dice by adding the numbers 1-6 with one number per side.
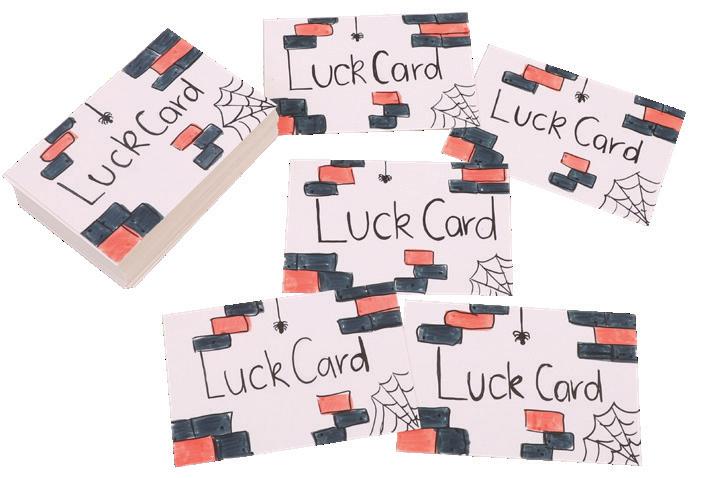
10. Decorate the other side of each card with the words ‘Luck Card’. Add an interesting pattern to give the back of the cards a finished look!
13. Print and cut out the game rules we have supplied on page 13. Alternatively, you could write your own rules. Once you are familiar with the rules, your Halloween Board Game is ready to play!
• Cardboard Rolls – Pack of 110 – 10307
• Battery LED Tealight Candles Pack of 12 – 18915
• CleverPatch™ Glue Gun Starter Set 12505
• CleverPatch™ Acrylic Paint Tube – White 75ml – 16886
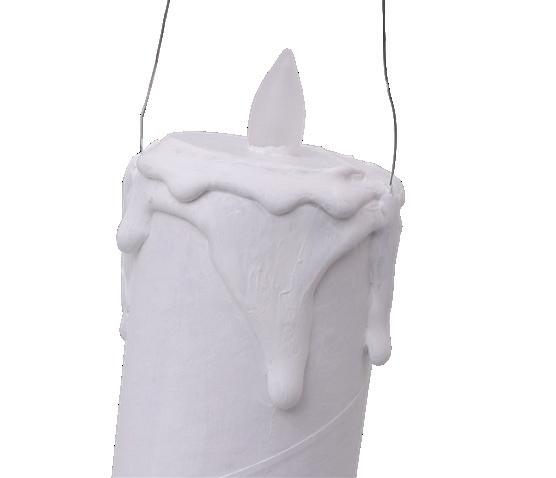
1. At one end of a cardboard roll, use a glue gun to add dripping glue around the edge to look like melting wax. Allow to dry.
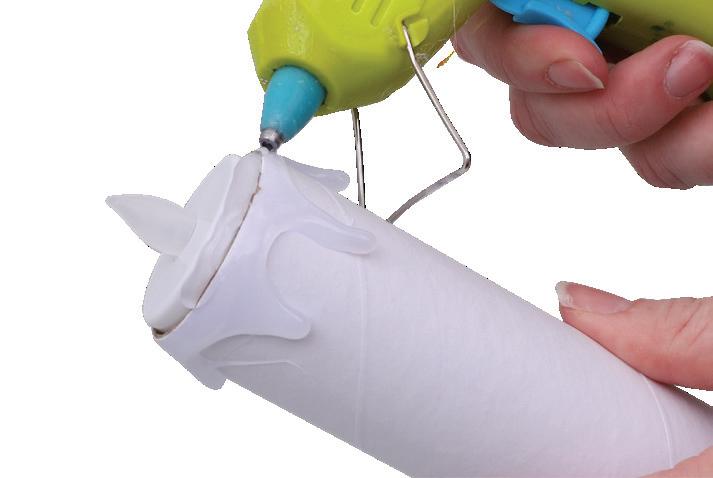
3. Apply glue around the rim of the tealight and cardboard roll to create a seamless edge. This will also add another dripping layer! Allow to dry.
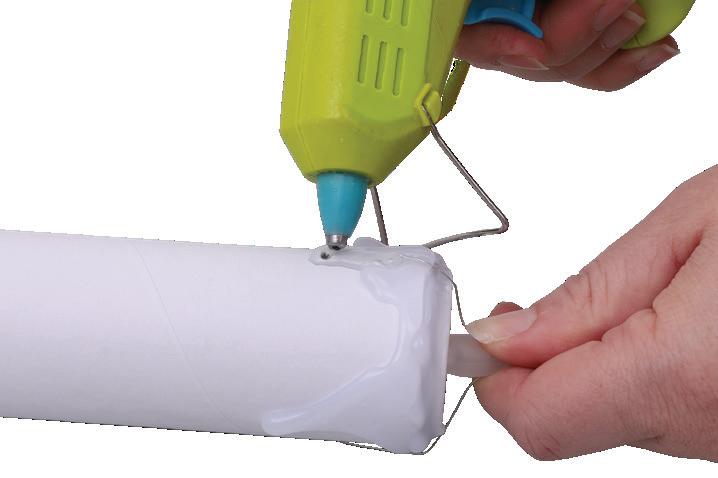
6. Lay your candle down ensuring the wire is pulled evenly through the roll and held upwards as shown. On both sides, apply another drip layer covering the holes and the wire so it is secure against the roll. This will help the candle hang upright. Allow to dry.
• CleverPatch™ Acrylic Paint Tube Black – 75ml – 16885
• Beading Wire – Silver – 22 Metres – 10230
• Sewing Needles – Sharp – Pack of 6 17870
• Other materials required: Scissors, ruler, pencil and paint brushes.
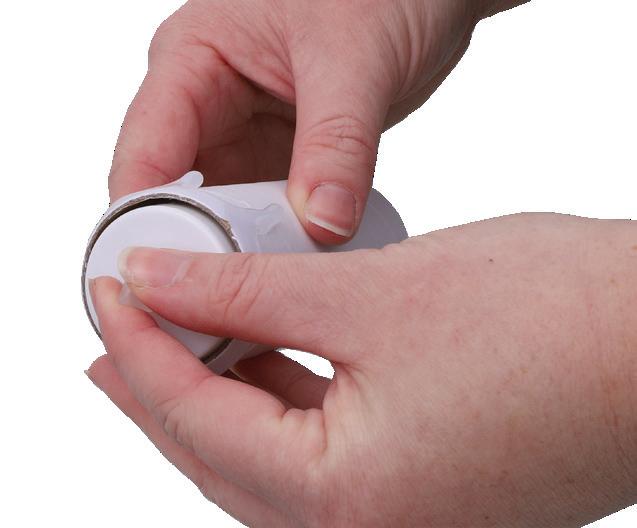
2. Apply glue to the inside rim of the cardboard roll. Place a tealight candle into the roll and hold in place for a few seconds to secure. Allow to dry.
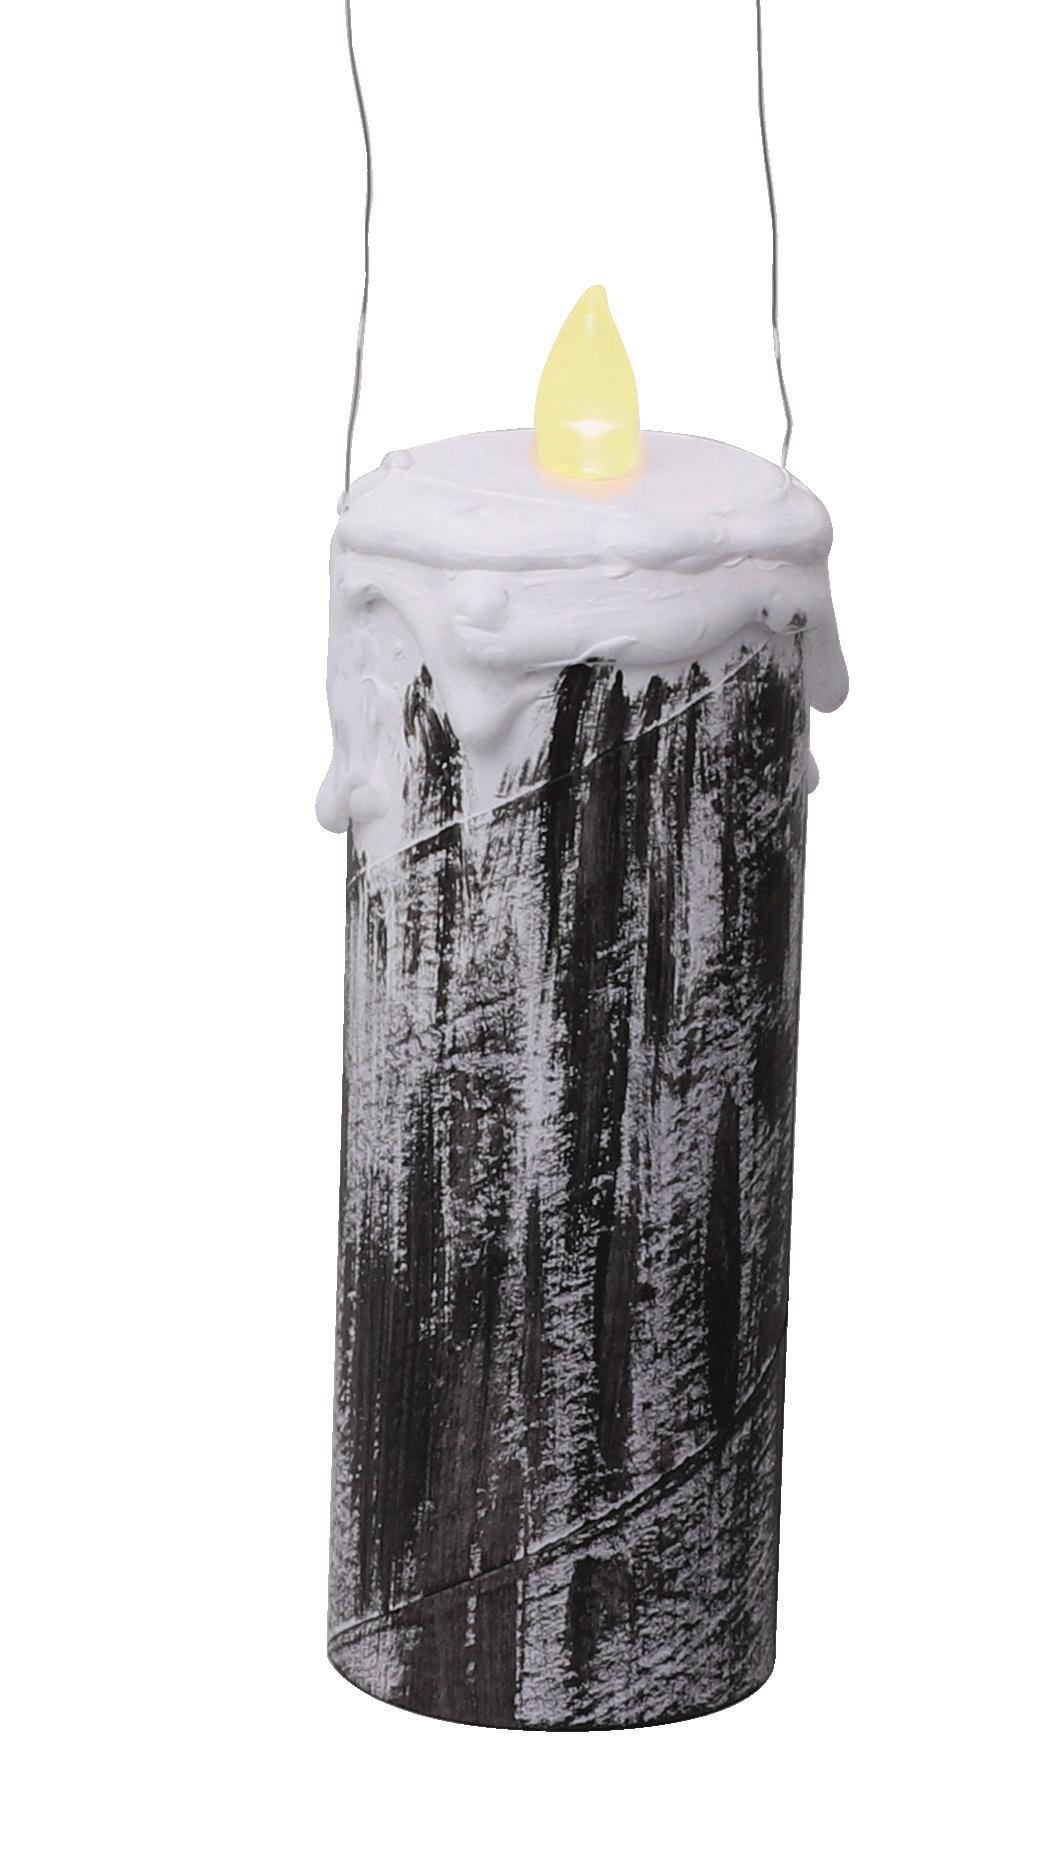
Make multiple floating candles to decorate your space for Halloween!
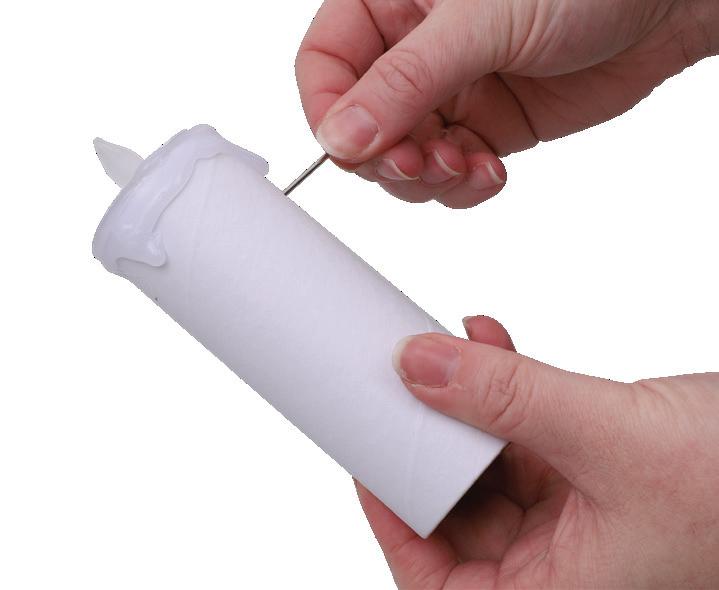
4. Use a sharp needle to poke a hole through the side of the roll 2cm down from the top. Repeat for the opposite side of the roll.
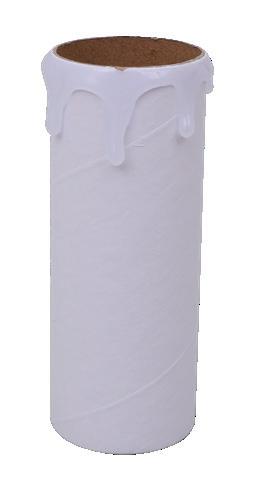
7. Paint the candle white, covering the top of the tealight and the glue drips. Make sure you don’t cover the flame though! Allow to dry. Add a second coat for a solid finish. Allow to dry.
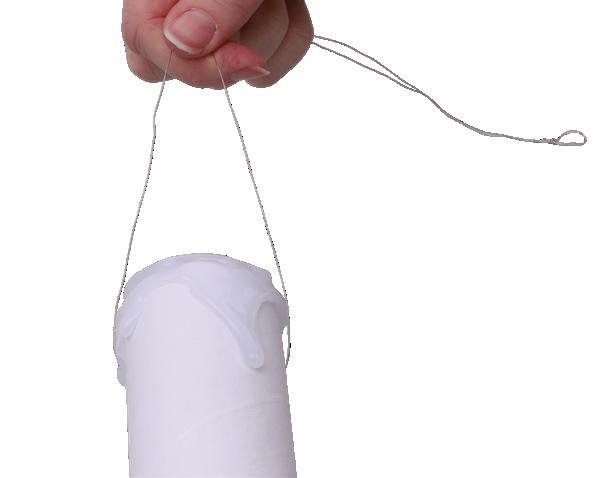
5. Cut an 80cm length of beading wire and thread through the holes in the roll. Bring the ends of the wire together and tie a knot to make a hanger. Twist the ends around the bottom of the knot so that no sharp ends stick out.
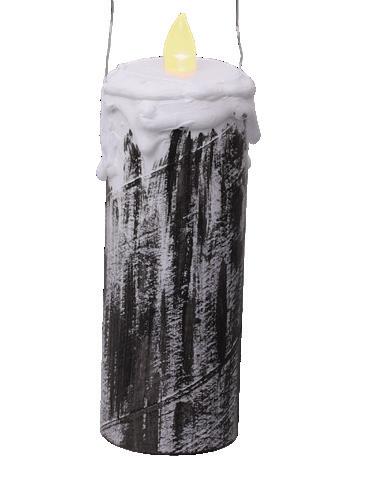
8. Use a dry brush and a small amount of black paint to add texture to the candle. Allow to dry. Use the end of a pencil to turn the tealight on through the bottom of the roll. Your Floating Candle is now ready to display on Halloween!
Use this template to help you complete the activity on page 3.
Help the cat find its way home.
Use these templates to help you complete the activity on page 4.
Witch’s Legs
Use these templates to help you complete the activity on pages 6-7.
cleverpatch | cleverpatch.com.au
Use these templates to help you complete the activity on pages 6-7.
Use these templates to help you complete the activity on pages 6-7.
Take turns rolling the dice to move your token along the path. Be the first to reach the Haunted House to win. Watch out for the monsters on the way, you might end up back at the start!
Character/Template Spaces:
When you land on a character/template space, you must pick up a Luck Card. Complete the task on the card to end your turn.
‘It’s A Race’ Game Rule Option:
Use the timer to race your opponents to the Haunted House. If you run out of time you must return your game pieces back to the starting Pumpkin and start the clock again!
Luck Card Task Suggestions:
• Go back 3 spaces!
• Move to the Ghost space.
• Move forward 2 spaces.
• You miss a turn!
• You get to roll again!
• Move to the Bat space.
• Move to the Bone space.
• Go back to the Pumpkin (Start) space.
• Choose another player and send them to the Cobweb space.
• Black Cat! You lose a turn!
• Swap your position with another player.
• Move forward 1 space.
• Move back 1 space.
• Pick a player to move back 3 spaces.