







• Coloured Honeycomb Paper – Pack of 10 – 20706
• CleverPatch™ Cover Paper – White – A4 Pack of 250 – 16142
• CleverPatch™ Glue Stick – 40g – 13974
• Double Sided Tape – 6mm x 50m Roll – 19162


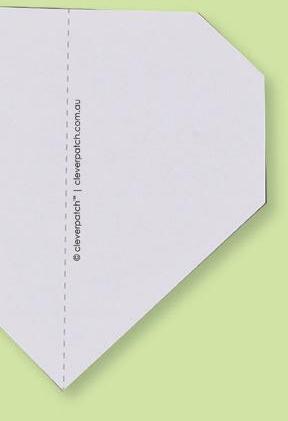

1. Print out the template on page 11 onto cover paper. Cut out a template shape of your choice – we have chosen to use the crystal design.


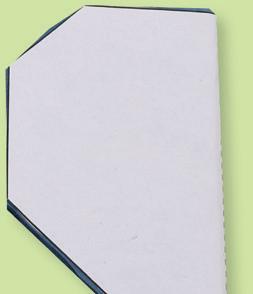
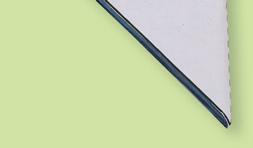


3. Cut the honeycomb paper around the template shape.



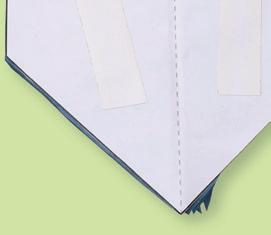


5. Attach two strips of double sided tape to the back of the honeycomb shape.


• CleverPatch™ Triangular Maxi Coloured Markers Pack of 10 – 16523



• Satin Ribbon – Pack of 16 Spools – 19601
• Other materials required: Template (page 11) and scissors.


2. Fold the template along the dotted line. Place over the short edge of your colour choice of honeycomb paper, so half of the template is on top and half is on the bottom of the honeycomb paper. Glue the template in place and allow to dry.




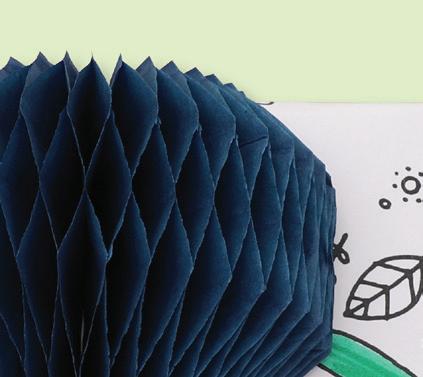
4. Carefully pull on the edges to open the template and reveal the honeycomb texture.



6. To add your topper to your wrapped gift, remove the backing paper and press firmly to secure.

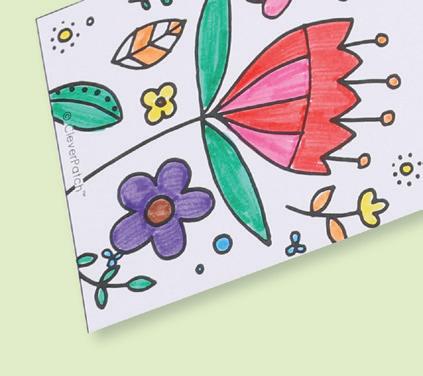
Why not use our colouring in wrapping paper to wrap your gifts? Download our free wrapping paper and gift tag templates here!







7. Your present with Honeycomb Gift Topper is now ready to give to someone special!
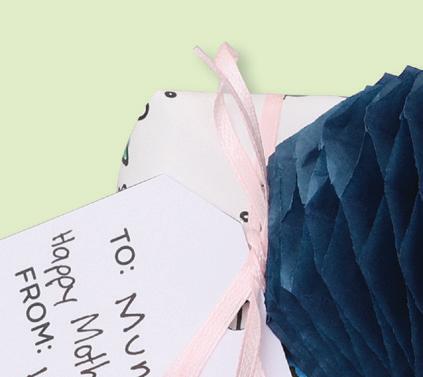
CleverTip: Download our free templates to decorate and use as wrapping paper. If you would like to add a gift tag, tie a ribbon with your tag around your gift before adding on your topper!
• Trinket Box Silicone Mould – 20764
• Ecrylimer Bold Acrylic Resin Compound – 2kg Pack – 20762
• CleverPatch™ Acrylic Paint Tubes – 75ml – Set of 14 Colours – 20811
• Wooden Teaspoons – Pack of 25 – 20098
• Paper Cups – Pack of 20 – 11085
• Other materials required: Cardboard, splash mat, a set of scales and water.
Click here to watch our ‘Marbled Trinket Box’ Video!







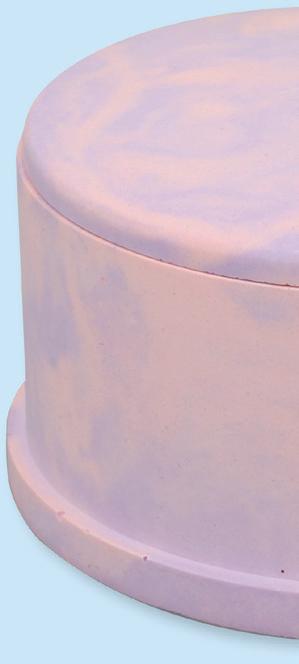
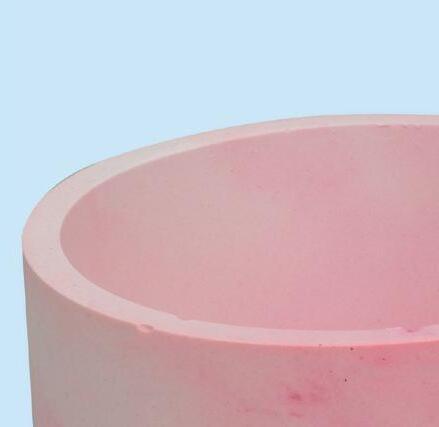

















2. Pour half of the mixed compound into another cup. You can use the cup you measured the powder into.





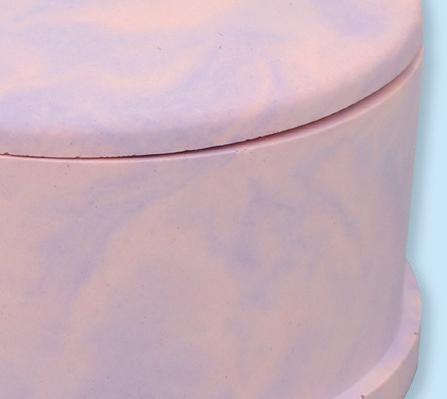


















1. Place down a splash mat or scrap paper to protect your work surface. Measure 90g of acrylic resin compound in a paper cup. Measure 45g of water in another paper cup. Gradually pour the powder into the water. Stir the mixture continuously until you have a consistency similar to thick, melted ice cream.
CleverTip: You have 15-20 minutes working time once the powder and water are mixed.



3. Add your first choice of coloured paint to one cup. You will only need a small amount of paint. If you add too much, the design may not set. Stir the mixture until the colour has completely mixed through.




4. Add a di erent colour of paint to the other cup of compound. Stir until the colour is completely mixed through.


Experiment with different colours and add-ins such as glitter or terrazzo pieces to make your trinket box unique!



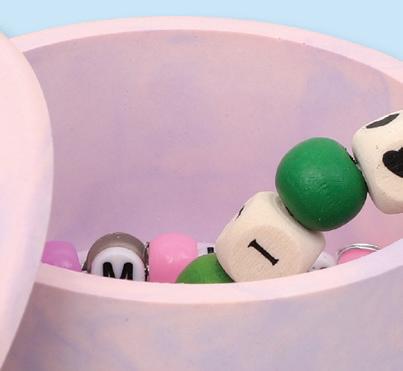

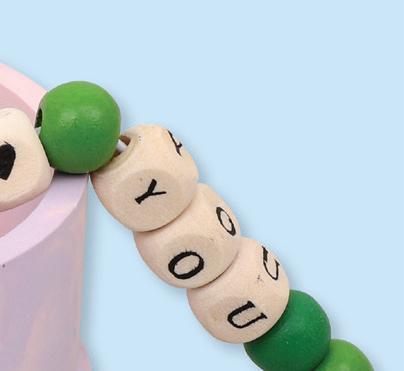
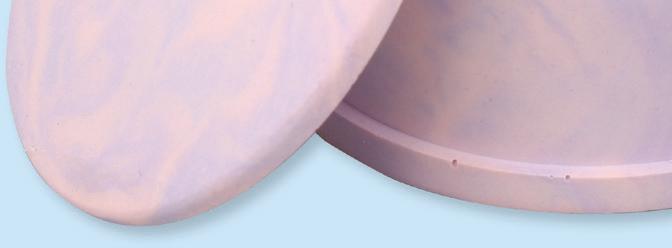








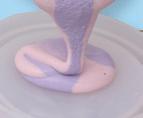
5. Pour small amounts of each coloured mixture into a separate cup. Alternate pouring small amounts of each colour until the two colours are together in one cup. Use a spoon to scrape the edges of the cups to ensure you have all the mixture in the new cup.




8. Check to see if the mixture has set by pulling the sides of the mould. If the mixture moves or the edges are soft then it is not set. Leave for another 30 minutes.



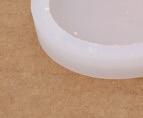
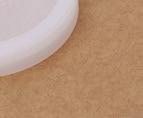




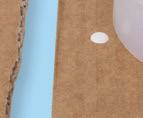
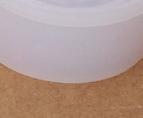



6. Place each of the trinket moulds onto a piece of thick cardboard. Pour the coloured mixture into both moulds. Use a spoon to help push the mixture into the lid mould. This will help with any bubbles that can get stuck under the lip of the mould.








9. Once set, remove the moulds by carefully peeling away from the edges and pushing the pieces out. Set the pieces aside for 72 hours for the compound to cure completely.
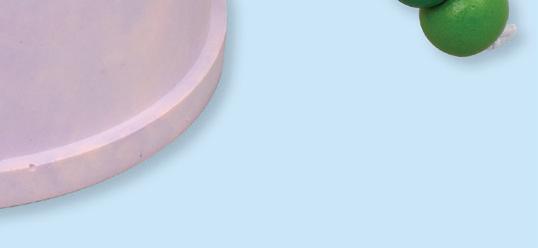



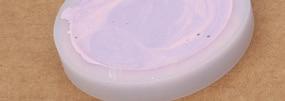


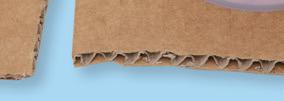

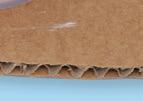
7. Carefully lift the cardboard pieces and gently drop onto a flat surface to release any bubbles from the mixture. Leave to sit for a few minutes and repeat to release any remaining bubbles. Gently blow across the top surface to pop any bubbles that appear. Leave the mixture to set for 40-70 minutes (depending on weather conditions, etc).




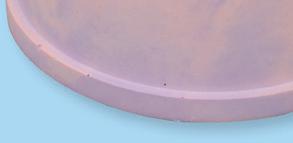


10. Your Marbled Trinket Box is now ready to use or gift!
Keep any leftover compound mixture and let it cure completely. It can be broken into terrazzo pieces to use in your next Acrylic Resin project!
• Crochet Hook – 20728
• Soft Yarn – 100g – Set of 10 Colours – 12257
• Keyring & Chain – Pack of 30 – 17140
• Other materials required: Scissors.
Before you begin, brush up on some basic tips and crochet stitches. We found these tutorials very helpful!
Once you are familiar with the basic stitches, use the steps below and our ‘Crochet Heart Keyring’ video to make your keyring!

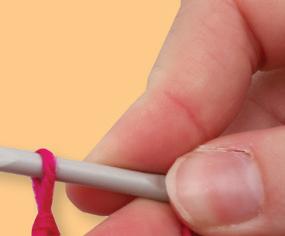



1. Choose a colour of yarn - we have chosen to use pink. Create a magic ring knot but keep the knot on your finger. Ensure you have a long length of tail end (the yarn end not connected to the ball). Make 2 chain stitches.

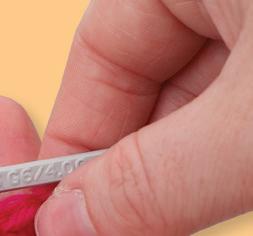



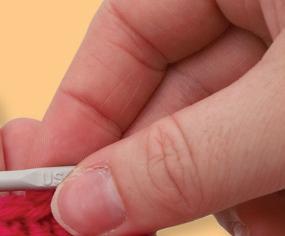
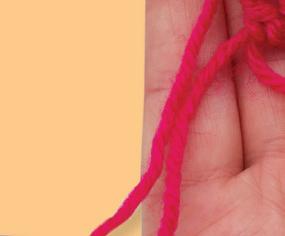
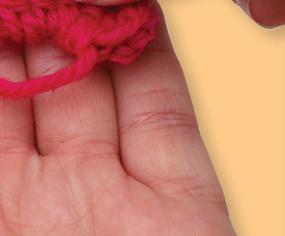




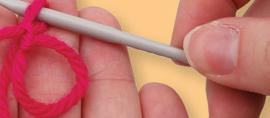



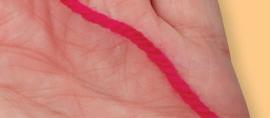


2. Carefully remove the magic ring from your finger. Hold the ring knot in your non-dominant hand. Ensure the tail sits under the ball strand so you can tuck it into each stitch.




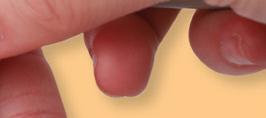


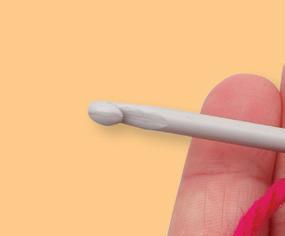
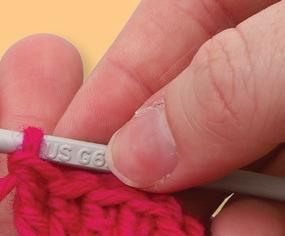

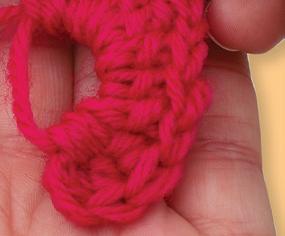



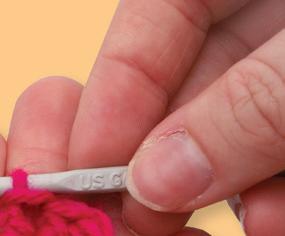

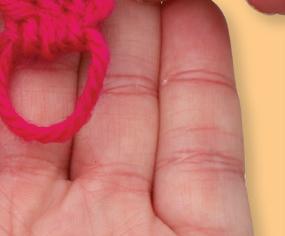

3. Add 3 triple stitches onto the magic ring.
CleverTip: You can slide the stitches around the ring at any point to give you more room.










9.








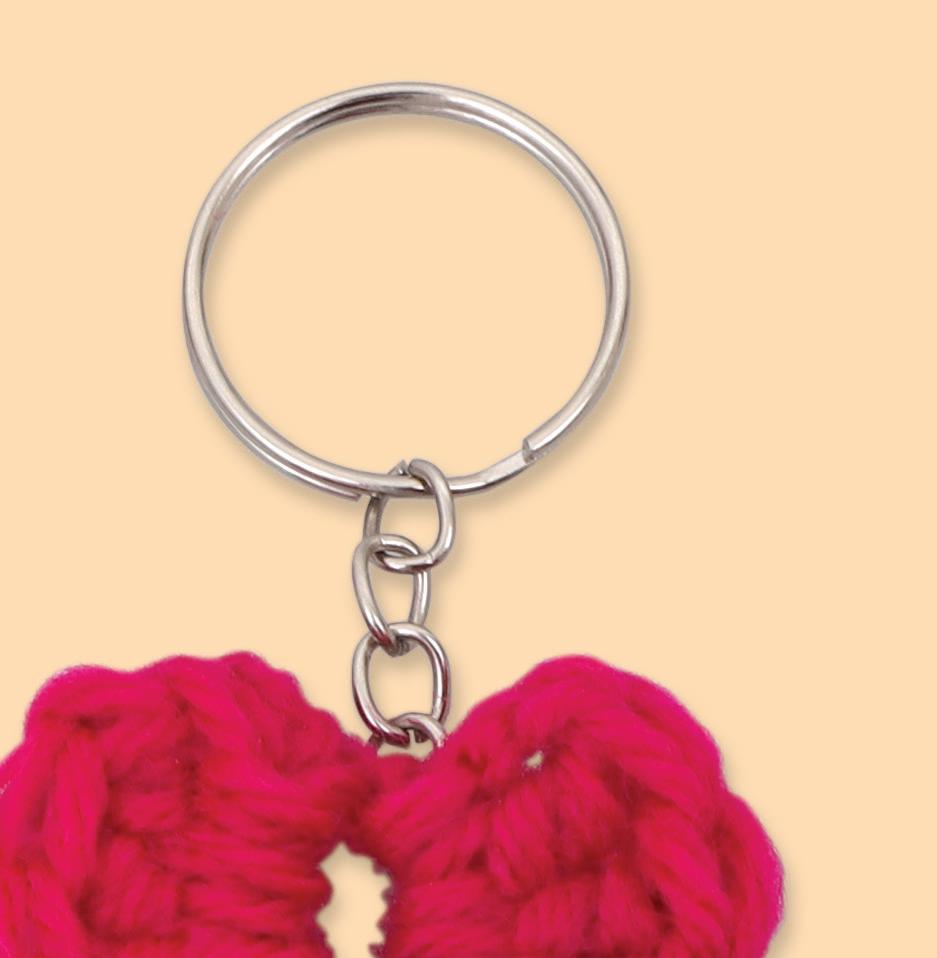







What else can you make with crochet hearts? Maybe a bracelet or headband, or you could even use one as a pencil topper!











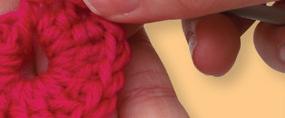




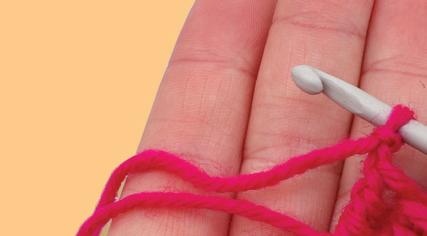













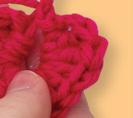
15. Pull tight on each yarn length to tighten and shape your heart. You may need to move the stitches around to help form the heart shape.

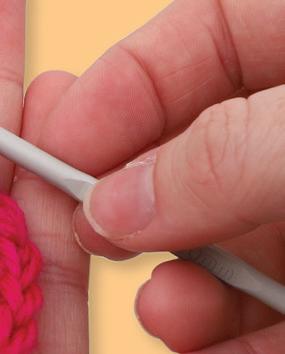



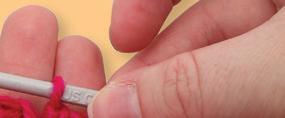
























14. Cut the yarn from the



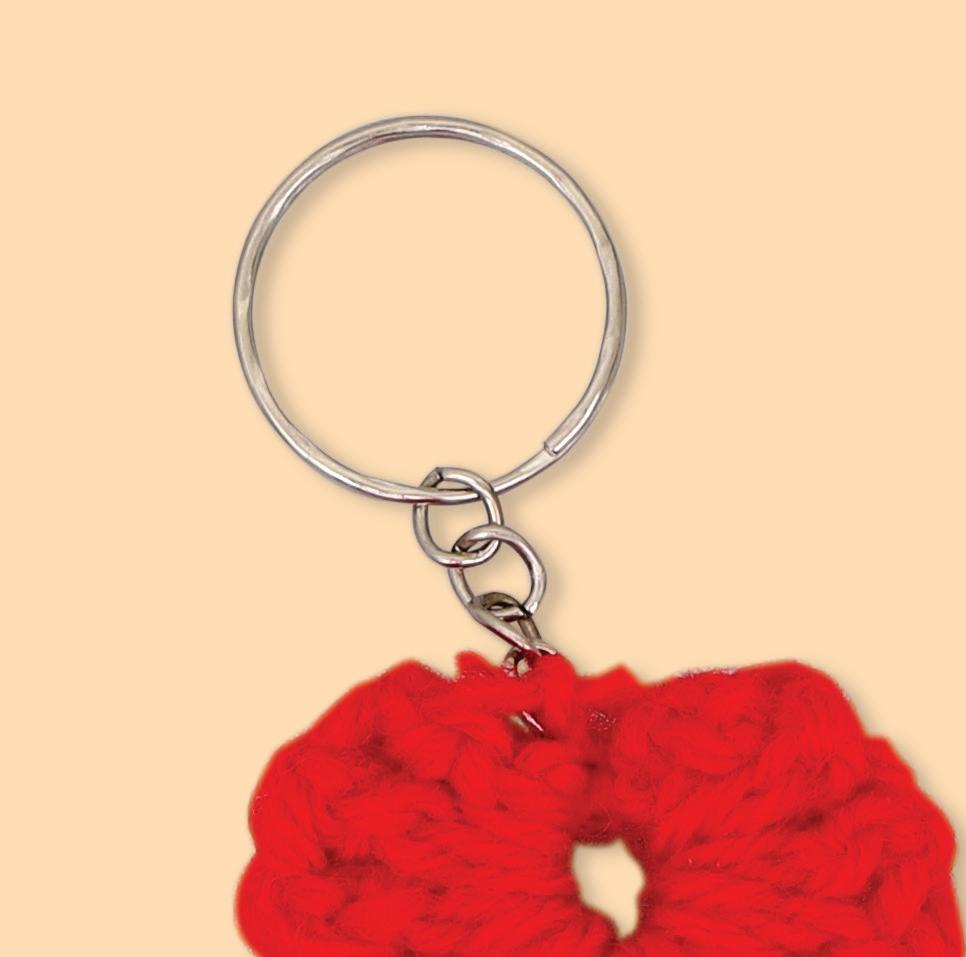
16. Thread an end through the bottom chain of a keyring. Tie a double knot to secure the heart to the chain. Trim the excess yarn.

leaving a small length to tie to your keyring. Move the hook away to pull the length through the chain stitch and release your hook.

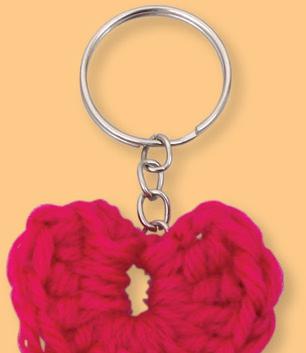


17. Your Crochet Heart Keyring is now ready to use or gift!
CleverTip: You can create multiple crochet hearts to make a string of hearts if you wish. Repeat steps 1 to 15 and use the yarn lengths to tie each heart together.
• Craft Buttons – 454g Pack – 10833
• Foam Flowers – Pack of 300 – 11091
• Porcelain Vase – 13522
• Coloured Beading Wire – Pack of 10 Colours – 20705

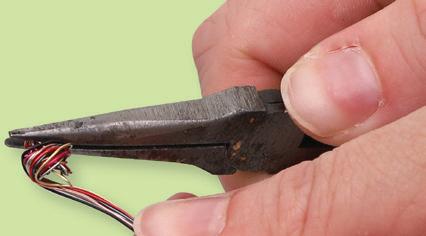


1. Cut eight 30cm lengths of your choice of coloured wire. Gather them together and align the ends. Coil the ends together using pliers until it is about 1cm wide. This will help the wire stand in your vase.
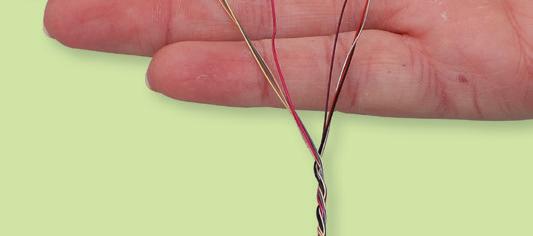

4. Continue twisting the wire together until there is 10cm left untwisted at the end.



7. To add a foam flower with a button: Push the end of a wire strand through the centre of a foam flower.
• Chain Nose Pliers – 18864
• CleverPatch™ Glass & Porcelain Marker Fine Tip – Black – 18545


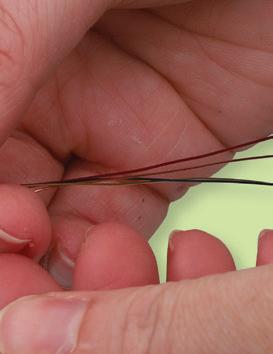
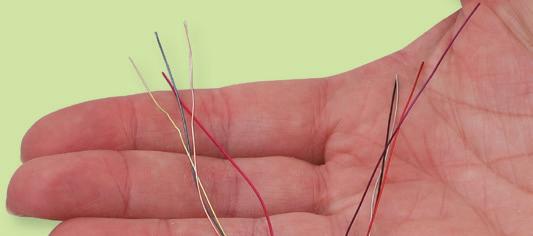
2. Divide the wire into two even groups. You should have four strands in each group.

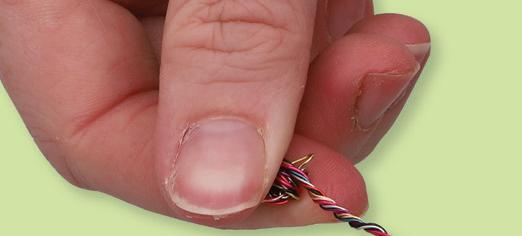


• Other materials required: Scissors, oven and a ruler. ruler.





5. Choose a selection of foam flowers and buttons. You will need at least 8 flowers. Decide how you would like your flowers to look.



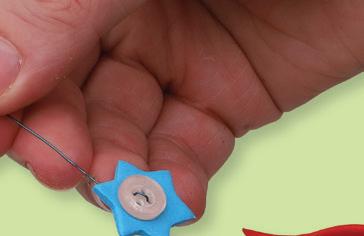
8. Thread the wire up through a hole in a button. Thread the wire back down through the opposite hole in the button then push back through the foam flower.

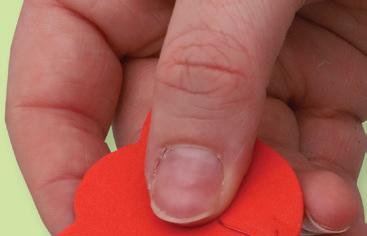


3. Twist the groups around each other to create a thick stem. Use pliers to ensure the wire is twisted tight.


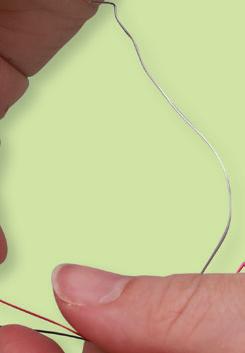

6. To add a foam flower without a button: Thread a wire end through the foam from the back. Push the wire back through the foam 1cm above where you came up. Twist the wire together at the back of the foam to secure.


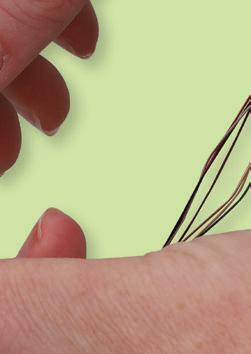

9. Use pliers to twist the wire together at the back to secure the flower and button together.


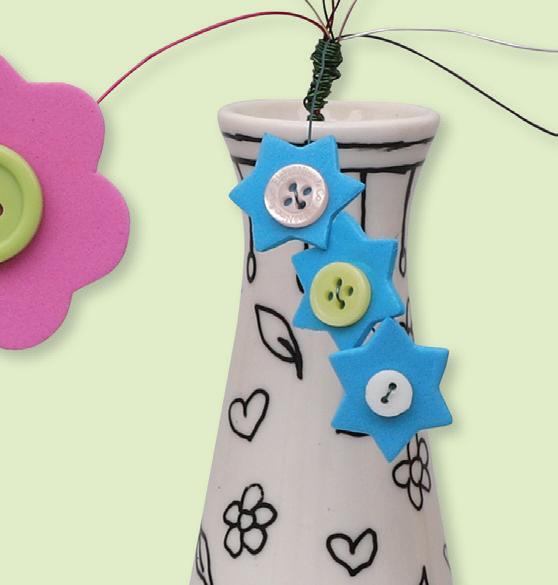

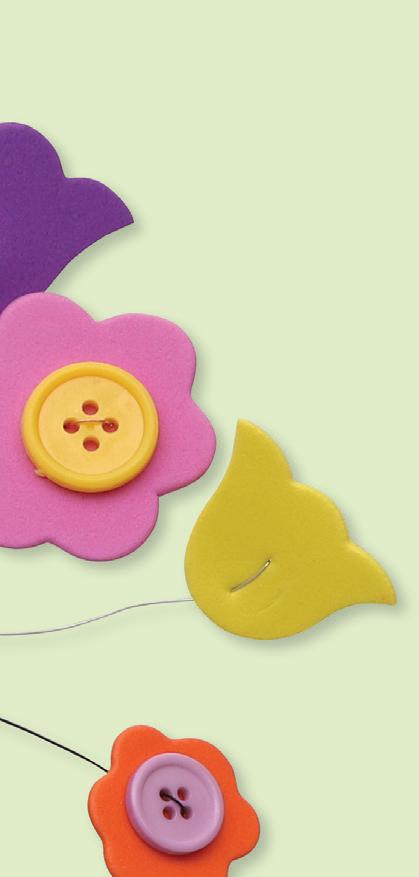

The perfect gift for someone special, one that will last forever!







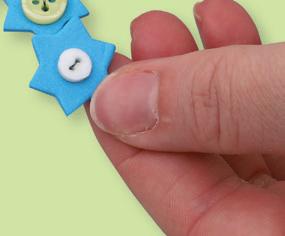


the back





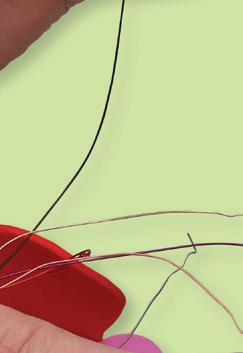
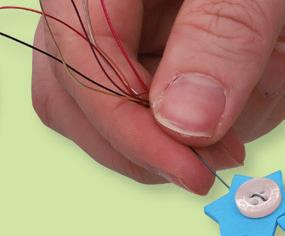
12. Continue adding your flowers onto each of the remaining wire strands.



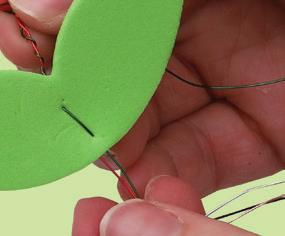

15. Bend the green wire into a loop and twist around the bottom of the foam flower. Repeat this process to make another loop on the other side of the flower. Trim any excess wire. Repeat steps 13 to 15 if you would like to add more leaves to your flowers.
11. Add more flowers on in the same way. Twist the end of the wire at the back of the last flower to secure.

To add a row of small flowers: Repeat step 7 to add a small foam flower. Push the flower down the wire so you have enough length to add multiple flowers. Repeat step 8 to add a button. Leave the wire at the back untwisted.
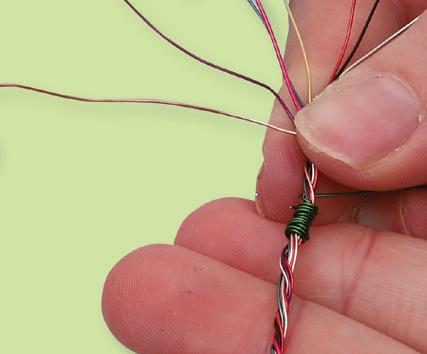

13. To add foam leaves: Cut a 60cm length of green wire. Wrap 10cm of the length around the top of the twisted strands.


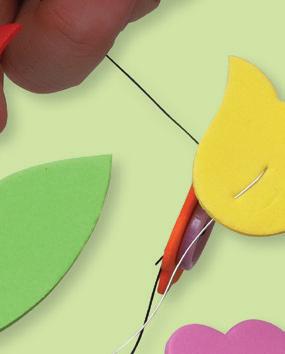
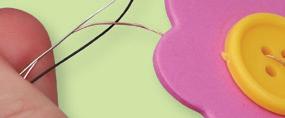
14. Thread the end of the green wire through the centre of the foam leaves. Thread the wire back through 1cm above where you came up. Twist the wire twice around the wire of the flower stem to secure.
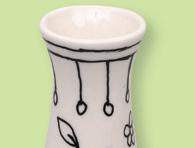







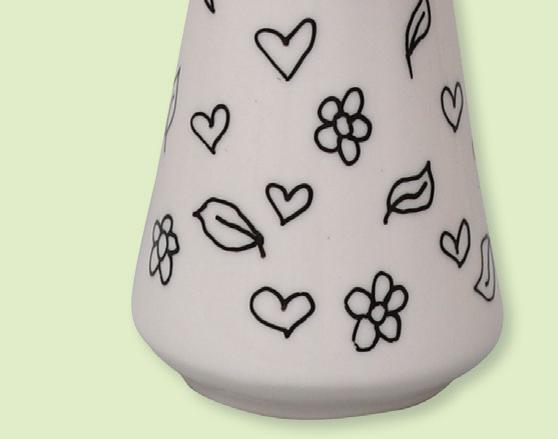
16. Decorate your porcelain vase using a black porcelain marker. Heat set your design according to the marker instructions












17. Place your flowers into the vase and bend the wires into your preferred position. Your Rainbow Flowers are now ready to display or gift!
• Round Mosaic Stones – Assorted 300g Pack – 20708
• Wooden Candle Holders – Heart Pack of 10 – 13381
• Mosaic Squeegee & Sponge Kit 16451
• Superfine Powdered Grout – White 500g Pack – 16740




1. Paint two coats of white paint inside the centre recess of the candle holder. Allow to dry after each coat.


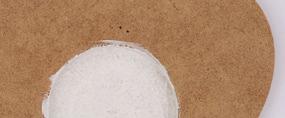

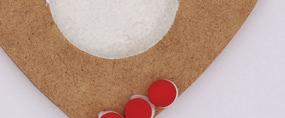


4. Glue your mosaic stones onto the heart candle holder according to the position on your plan. Ensure there is a small gap between each stone.

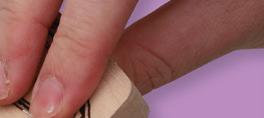





7. Use a squeegee to apply the grout over the stones. Pull the grout towards you and away from the centre recess. Ensure you push the grout into all of the gaps between each stone and around the edge.
• CleverPatch™ Tacky Glue 250ml – 16494
• Battery LED Tealight Candles Pack of 12 – 18915
• CleverPatch™ Acrylic Paint Tube – White – 75ml – 16886


• Other materials required: Craft bowls, water, mixing spoon, paint brush, a pencil and scrap paper.



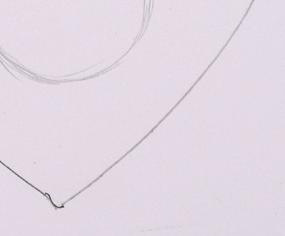

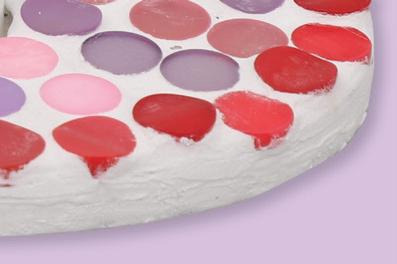


2. Trace around the heart candle holder onto a sheet of scrap paper. Roughly sketch the centre circle to help you estimate the number of stones needed for your heart.

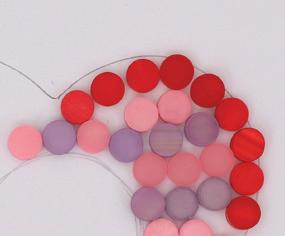

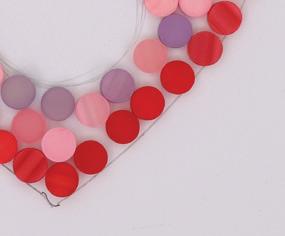

3. Use your sketch to plan where you will place your mosaic stones. Decide what colours you would like to include and how you would like them arranged.













5. Continue gluing on each stone until your candle holder is covered. Allow to dry completely.

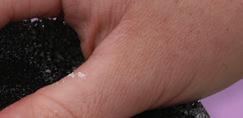








8. With a damp sponge, wipe over the surface of the stones to remove any grout residue. Tidy up the edges and the centre recess. Allow the grout to set for at least 24 hours.


6. Add a small amount of water and grout to a bowl and mix together to create a toothpaste-like consistency. You may need to add more grout or water as you mix until you get the right consistency.




















9. Once the grout has set, use a damp sponge to clean up any leftover grout residue. Allow to dry. Place a LED tealight candle in the centre recess. Your Mosaic Tealight Holder is now ready to use or gift!
Use these templates to help you complete the activity on page 3.