


ALIA National Simultaneous Storytime eBook 2023 www.cleverpatch.com.au Customer Service 1300 836 522

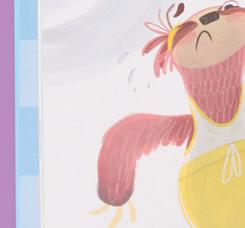
This year’s book The Speedy Sloth is written by Rebecca Young, illustrated by Heath McKenzie and published by Scholastic Australia. National Simultaneous Storytime (NSS) is taking place on Wednesday the 24th of May 2023 at 11:00am (AEST)!
• CleverPatch™ Cardboard – Assorted Colours – A4 – Pack of 100 – 14932
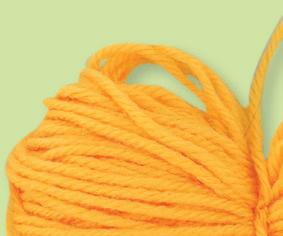
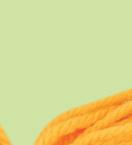
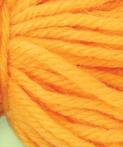
• Soft Yarn – Yellow – 100g – 11311
• Cardboard Rolls – Pack of 110 – 10307
• CleverPatch Glue Stick – 40g – 13974

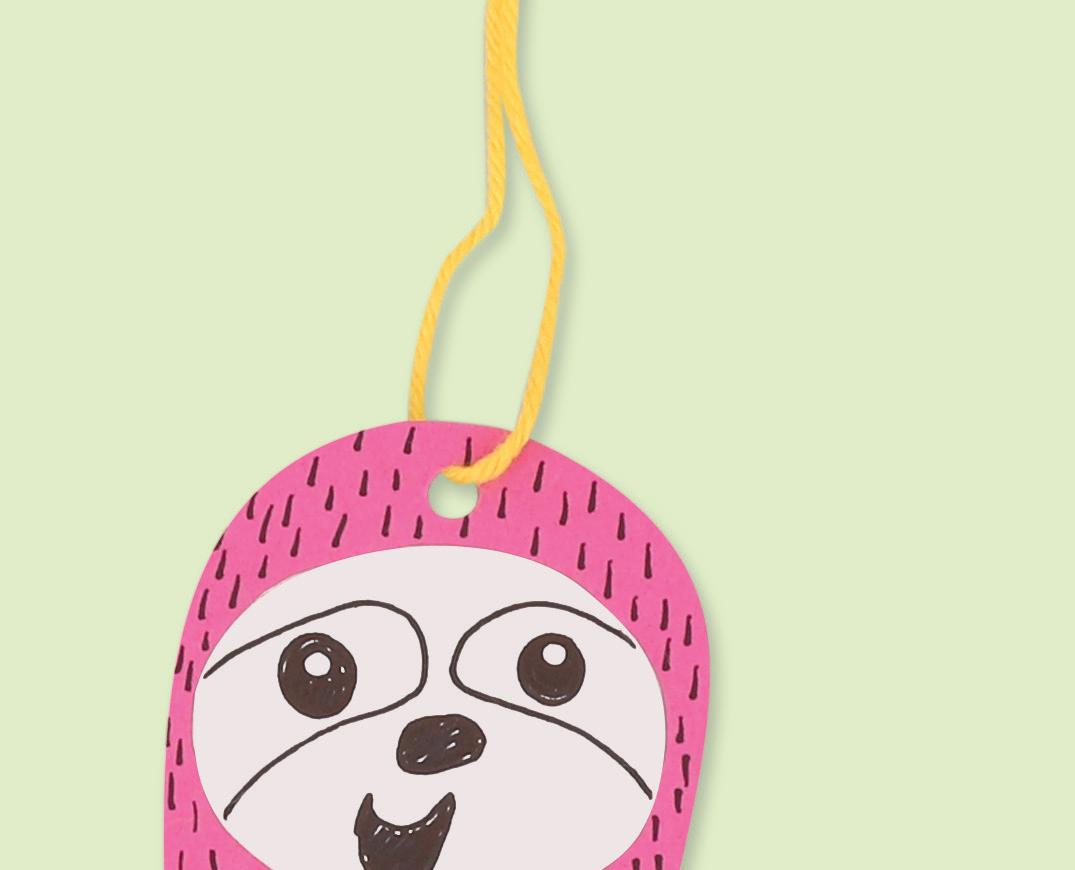
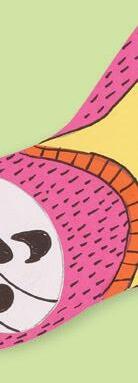
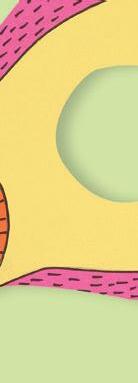
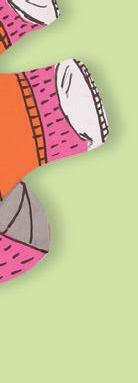
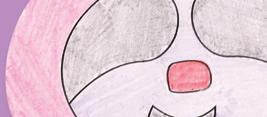
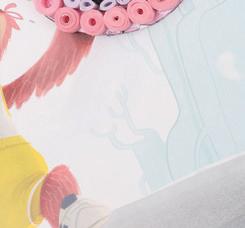
These cute Sloths are the perfect addition to any NSS 2023 display!
• EverZart Permanent Pens – Black Pack of 20 – 19810
• Hole Punch – 18765


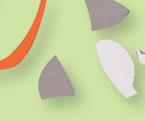


1. Print and cut out the template pieces on page 9. Use them to trace around and then cut the pieces out of coloured cardboard. Follow our colour choices or pick your own!


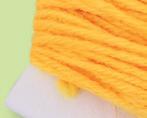
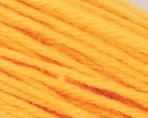

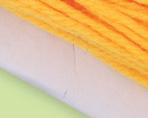


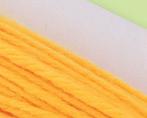

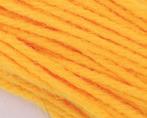


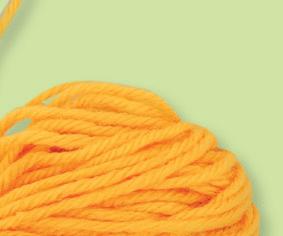
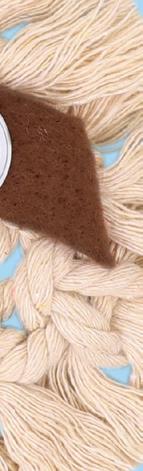
3. Make a pom pom by wrapping approximately 30m of yarn lengthways around a flattened cardboard roll.

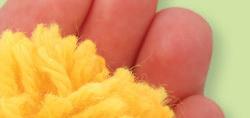


6. Fluff out the pom pom and then trim it down so it is approximately 7.5cm in diameter.


• Other materials required: Scissors, pencil and templates (page 9).


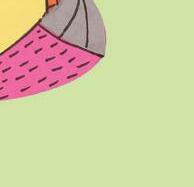
2. Lay the cardboard pieces on top of each other to create the sloth as shown. Once happy, glue them in place and allow to dry. Add details (such as the face) using a permanent pen.


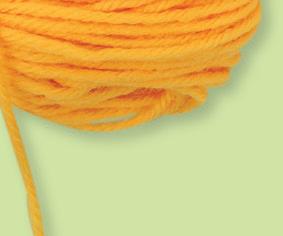
4. Gently remove the yarn from the roll and tie a separate 30cm piece of yarn tightly around the middle of the ball.
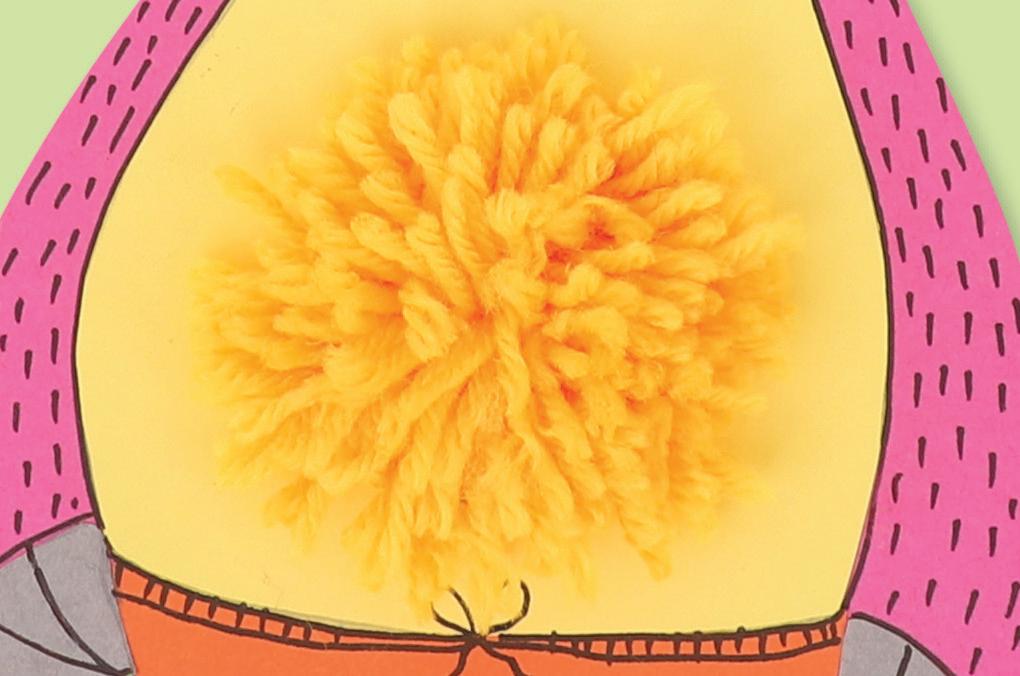

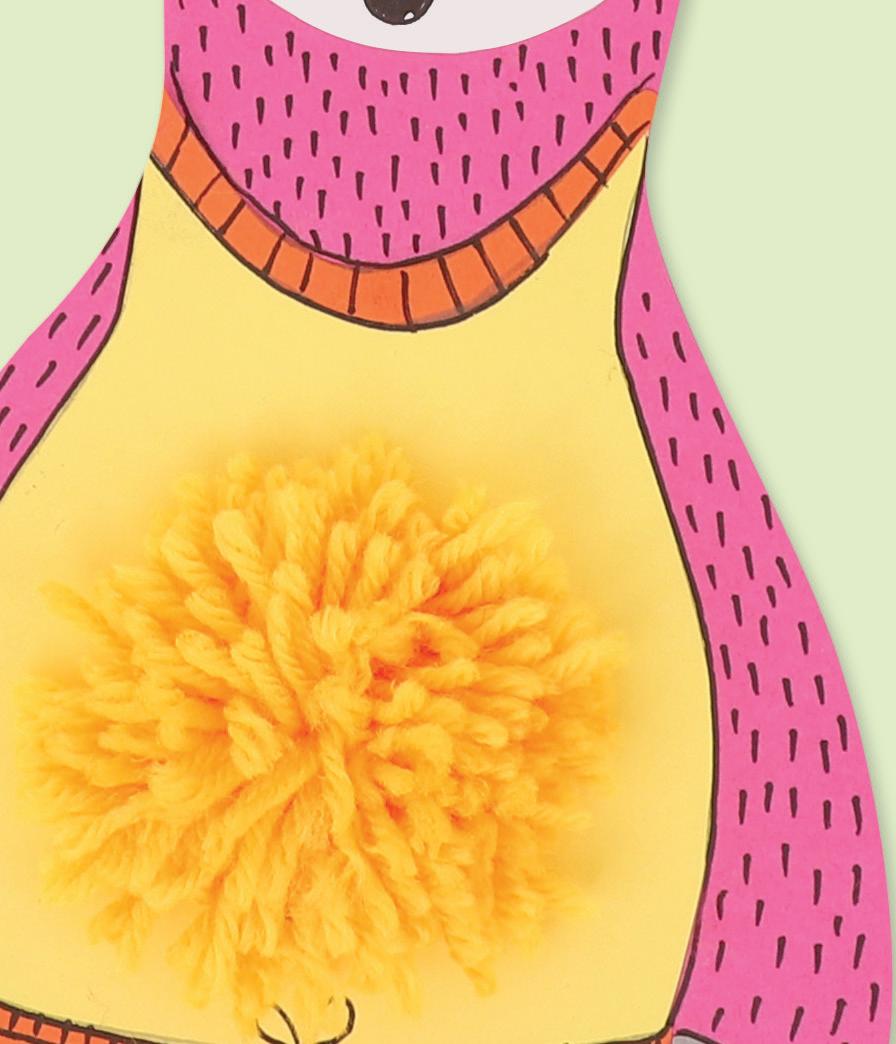


7. Push the pom pom through the hole in the belly of the sloth. It should be big and fluffy enough to hold in place. If not, you can use some glue to secure and allow to dry.


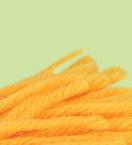


5. You’ll notice loops at both ends of the yarn. Use scissors to carefully cut all of these open.

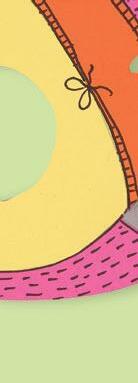
8. Punch a hole in the top of the sloth and thread a 30cm piece of yarn through. Tie a knot with the ends to create a loop. Your Pom Pom Sloth is now ready to hang!
• Macramé Cord – 4mm x 90m – 18757
• Felt Squares – Pack of 100 – 10785
• Wiggle Eyes – 2cm – Pack of 100 – 10817
• CleverPatch Tacky Glue – 250ml – 16494
• Wooden Skewers – Pack of 100 – 10014
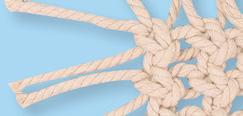
Watch our ‘Basic Macramé Knots’ video before you begin.
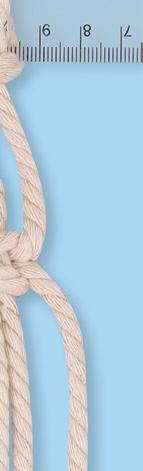
• Other materials required: Scissors and a ruler.

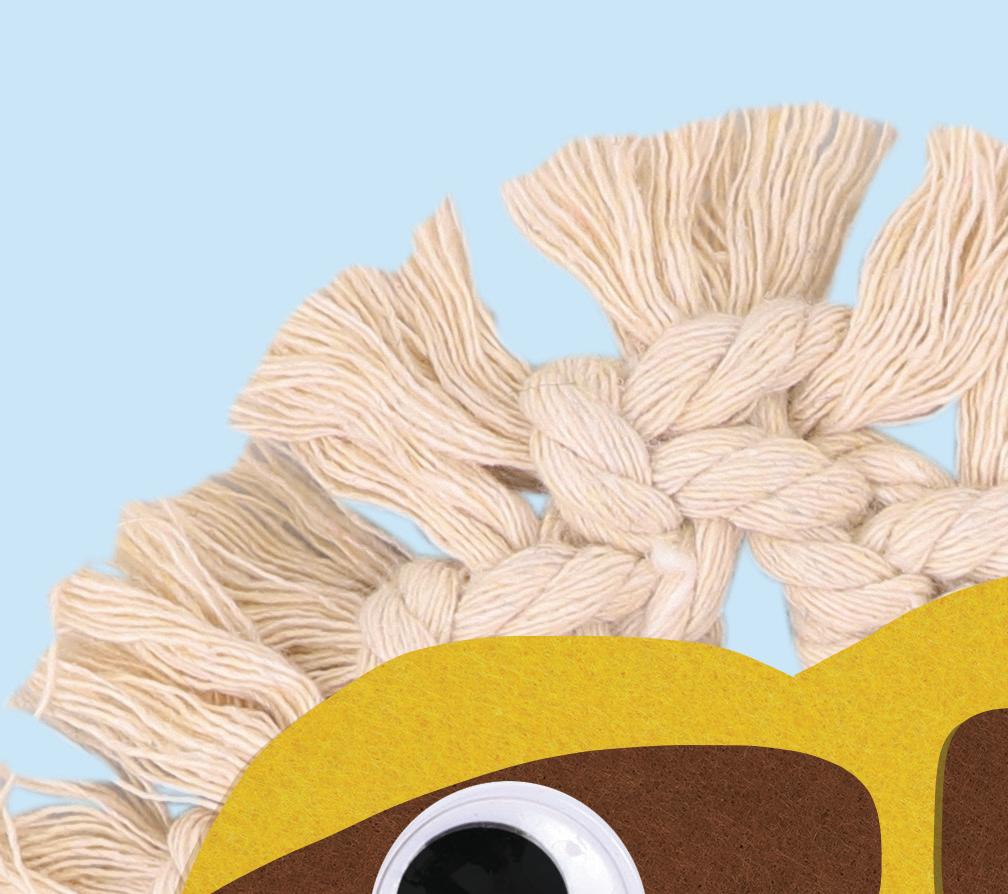
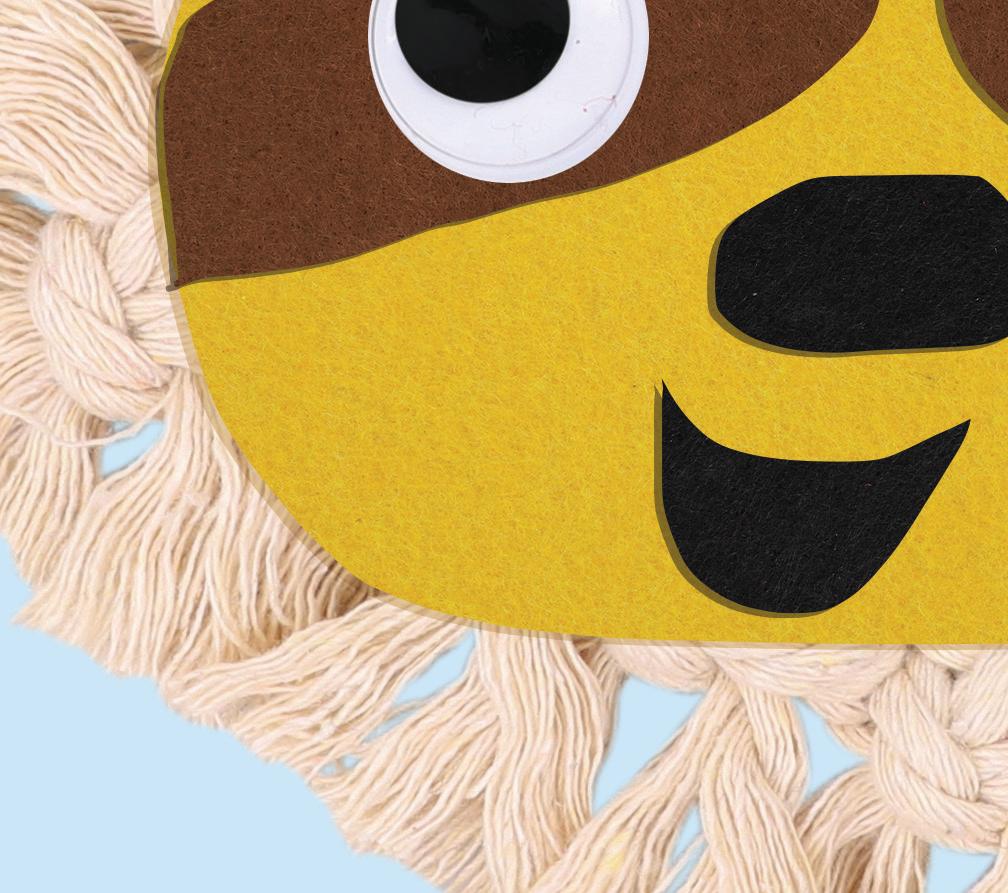
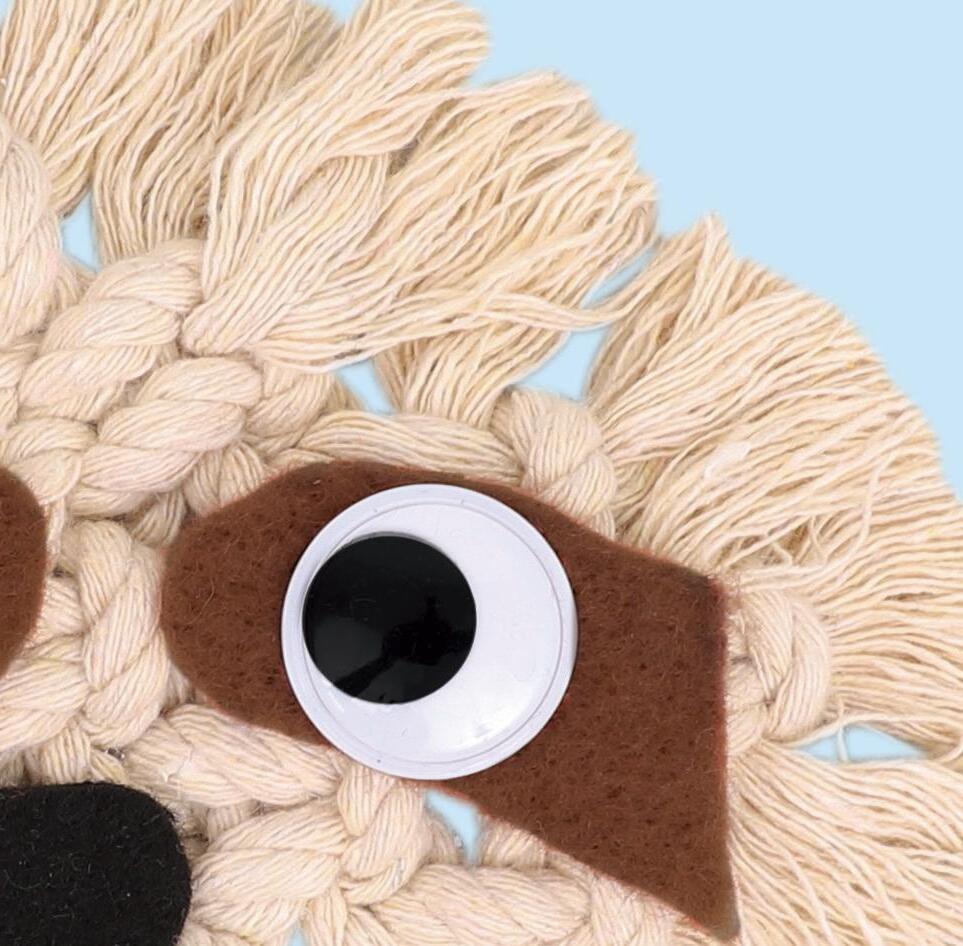
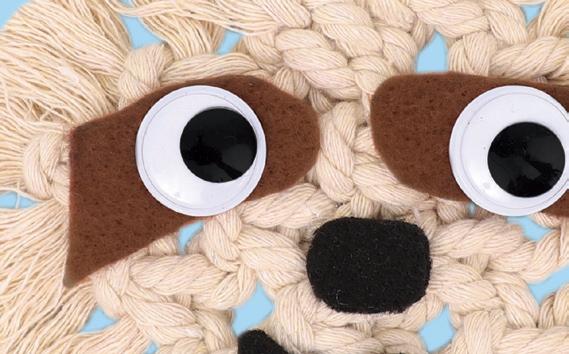
Once you’re familiar with the basic knots, use the steps below and our ‘Macramé Sloth Face’ video to make your sloth!


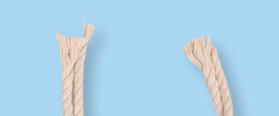


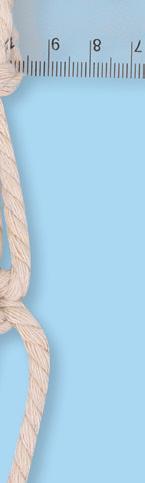
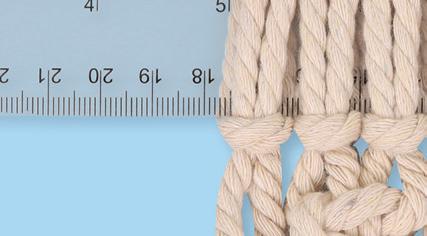
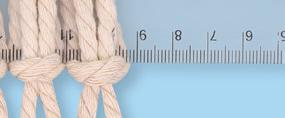
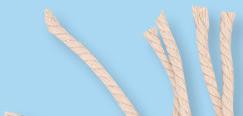
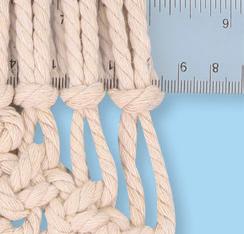
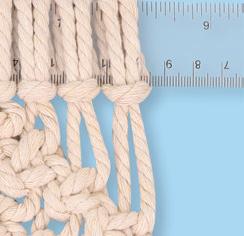
1. Start by cutting two 1.1m, two 1m, two 90cm and two 80cm lengths of macramé cord.

4. Add the 90cm cords to the ruler on either side of the existing cords. Using the 4 cords from the left and then the 4 cords from the right, create a square knot below each of the knots from step 3.

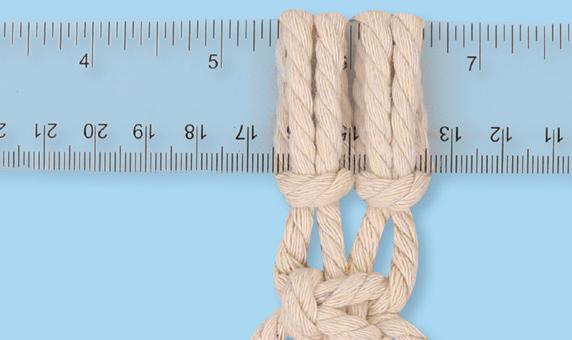


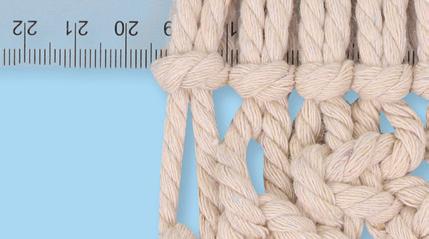
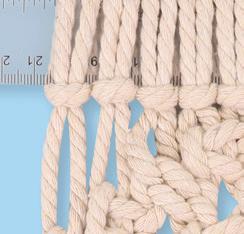
2. Use a cow hitch knot to attach the two 1.1m lengths of cord to a ruler. Use the 4 hanging cords to tie a square knot, approximately 2cm below the ruler.
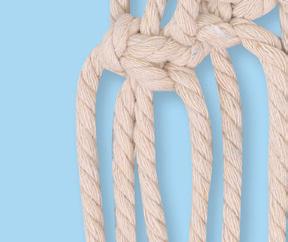
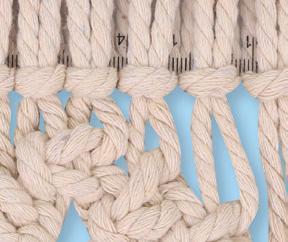
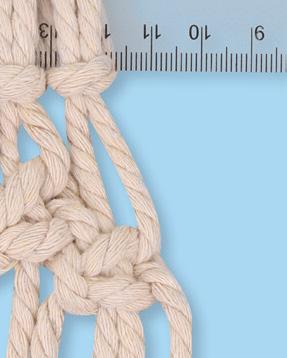
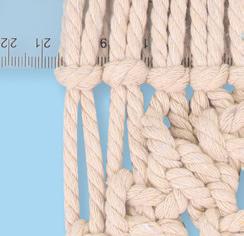
5. Add the 80cm cords to the ruler on either side of the existing cords. Using the 4 cords from the left and then the 4 cords from the right, create a square knot below each of the knots from step 4.

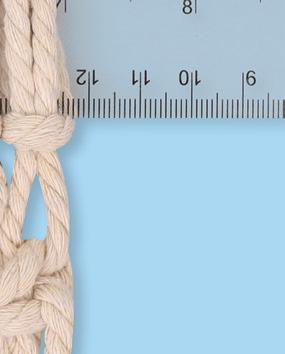


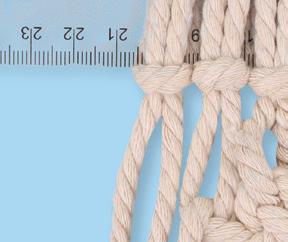
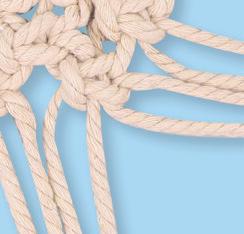
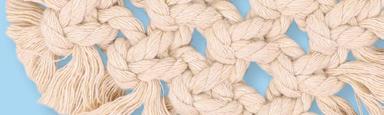
3. Add the 1m lengths of cord to the ruler on either side of the existing cords using cow hitch knots. Use the first 4 cords on the left to tie a square knot underneath the existing square knot. Use the 4 cords on the right to tie a square knot next to this. You will now have 3 square knots.
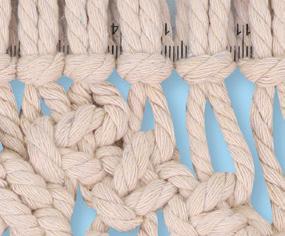
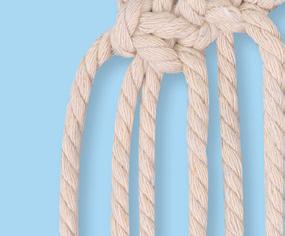

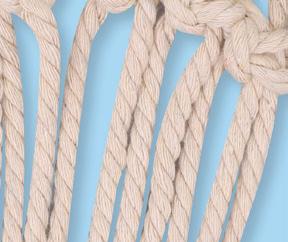
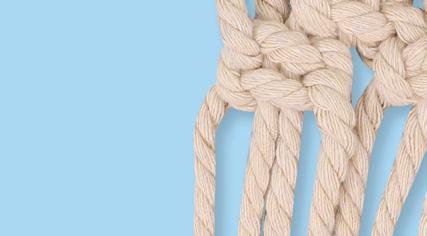
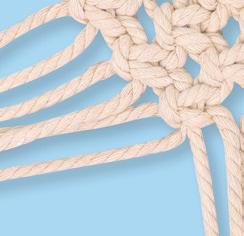
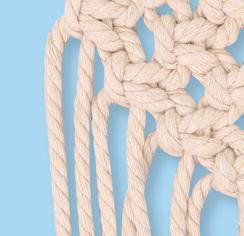
6. Take the 4 middle cords and tie a square knot.


Experiment


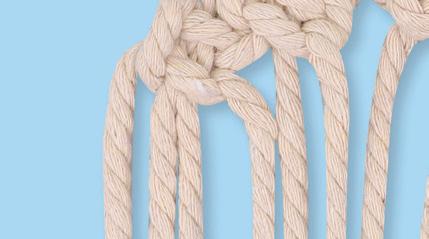
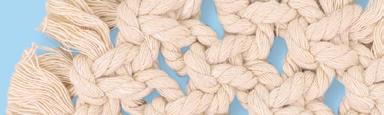
7. Move the 4 cords from the left and the 4 cords from the right and set them aside. Split the remaining 8 cords into 2 groups of 4 cords and tie a square knot with each group. The face shape is half complete!

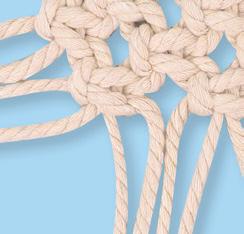

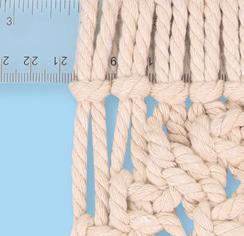
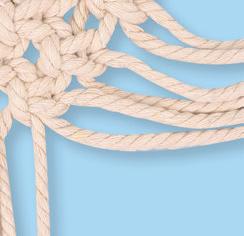


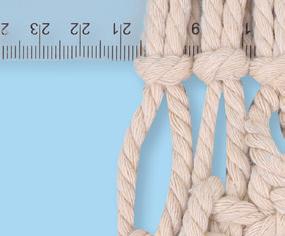
8. Move the 2 cords from the left and the 2 cords from the right aside. Split the remaining 12 cords into 3 groups of 4 cords and tie a square knot with each group. Continue with this pattern, moving aside the next 2 cords from each side, to tie a further 2 square knots and then 1 square knot, completing the face shape.


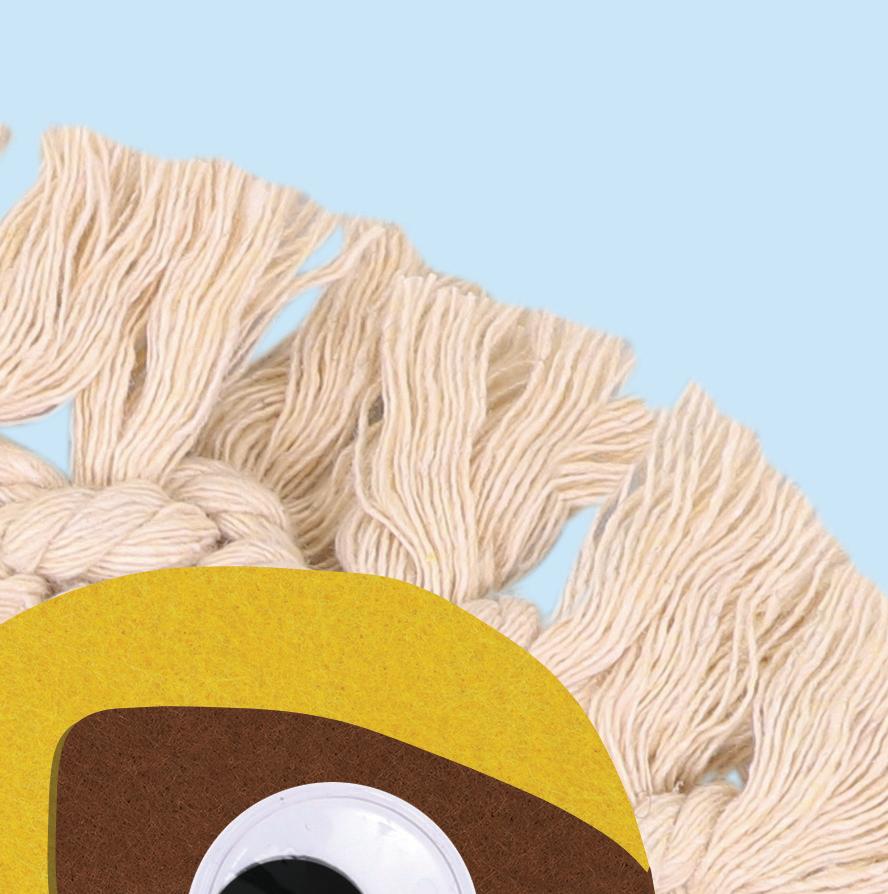
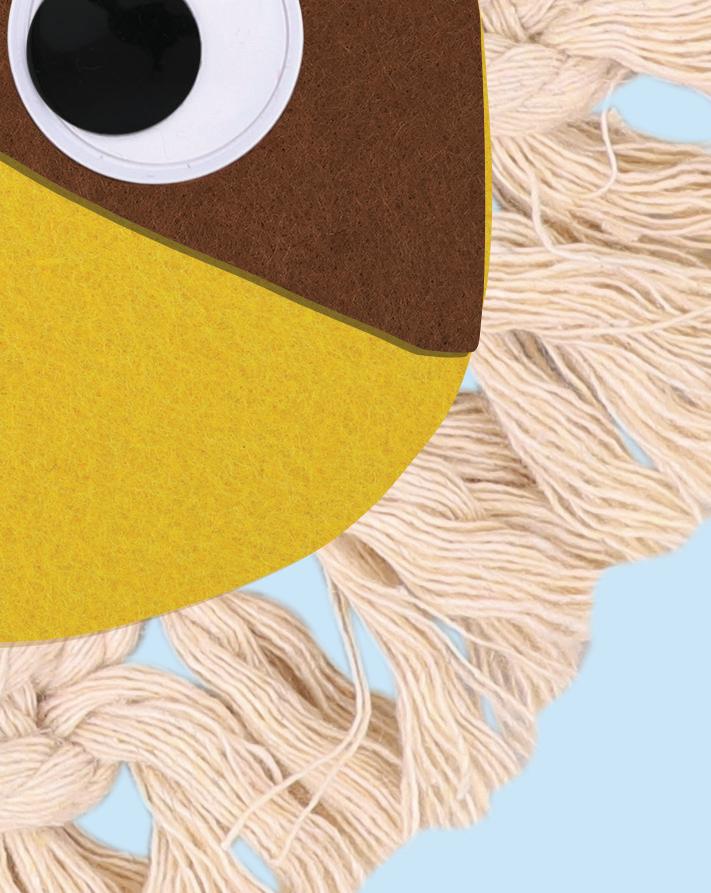
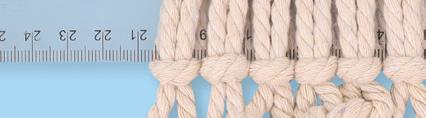
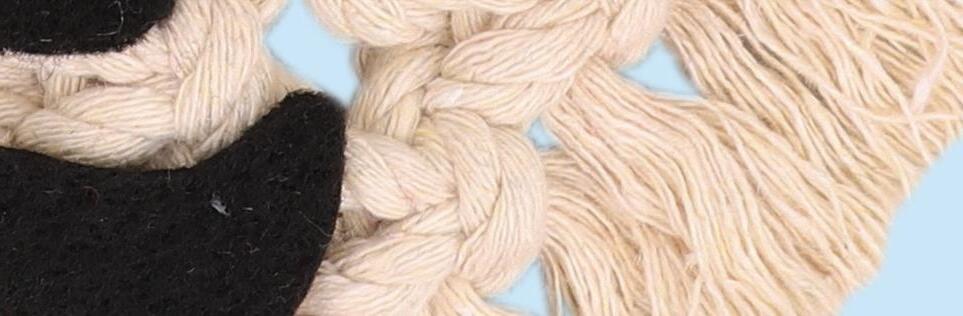
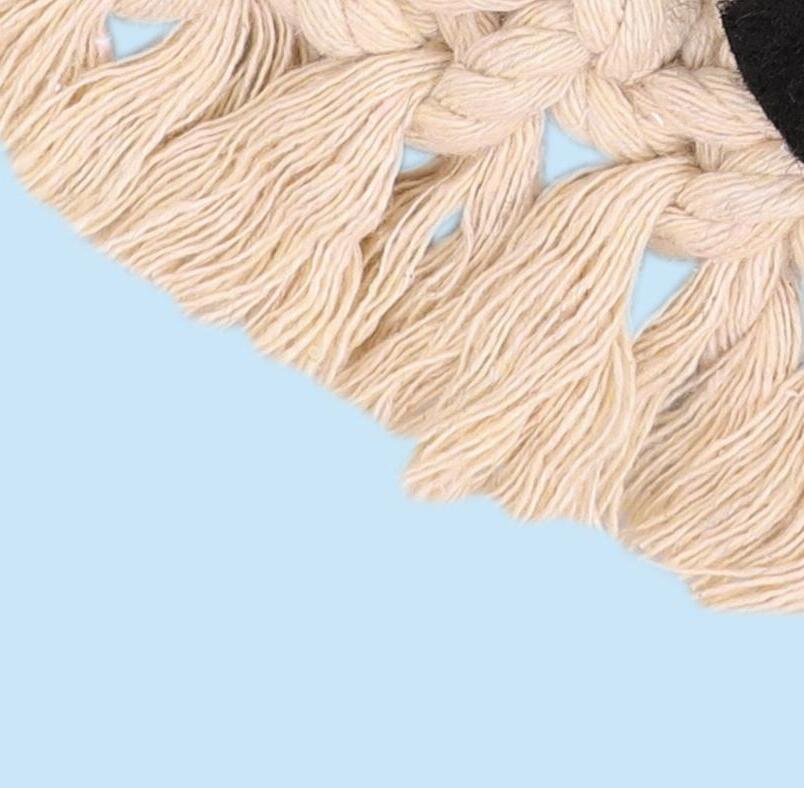
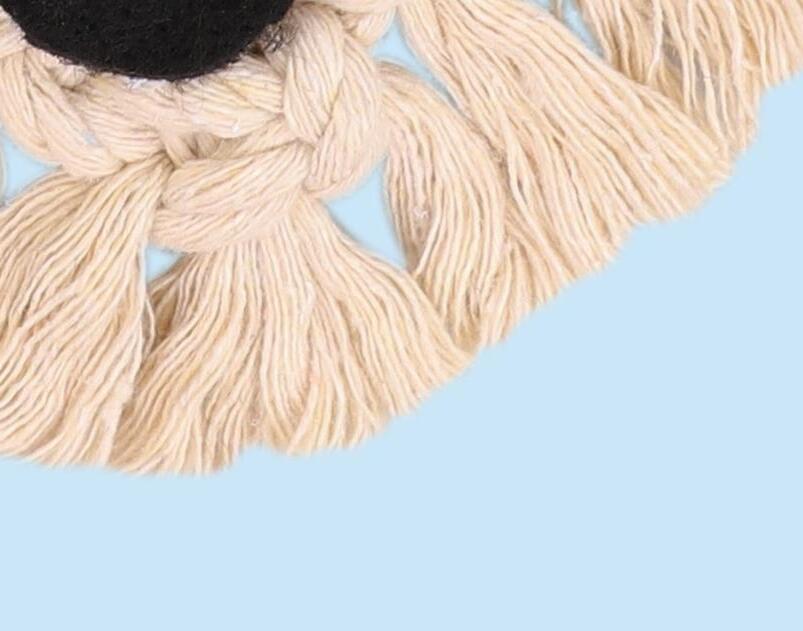
9. Slide the macramé cords off the ruler and then cut the loose cords all the way around as shown.


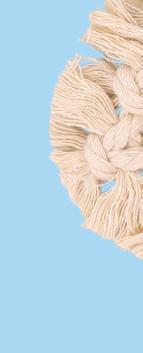


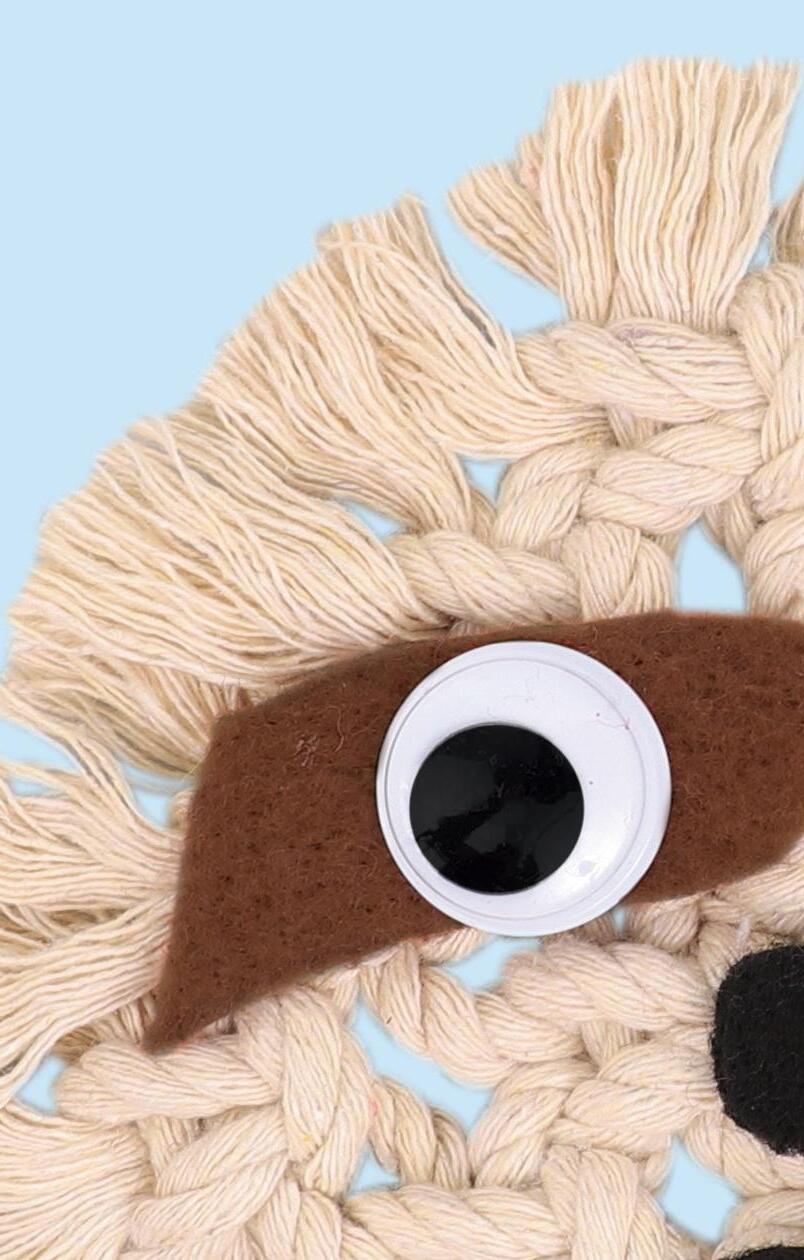
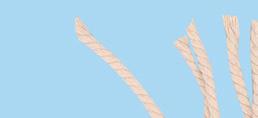
10. Use a wooden skewer to separate the individual strands of the loose cords then trim into an oval shape.
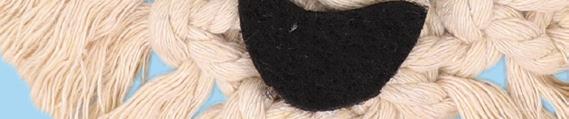
11. Use felt and wiggle eyes to create a sloth face. Lay the pieces in place on top of the macramé and glue them in place. Allow to dry. Your Macramé Sloth Face is now ready to display!


• Wind-Up Walking Mechanisms – Pack of 10 18664
• CleverPatch™ Super Light Air Dry Clay Pack of 24 – 20547
Create a whole snuggle of sloths and race them with your friends!

• Wooden Skewers – Pack of 100 – 10014


• Wiggle Eyes – 0.5cm – Pack of 100 – 16476
• CleverPatch™ Tacky Glue – 250ml – 16494
• Other materials required: Scissors.

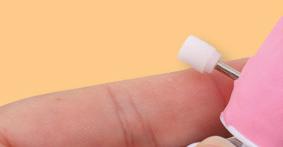

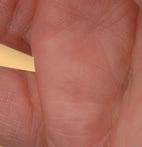
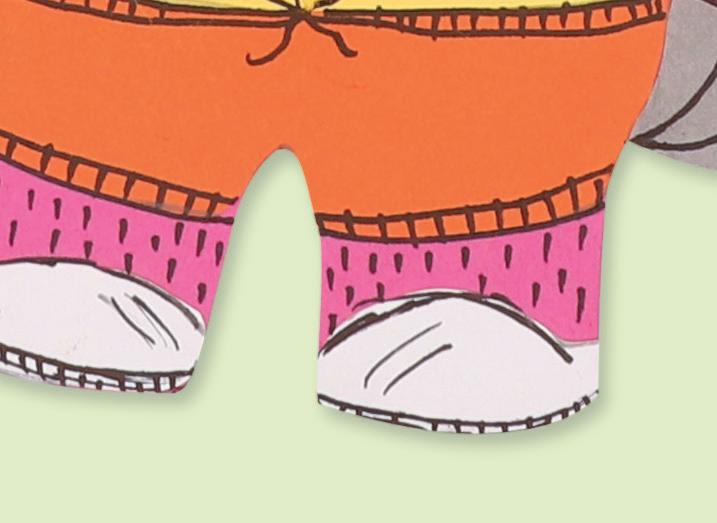
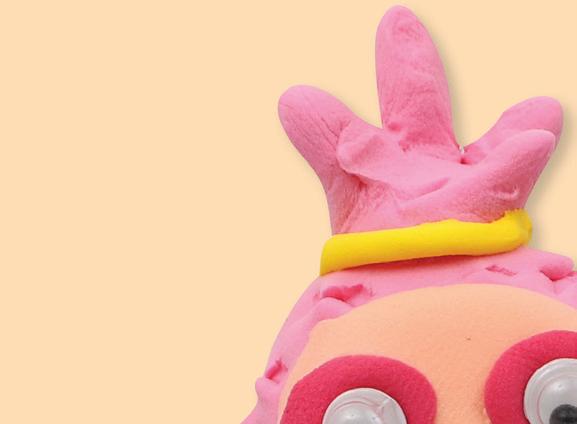
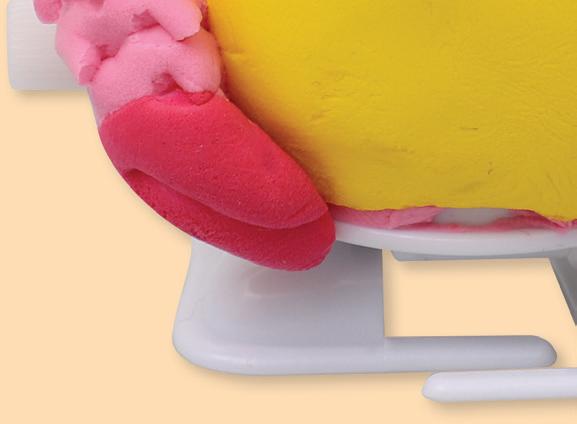
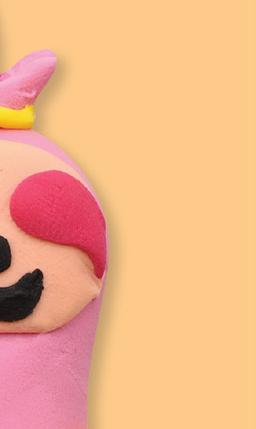
1. Carefully mould a small amount of clay over the wind-up mechanism. You want a thin layer over the body of the mechanism and then a solid piece on top to form the head and body.

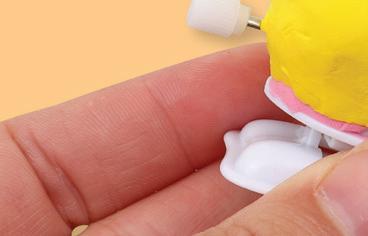
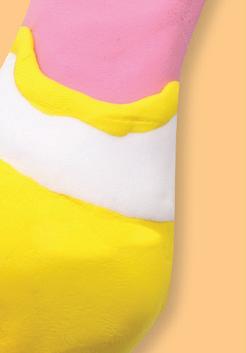
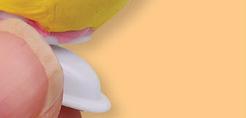
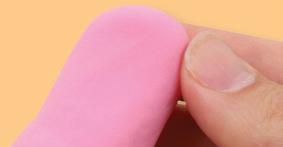
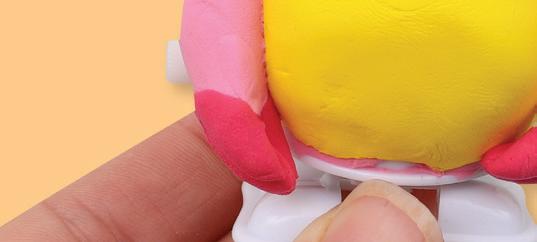
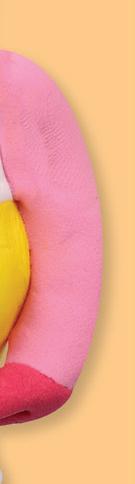
2. Flatten out some clay and shape Spike’s running outfit. We chose white and yellow clay. Once you are happy with the shape, wrap the clay onto the body and smooth into place.
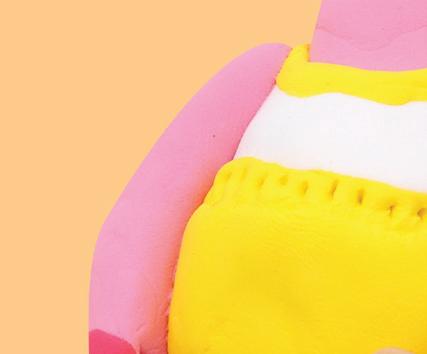

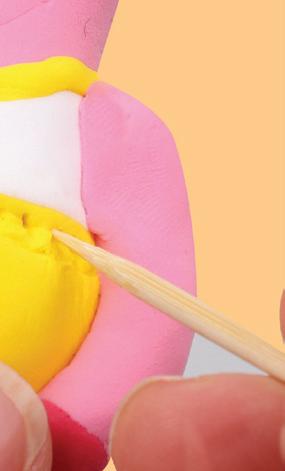
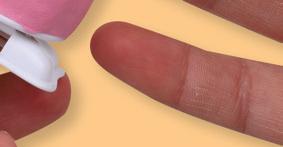
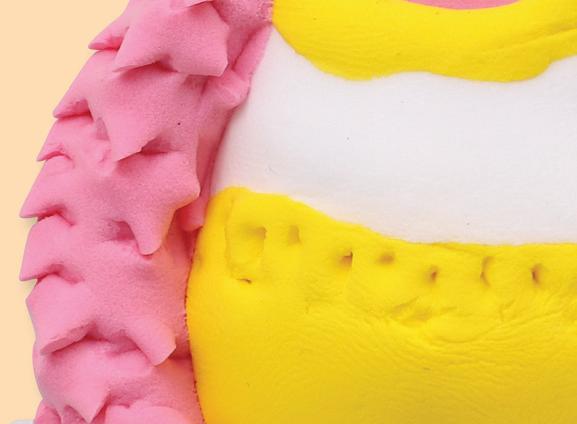
5. Use the tip of a wooden skewer to add details to the waistband of the shorts.

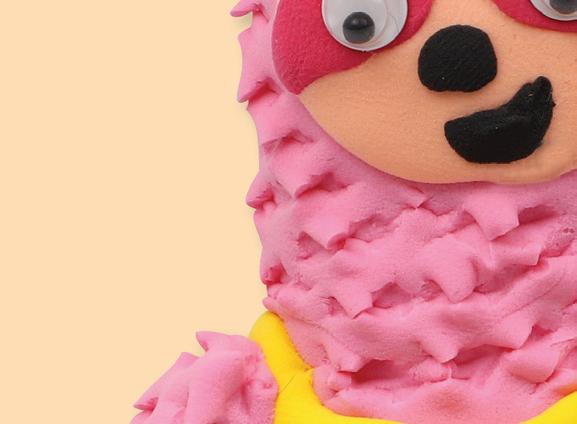


We’ve made Spike but you could make any character from ‘The Speedy Sloth’!

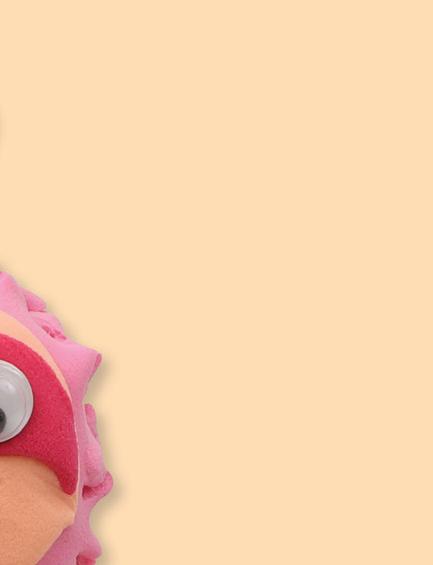
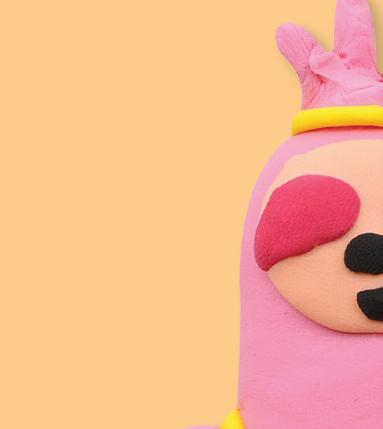
3. Create a flat clay circle that is small enough to fit in place on Spike’s head. Add in details such as the eye markings, nose & mouth. Gently press in place on the front of the head before adding her hair.


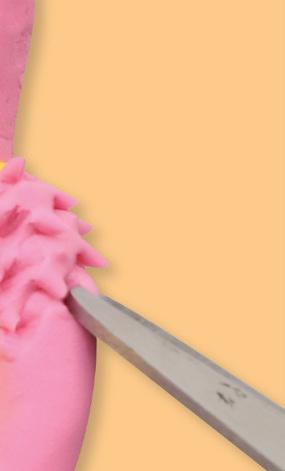
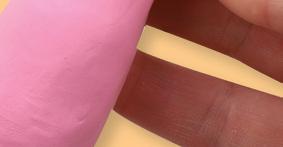
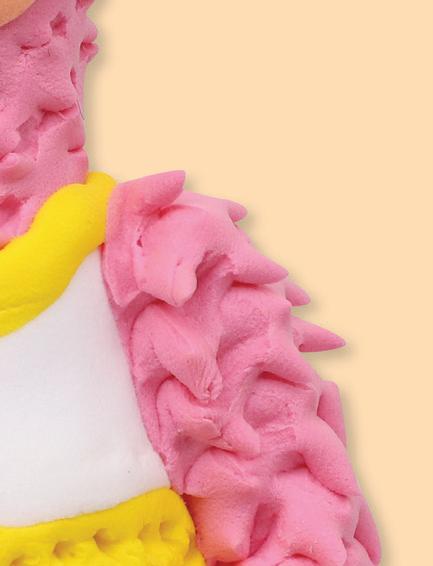
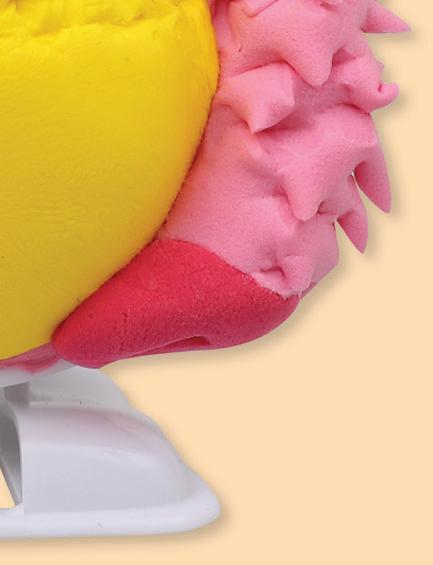
6. Add Spike’s fur by carefully cutting tiny snips into the clay with scissors. Repeat this all over her body and head until you have created a furry texture.
4. Mould some long arms, using a different colour on the ends to create her claws. Press the arms into place at the sides of her body.
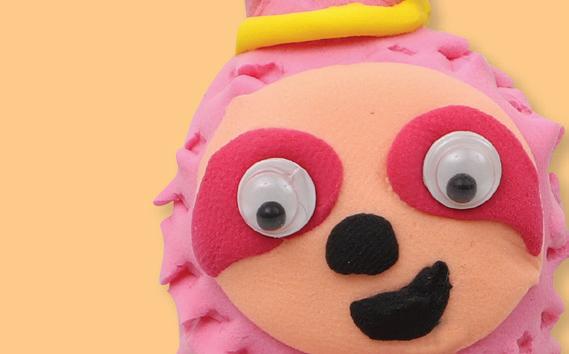


7. Allow the clay to dry overnight. Use glue to stick two wiggle eyes to complete her face. Allow to dry. Spike is now ready to wind up and race!
• Design Your Own Magnetic Bookmarks – Pack of 10 – 20431
• Quilling Paper – Pack of 2,500 – 12905
• Wiggle Eyes – 1cm – Pack of 100 10815
• Quilling Tools – Pack of 50 – 12906
• Wooden Skewers – Pack of 100 10014

• CleverPatch™ Tacky Glue – 250ml 16494
• CleverPatch™ Coloured Pencils Pack of 12 – 20770


• CleverPatch™ Triangular Maxi Permanent Markers – Black Pack of 12 – 16531
• Cardboard – White – A4 Pack of 100 – 16288

• Other materials required: Scissors, glue brush and template (page 10).


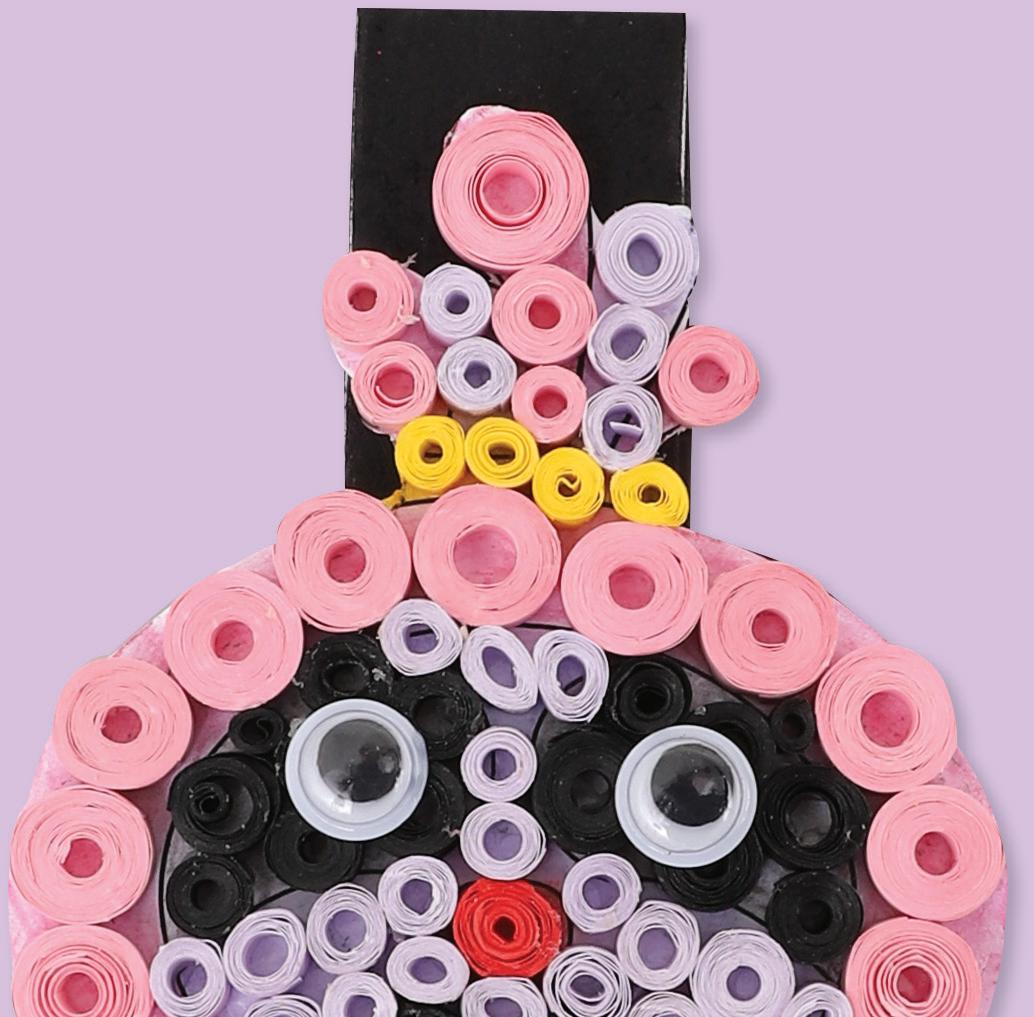
1. Print out the template on page 10 onto cardboard then carefully cut out with scissors. This will give you a good base to quill onto.


2. Use coloured pencils to decorate the template.

Never lose your place again... Simply fold the magnet over the top of the page to keep your progress while reading!


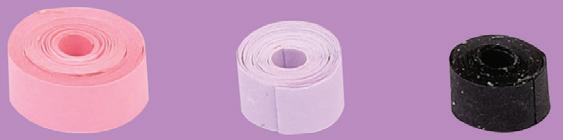
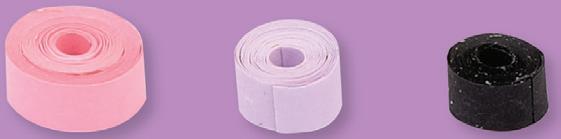
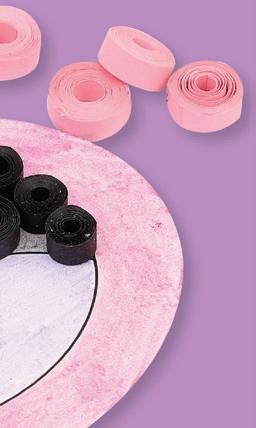
3. To make different sized quilled circles you can use whole strips of quilling paper, half strips or you can join strips together using a small amount of glue and allowing to dry.


4. Wrap one end of a piece of quilling paper around the end of a quilling tool or skewer. Keep wrapping until you reach the other end. Remove it from the tool or skewer and use a small amount of glue on the end to secure the coil. Allow to dry. Repeat until you have enough coils to fill your sloth face.
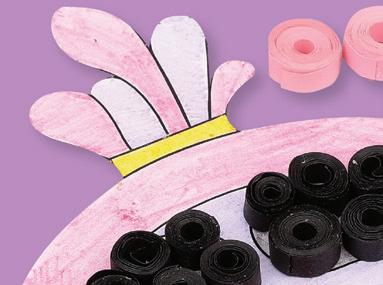

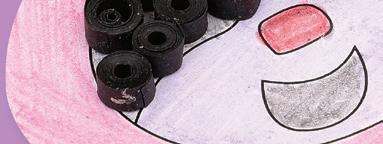


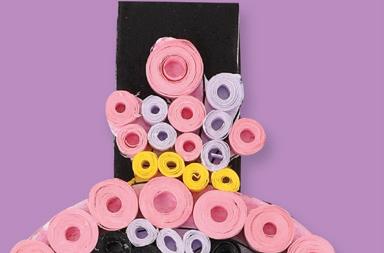
5. Arrange the quilled circles on top of the template until you have covered it completely. Once you are happy with the design, glue the quilled circles down in place. Allow to dry.


6. Unfold a magnetic bookmark and lay flat with the paper side facing up. Colour it in using a permanent marker. Add a small amount of glue to one of the ends and place the sloth face onto the glue so it is centred. Allow to dry.


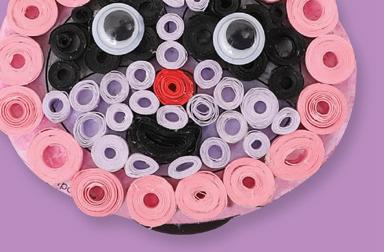
7. Finish your bookmark by gluing wiggle eyes to the sloth face. Allow to dry. Your Quilled Bookmark is now ready to use!


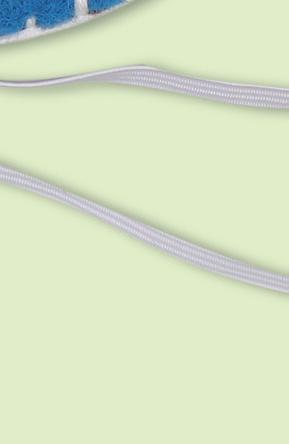
• Fabric Eye Masks – Pack of 10 – 18340

• Felt Squares – Pack of 100 – 10785


• CleverPatch™ Tacky Glue – 250ml – 16494
• Sewing Needles – Sharp – Pack of 6 – 17870
• Embroidery Thread – White – 48m – 13717


• Other materials required: Scissors, pencil and templates (page 10).


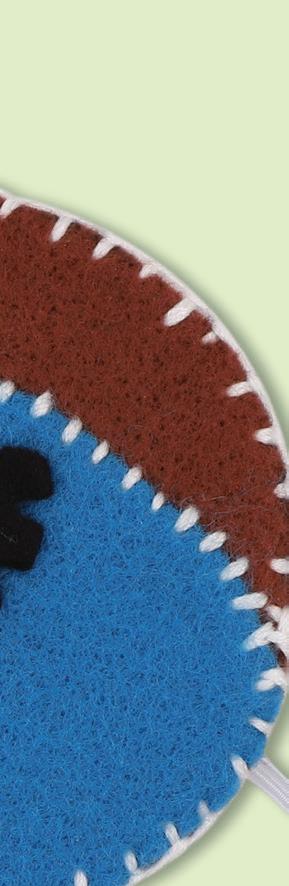
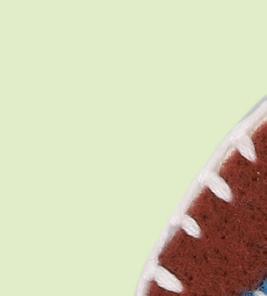
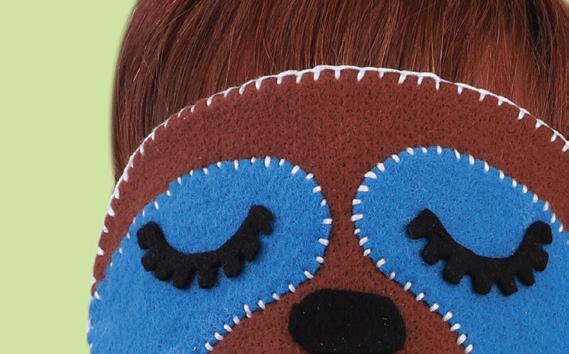
This adorable Sloth eye mask will have you well rested before and after any running race!


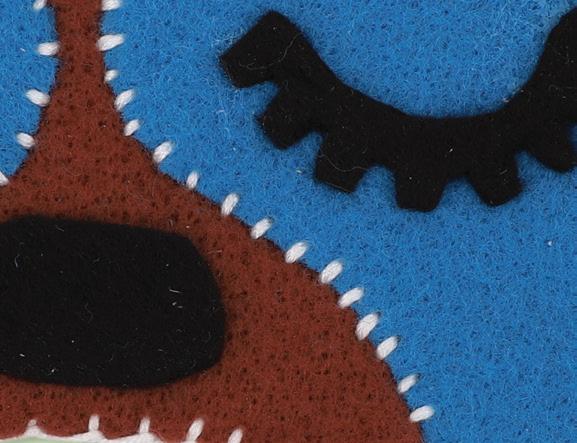
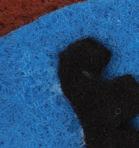
1. Print out the templates on page 10. Think about what colours you would like your sloth mask to be. Cut out the template pieces and trace around them onto felt. Cut out the felt shapes.


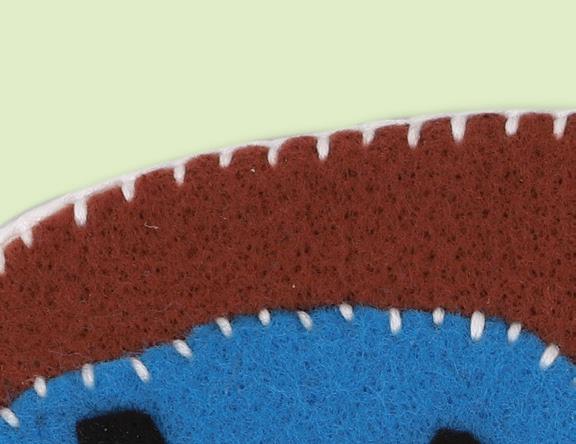
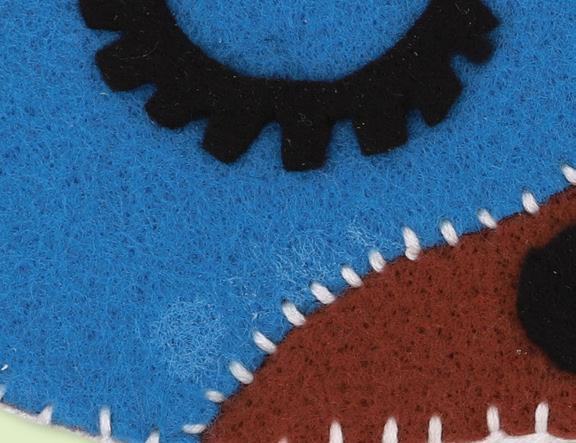
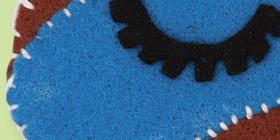
2. Lay the felt pieces on top of each other to create the sloth face. Once positioned, glue in place using tacky glue. Allow to dry.


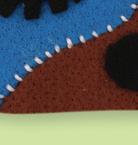

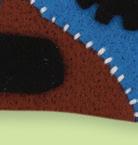


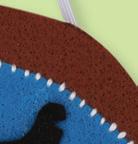


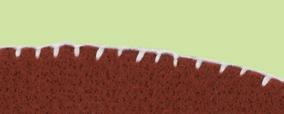

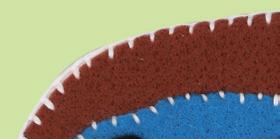
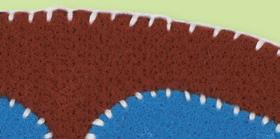


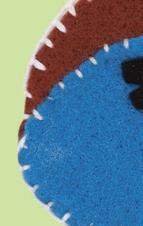
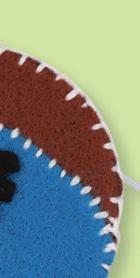


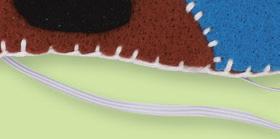
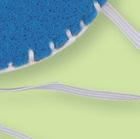
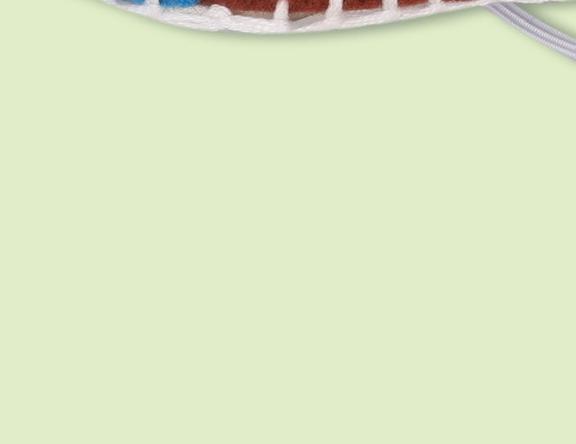
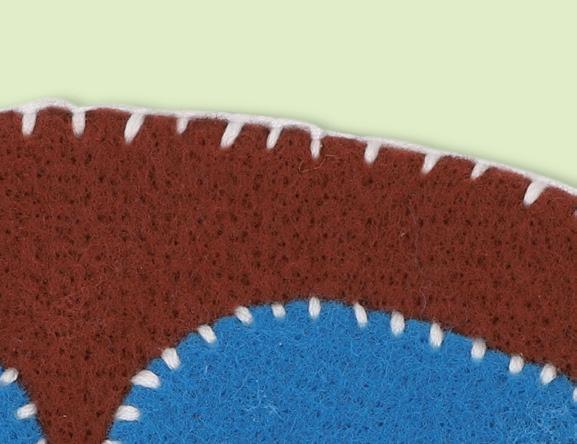
5. Give your mask a finished look by sewing a blanket stitch all the way around the outer edge.
CleverTip: Unsure how to sew a blanket stitch? Click here to see how!

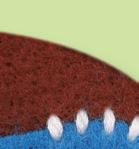


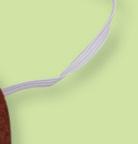
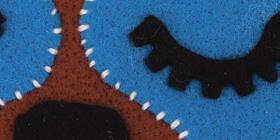
3. Thread a length of embroidery thread onto a needle and tie a knot in the end of the thread. Starting from the back of the sloth face, sew up through the coloured eye piece and then back down through the base colour. Repeat in this way creating small stitches all the way around the coloured eye pieces.

6. Your

Use these templates to help you complete the activity on page 3.


Use this template to help you complete the activity on page 7.
Use these templates to help you complete the activity on page 8.