2 minute read
Adding Menu items to Main Navigation and Sidebar Navigation
Menu Maintenance
Advertisement
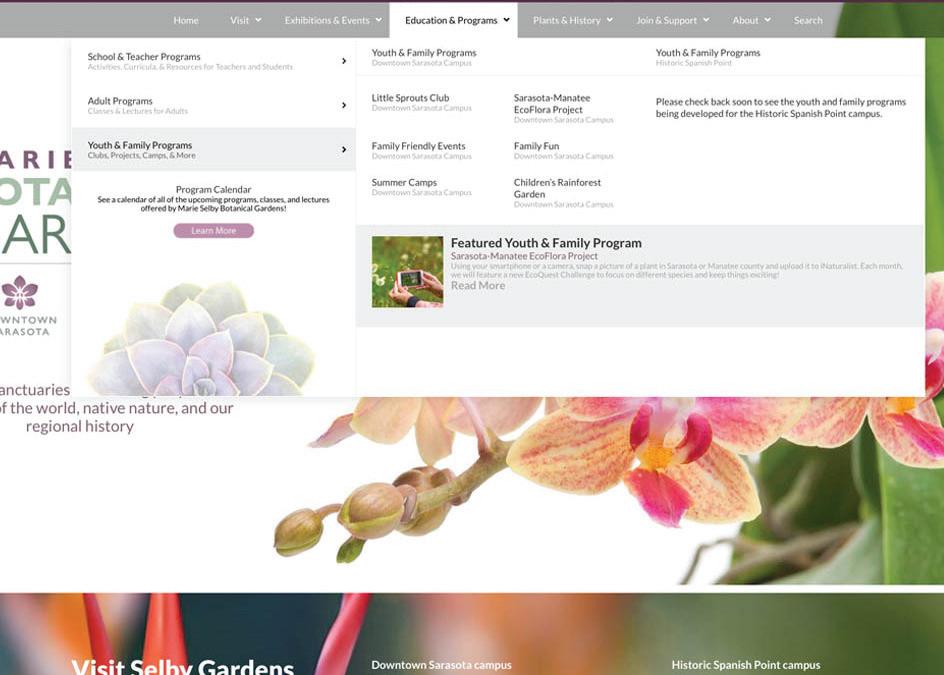
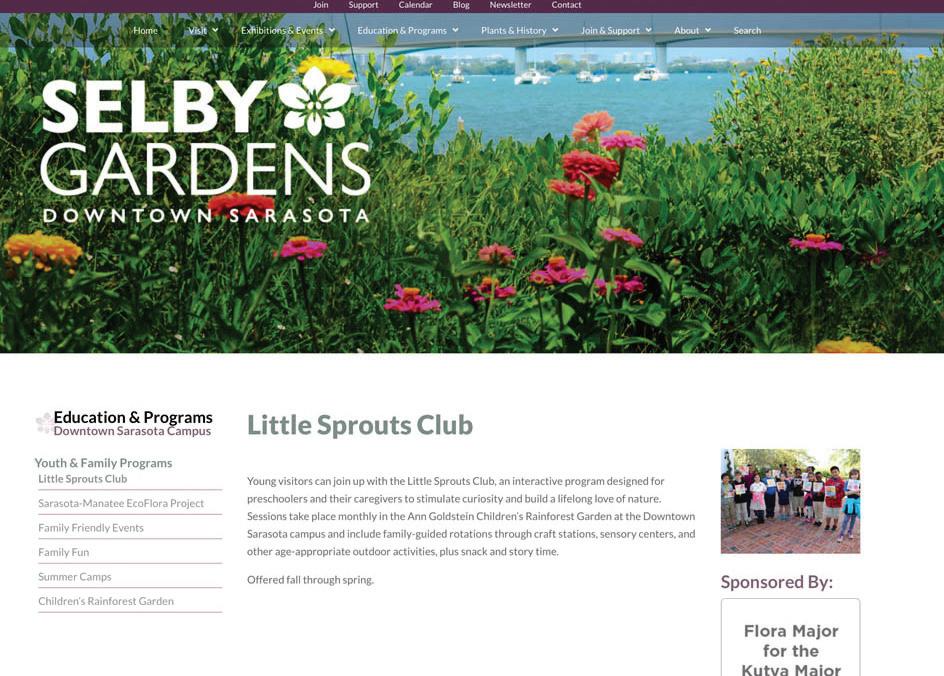
Given the complexity of organization and amount of pages on this site, we created a custom navigation structure that simultaneously updates the items in the main navigation menu and the corresponding section’s sidebar navigation. In short, the Primary menu in the WordPress Dashboard “imports” the menu items from the smaller, section-specific menus. Thus, most menu item changes happen in the smaller, section-specific menus and are reflected in the main navigation on the front end.
Please note:
There are some menu items that are managed in the Primary menu section. That information is outlined in this section.


1. 2. 3. From the WordPress Dashboard, mouseover “Appearance” in the left
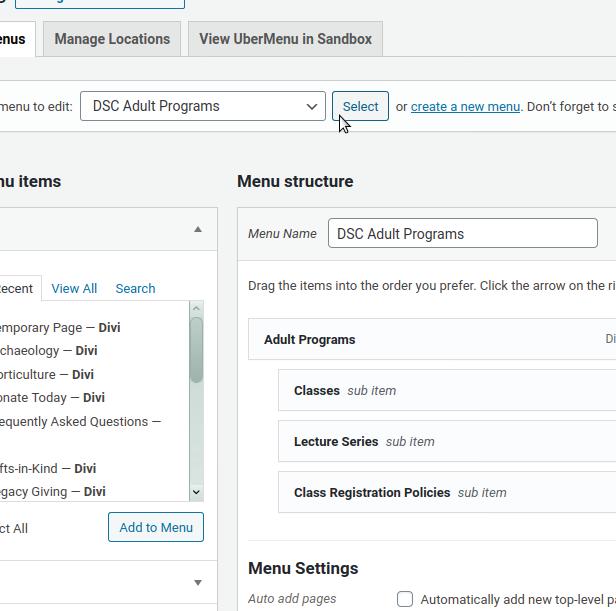
side navigation and click “Menus”. From the “Select a menu to edit” dropdown box, select the menu for the

section you wish to update then click the “Select” button. Expand the appropriate box of options on the left-side “Add menu items” section and find or create the menu item you want to add. Please note: you will NOT need to use the “UberMenu Advanced Items” for normal menu management.

4.

5.
6.
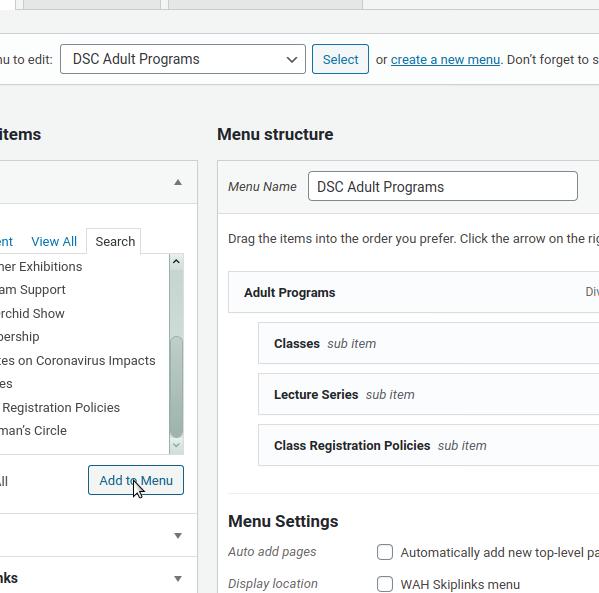
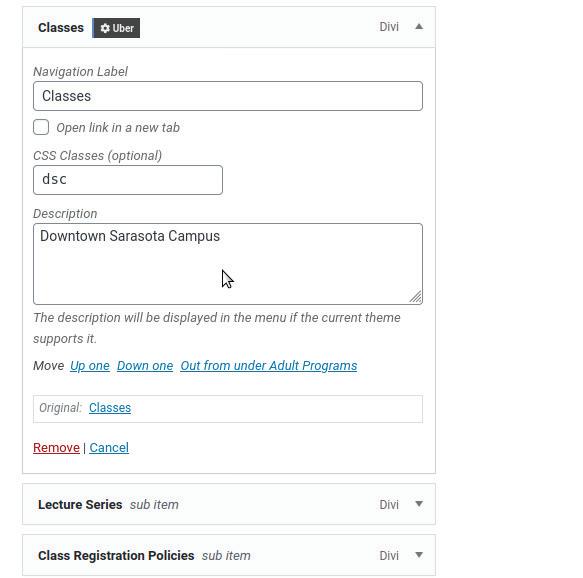
7. Click the “Add to Menu” button. In the “Menu Structure” section, expand the new menu item. Add the appropriate “CSS Class” (dsc for Downtown Sarasota campus, hsp for Historic Spanish Point campus, msbg for non-campus specific pages)
Add a brief Description of the page.


8. Drag the new menu item to the position you want then click the “Save Menu” button.


