14 minute read
Special Feature: Pet Photography
IN THIS ISSUE’S Special Feature we are looking at pet photography. When we surveyed members of the PSNZ Facebook group, this was the second highest category requested. We covered the most popular category in the last issue.
Rather than coming from a single contributor, this article incorporates content from online articles written by Judit Ruiz Ricart (Editor of the Wix Photography Blog) with additional content by the editor.
Simplistically, pet photography is capturing animals which have been domesticated, however it is much more complicated than that. Pets become intricate parts of people’s families and we need to approach the photography of them in exactly the same way as we would any other family member. There is an old Hollywood saying that you should never work with children or animals. It is based on the fact that in many ways they can both be as uncooperative as each other. In fact there is a complete crossover set of skills between capturing pets and children.
For the purpose of this article I have defined pet photography as falling into three different types: posed, candid and action. Posed images are completely staged and you will generally be trying to gain the full attention of the pet which will be fully aware of your presence. In candid images, the pet is being recorded doing its normal activities and may not be aware that you are photographing it. Finally, in action images the pet is actually doing something.
The article is also written from the viewpoint that we are dealing with a planned shoot, rather than images grabbed when your pet is doing something cute. Having said that, many of the tips contained within it apply in both circumstances.
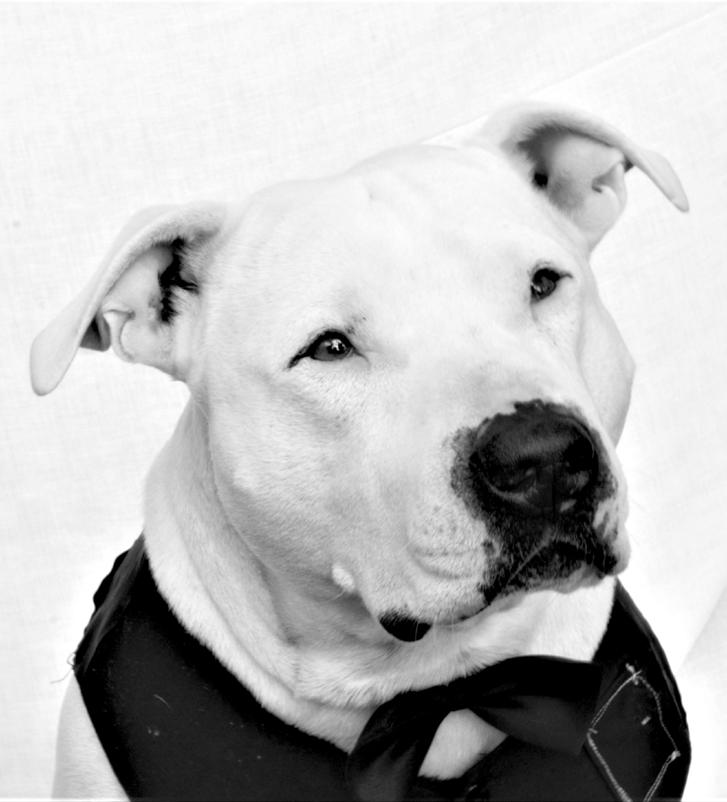
Image by Anita Ruggle-Lussy
Well before you shoot
1Know your gear As with other aspects of photography, the more familiar you are with your gear the better the results that you will achieve. Knowing how the camera handles certain lighting situations gives many more options to play with at the shoot. Most important is the ability to nail focus and exposure.
As with portraits involving children or adults, pets’ eyes are the window to their soul and the key to a great photo. Having the eyes in focus is a must for any type of portrait but, like everything else, it becomes more complicated with pet photography.
The main reason behind this is that your pet, just like children, will probably not stay still long enough for you to comfortably find the ideal focus.
Modern mirrorless cameras are helping in this regard as many models now include animals in the ‘eye detect’ focus options.
Furthermore, those adorably long snouts will also give you some trouble, as low apertures will leave either the nose or the eyes out of focus. Unless you’re purposely looking for this result, use a smaller aperture or shoot from the side to get both of them in focus. This involves a trade-off as the smaller aperture needs more light to maintain a reasonable shutter speed.
That brings us to exposure. Choosing the right exposure is also extremely important, as you might have only one chance to nail that exact composition. Shooting in RAW can help you save some imperfect shots in post-processing, but you should not rely on it.

Learn to doubt your camera’s meter, as it can be easily tricked by your pet’s coat colour. White animals tend to appear dull as the camera thinks the scene is too white, while black ones appear grey as the meter detects a darker composition. Use exposure compensation to make up for these metering flaws.
Image by Paul Whitham LPSNZ
2Plan the shoot, but be realistic Take some time to create a general guideline of the photo shoot beforehand. Focus on the emotions you want to evoke rather than on specific compositions. This will allow you to think about the expressions and mood you need to recreate without getting frustrated about not getting the exact image you pictured beforehand.
Having said that, be realistic about the results you can achieve, as no two animals behave the same. Your own pug may have a completely different personality to the ones you have seen in other images.
Pet photography can be unpredictable, as your model might simply not feel like giving you the shot you’re looking for. If that happens, allow yourself to move on and look for a different approach.
You might be used to choosing a shooting session’s time and location based on light conditions or weather forecast. However, pet photography demands a whole new level of planning. In addition to taking light, weather and other regular factors into account, you will need to consider the needs and routines of each subject.
Think about how their mood changes during the day and how that affects the pictures you want to capture. For example, dogs “smile” when they are tired so you might want to take them for a long walk beforehand. If you want to get adorable sleeping cat pictures, feed them right before you start shooting.
Your lens choice will totally depend on the type of images that you have planned. As with human faces, anything wider than 35mm will cause distortion up close. For candid or action shots longer lenses are best, as they enable the pet to engage in its activity at a distance.
3Know the animal Obviously this is much harder if you are shooting someone else’s pet, but take time to watch how your pets behave. That way it will be much easier to read their body language and learn what each movement means. Understanding the difference between a dog’s and a cat’s tail wag will definitely come in handy during your photo shoots.
This will also be useful in terms of learning what will motivate the pet to do what you want it to do in the photos. For example, some pets are motivated by praise, while others respond to treats, and some (cats particularly) will only do what they please.
Also, if the animal has a favourite toy then you may be able to incorporate that in the image.
Just like humans, every animal has its own unique personality. If you’re photographing someone else’s pet, be sure to ask about its character, and spend some time beforehand to see it for yourself.
Image by Anita Ruggle-Lussy

Just before you shoot
1Pay attention to the background It can be easy to ignore a background scene when you have a lovely puppy playing in front of your camera. However, the background will stand out once you’re looking at a still image. Before you start taking pictures of pets, look out for elements you definitely want to keep away from your compositions. Examine your full surroundings rather than a specific area, as your pet will likely move around during the photo shoot.
2Get rid of distractions It takes very little to distract an animal. While you probably cannot eliminate all distractions, you should keep them to an absolute minimum. Find a secluded location away from the crowd, or remove every unnecessary element from the room. In fact, even you and your camera count as a distraction. Unless you actually want them to look at you, try to move as slowly as you can to avoid drawing attention.
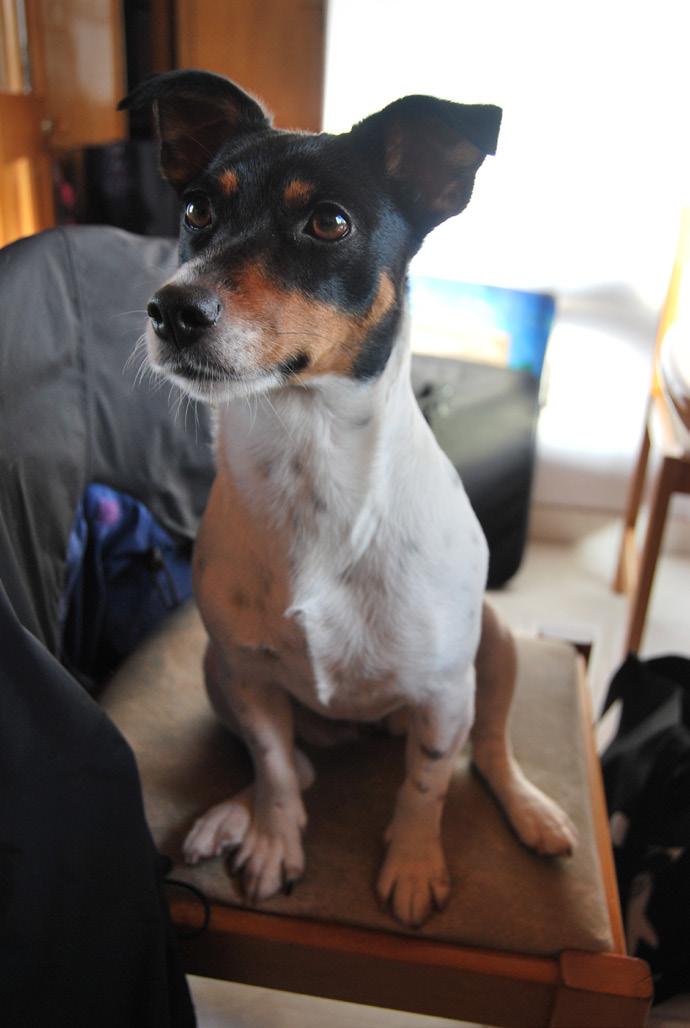
In this shot of Mika she does not stand out from the background
3Ask a friend for help Having someone to help you during the photo shoot will make it much easier, safer and a lot more fun for everyone involved.
When shooting outdoors, you will need a friend to watch over your pet and make sure it doesn’t run away or get into dangerous situations. No matter how careful you are, it’s hard to pay attention to these things with a camera blocking most of your vision. Another huge benefit of involving someone else is that they can play with the model and entertain it to help you get the expressions you’re looking for.
At the shoot
1Make sure the pet is comfortable One of the most essential pet photography tips is making sure that the animal is comfortable. Animals are creatures of habit and can become really anxious when their routine is altered.
And, needless to say, a nervous animal does not make a good model.
If you’re taking pictures of your pet, introduce it to your gear beforehand. Let it smell, touch, and hear your camera and any other equipment you will be using. If you’re working with someone else’s fourlegged companion, you’ll need to make sure it gets to know you well enough before you start taking photos.
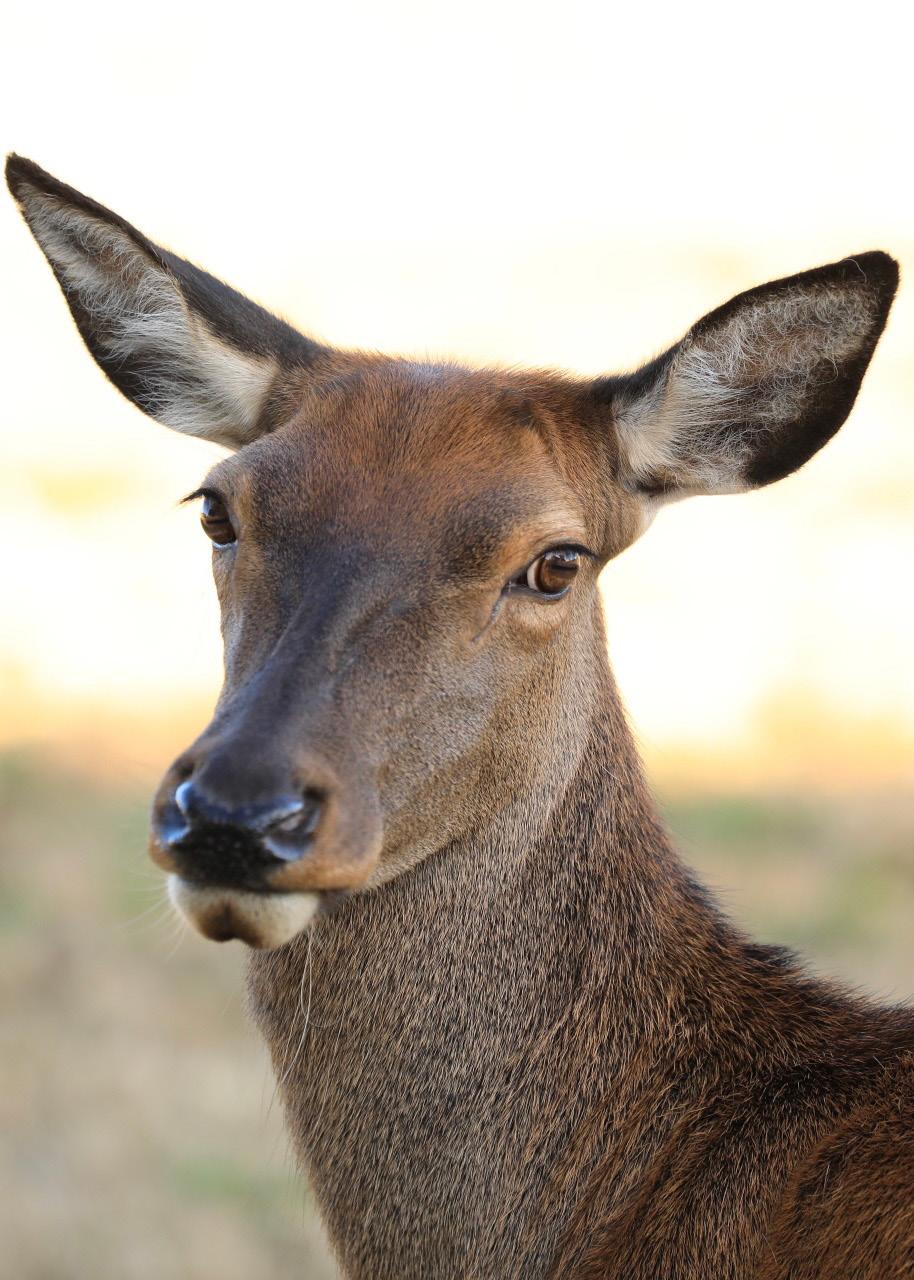
Faith by Wendy Pemberton
2Interact with them Your pet has no clue what you’re doing with that big, weird thing in front of your face. Focusing too much on the photos and ignoring your little friend will just make it confused and frustrated. If your camera has a tilt-out screen, use this so that you can get the camera away from your face. Also, if you can control the camera remotely this can help even more to get better results. Make sure you spend enough time petting it and playing, even if that means you miss a few picture opportunities. This tip is even more valuable when photographing other people’s pets, as you’ll need to gain and maintain their trust throughout the session.
3Relax and be calm Animals are like little emotional sponges, and if you are stressed and anxious, they will sense it and become stressed and anxious too.
Patience is the key to pet photography. Unlike human models, who generally understand what you are trying to do and how they can help, pets can’t follow specific instructions. You can’t show a sample image to a dog and ask it to repeat it. You’ll just need to be patient enough until the desired expression finally happens.
4Get on their level Images shot from eye level are usually more attractive to viewers and they also induce empathy. As with children, you get the best images by going down to the level of the pet. Fortunately, tilt screens on modern cameras make this less of a back-breaking exercise. This is especially important when working with subjects that are much smaller than you, such as the ones you’ll be working with during pet photography sessions. Of course, that doesn’t mean that every single one of your pet pictures should be taken from the same perspective. Keep your natural, standing-up viewpoint for a few selected shots. Don’t be afraid to try new things. Look for close-ups and explore how you can break the rules. Diversifying your shots will keep you engaged in the session and can lead to some fun and creative results.
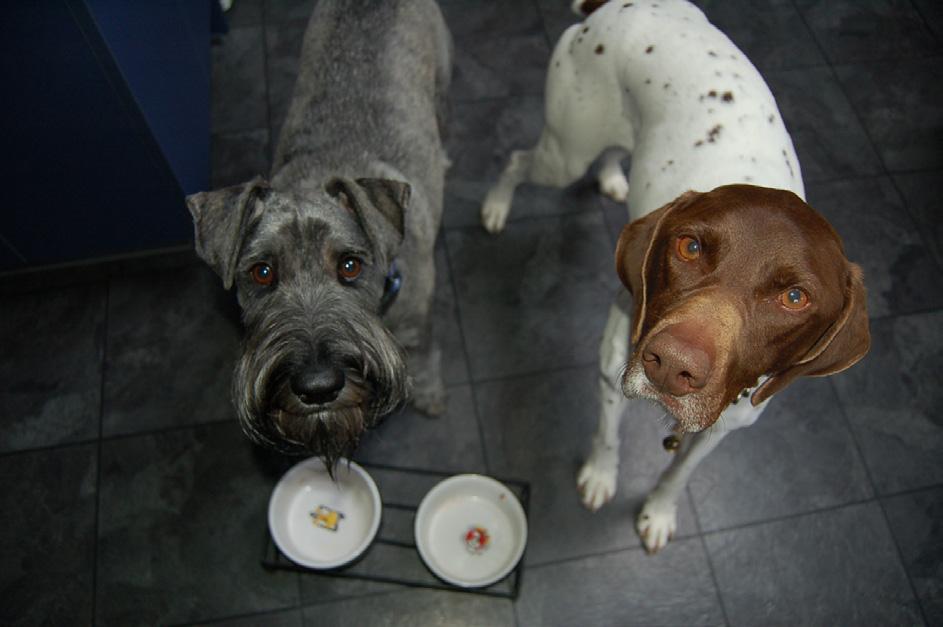
Image by Paul Whitham LPSNZ Image by Anita Ruggle-Lussy
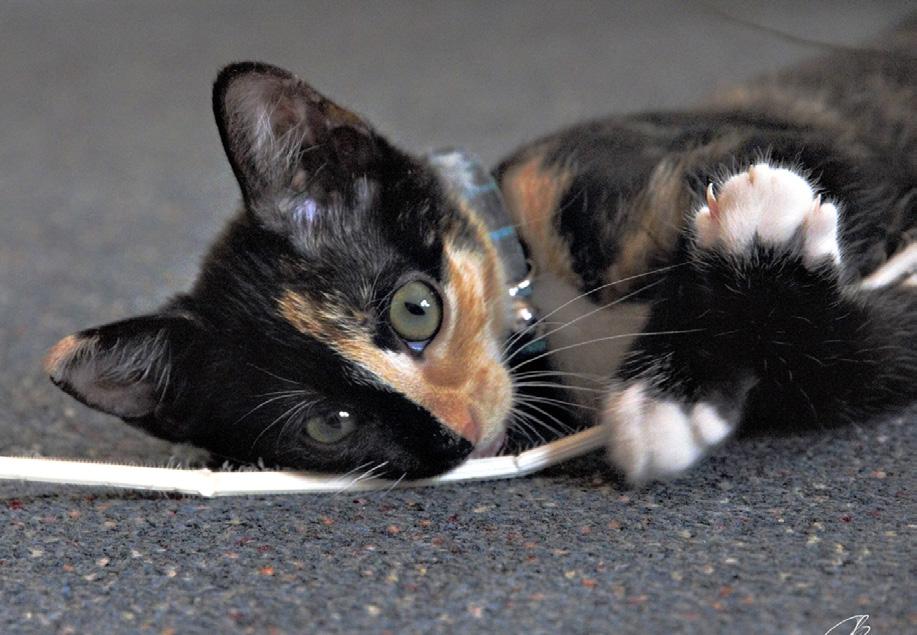
5Take advantage of their curiosity Ever heard that curiosity killed the cat? That inquisitive nature can also be found in dogs, and can be a great asset for your compositions. Let them be, and simply wait for the next new thing that will catch their attention. Unlike actively trying to direct their focus to the camera, this will result in more spontaneous and natural expressions. For example, a wide-angle lens paired with a subject curious about photography can lead to some very interesting close-up portraits.
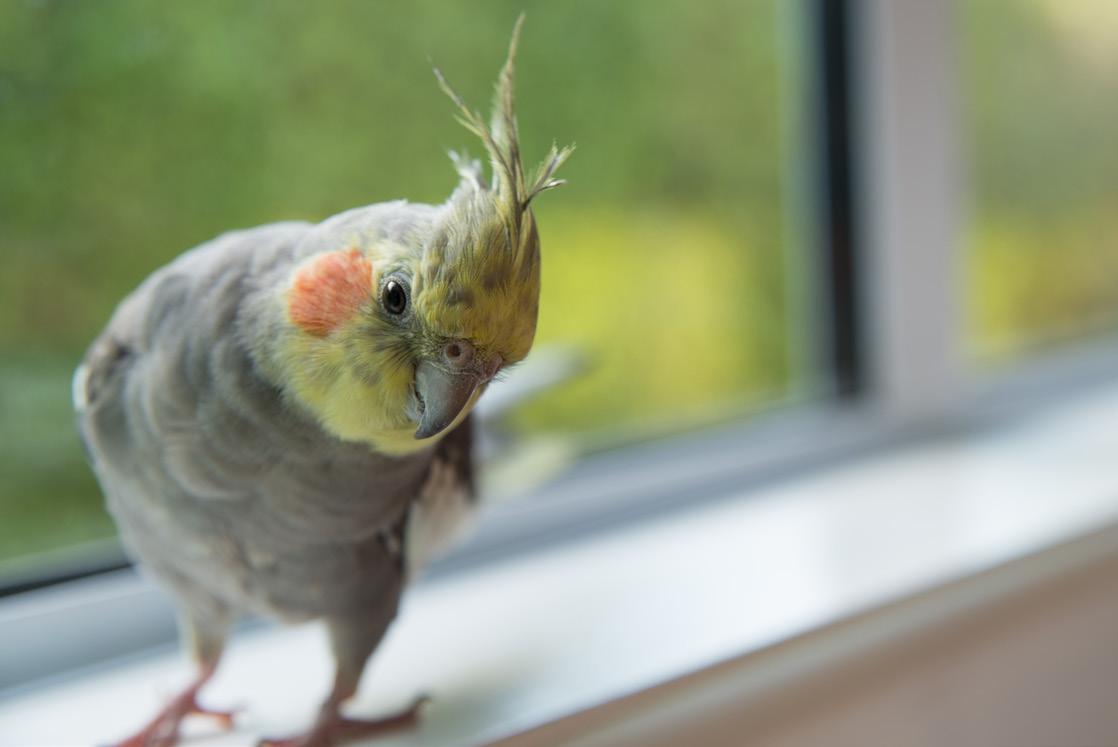
6Catch their attention Sudden sounds are a great way to surprise pets and capture an alert posture, while strings and other toys will help you get the animal’s attention in a more relaxed
manner.
If you want your subject to look directly at the camera, you can buy toy squeakers and make the sound directly with your mouth. To make them look somewhere else, see the previous tip.
7Take lots of images Animals are in constant movement. They blink, turn their ears, twitch their whiskers, and look away at the most inopportune moments. These moves are sometimes so fast that they go unnoticed during the shooting. However, there isn’t a worse feeling than going home after a session and realising that most shots are not good enough. To avoid this, set your camera to ‘burst’ mode and capture numerous shots of the same scene.

Image by Paul Whitham LPSNZ
8Know when to quit As with shooting children, your pet will reach a point, much quicker than you, when it is finished with the session. There is little point in trying to continue once your subject has become uncooperative. At that point it is better to quit, even if you haven’t got the shot you were after, and try again at a later stage.
For this reason, if you are setting up a portrait that involves a pet with other family members, it is best to pose the humans first and then bring the animal into the equation.

DInner Dash by Debbie Martin LPSNZ
Lighting for Pet Photography
We all know that lighting is vital for good photography, but are there any special considerations to go on when the subject is a pet? When approaching lighting we have three options available to us: natural/ambient, constant light or flash. If you read online articles they appear to all favour natural light. But, is there a best type of lighting for pets? CameraTalk reached out to a number of New Zealand professional photographers for their comments.
Laura Smith

I don’t think there is a correct answer here as everyone has their own preferences. Flash/ strobe is great for freezing action but natural light may be great if you’re shooting outdoors at golden hour.
Lizzie Gilmour
It depends on the kind of pet. Some animals, like horses, can take fright with flash. (This comment is also backed by Craig TurnerBullock.)
Ruth Hollinsworth
I do ‘studio’ and don’t use the flash on older animals as it can upset them. It may sound a bit odd, but it depends on the animal. Attached are some images for you to see my take on pet portraits.
Images by Ruth Hollingsworth
Catherine Cattanach
My chickens barely seemed to register the flash! (see Page 50)
Simone Jackson
I find almost every situation quite different if it’s in natural light, but if it’s in a studio - sorry, no help (lol).
It depends also on what location the client wants and quite often they want it included with their family portraiture. So, the pet is usually by that time hyped up like crazy with all the family calling, yelling etc. I find getting control is the most important thing. The rest is working with what I have on the fly.
Craig Turner-Bullock *
My preference is outdoors/natural light, but I do studio sessions at Christmas every year and I have rarely met an animal scared of the flash. Some have much faster reactions to it though, and have their eyes closed in most shots.
It’s also worth noting that they don’t have the same shaped faces as people, so lighting techniques aren’t the best, e.g. Rembrandt, lighting on a dog with a long nose. Kirsten Hough
I photograph animals only and usually work with outdoor natural light. I have just started with studio and use flash.
From my research and learning about indoor studio work with animals, most photographers seem to use flash rather than continuous lighting.
I haven’t had any animal have an adverse reaction to flash in studio yet, and I have photographed young dogs through to senior dogs and a lorikeet. But I’m also sure to make sure I rest the animal and not overload or bombard it with dozens of flashes.
So, no clear consensus amongst the professionals. There are however considerations with the animal or the images you want that will determine the lighting.
Natural light or constant light is appropriate when you have an animal that could be injured or scared by flash, or where you are shooting candid images and you don’t want the animal’s behaviour to change. It is also appropriate when you have a moving animal and you are using burst modes to take a lot of images in a single click.
Flash is appropriate when you want to freeze the action or you want full control over sculpting the light. This would mainly occur in a studio environment with posed portraits.
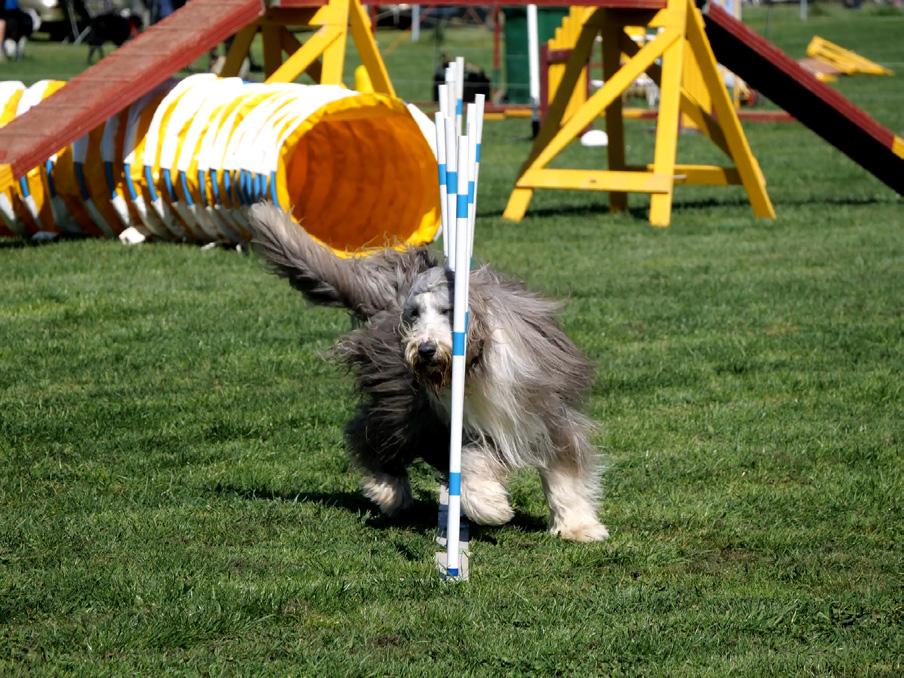
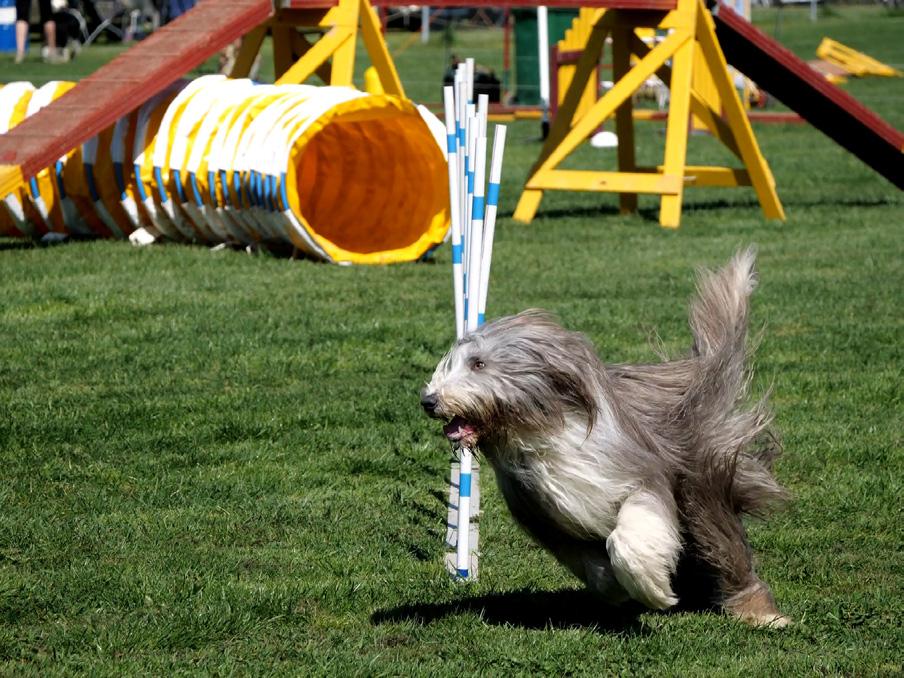
Images by Paul Whitham LPSNZ
* Craig is speaking and presenting a workshop at the National Convention in Christchurch

2021 National Exhibition
Entries for the 2021 PSNZ SONY National Exhibition are now open and close on 1 March 2021.
To view the conditions of entry and to submit your images go to https://photography.org.nz/salonsgalleries/psnz-sony-exhibition/


