2 minute read
03 catenary dome building


About The Workshop
This was a hands on dome building workshop, focused on building techniques of a catenary dome. The laying of bricks in the dome comes intuitionally. We were taught how to feel the curve through trowel movement, looking from three directions and then checking the radius. This came with a lot of practice, redos and mostly observing the master.
Advertisement
Approach
Due to its limited base radius of 7’6” would give only a same height same if a semi-circular dome was to build and would also leave a lot of unusable space on the bottom of the dome. Hence to elongate the dome on the z-axis and to provide more clear height near the inner periphery, a catenary was selected.
• A catenary describes the curve taken by a hanging chain that is held at both ends. The distance between the ends with the limited length of the chain creates different curves and different forces which can be altered.
• The building of a catenary dome involves intuition a lot more than rational thinking, but as for we workshop participants were doing it for the first time, and techniques were rationalised to understand it initially.
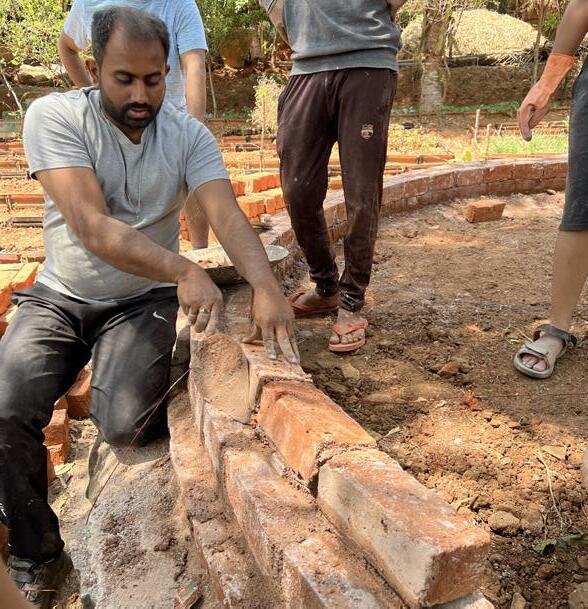
• The choice of mortar was done according to the major building material, which was brick in this case. Surkhi which is brick powder was used with slaked lime paste to make the structure act like a monolithic entity.
• Tools used – Karni/brick trowels big and small, masons’ thread, hook for the centre, bandali/ mortar tubs, concrete ring, mixer, water source, wire brush, sieves, hammer, country bricks, soil, lime, surkhi/ brick powder, tube level.

learnings from the workshop
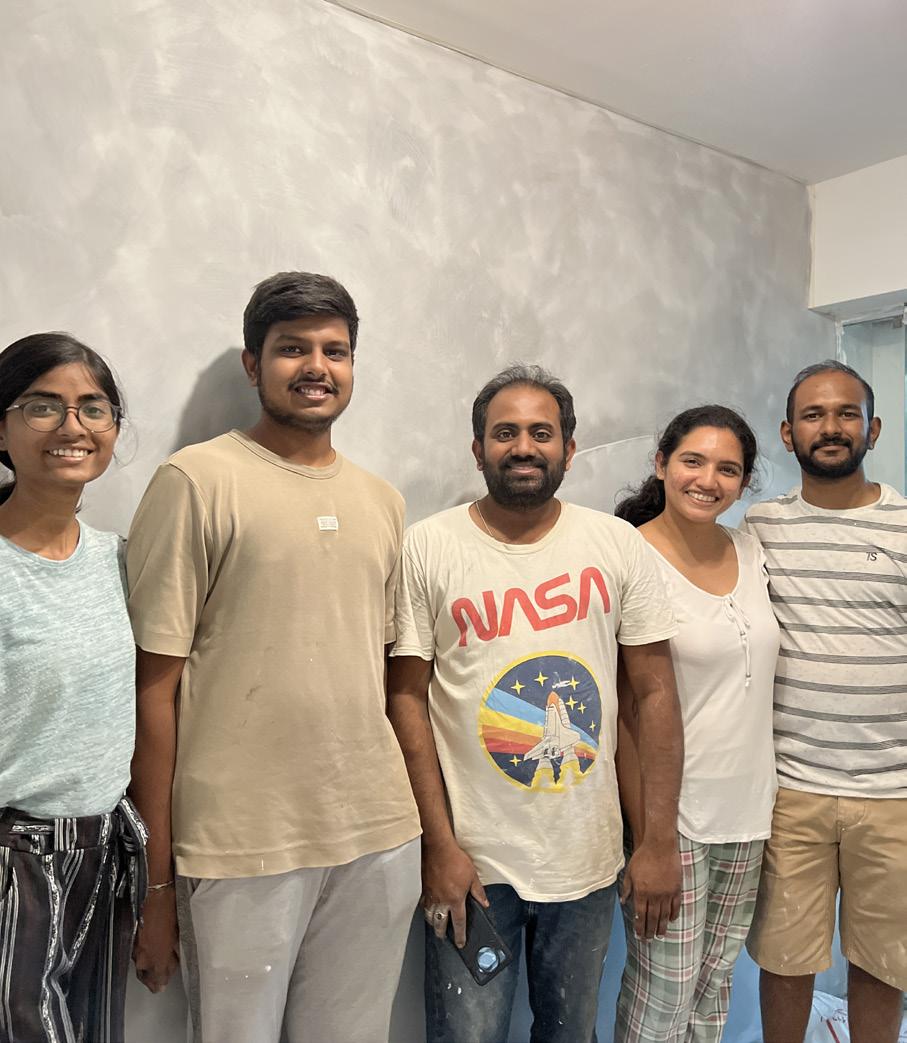
The entire process introduced the diversity of arch, vault and dome construction around the world, and delved into the technical aspects for implementation. It was also fun to interact with enthusiastic learners of all ages and across disciplines, where we shared knowledge and learnt different things. We could also understand the way the forces are distributed in a dome and arches. The hands-on experience gave us further insight into the process.


• Lime has a tendency to expand when drying, and as it is used extensively in the mortar, it will tighten the dome even further once set, hence further strengthening the dome.

• Growth of moss will be promoted which will absorb the excess water from the surface of the dome, hence keeping it clean and will absorb the toxins too. This is also a way of natural waterproofing.
• Each sector started or ended with a vertical brick and then full-length horizontal brick was placed, shaping the spirals with herringbone patterns around the dome. This helped in breaking the masonry pattern which is essential in strengthening a structure.
When we visited the site the stone foundation in a circular plan was already done up till the plinth. The width of the stone masonry was 1’ 6” which was till 9” above the ground level.


The first layer of bricks was placed along the radius, perpendicular to the circumference. The next course onwards the bricks were kept perpendicular to the prior position.
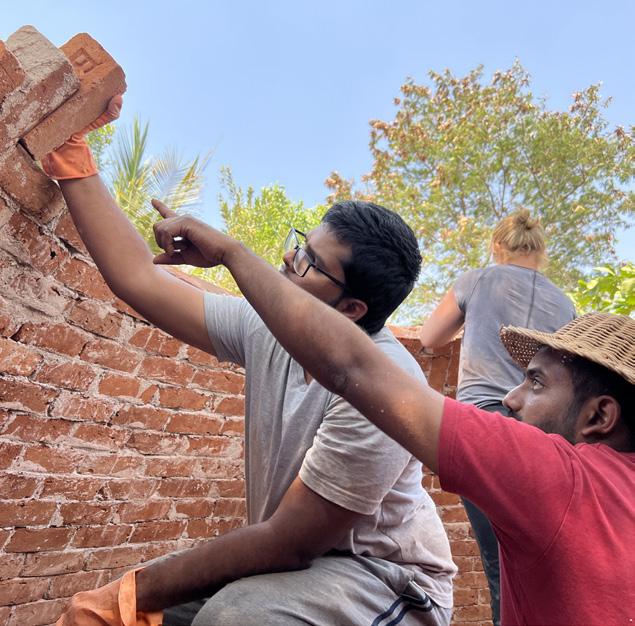
The laying of bricks in the dome comes intuitively. We were taught how to feel the curve through trowel movement, eyes in the three directions and then checking the radius. This came with a lot of practice, redos and mostly observing the master.


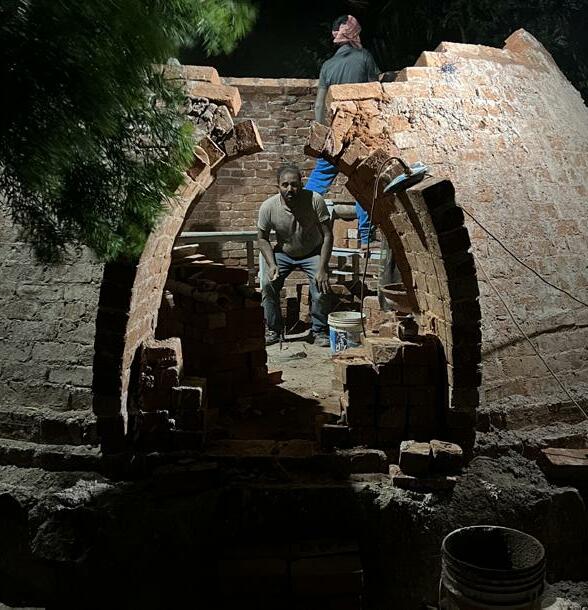


The last one–third of the dome took as much time as the rest. The last four layers of the dome required an eye for detail. As the dome grew bigger in height it became smaller in width, leaving less and less space for the people to work on it.