2 minute read
Making the switch to articulating arms
A traditional coordinate measuring machine (CMM) calibrates a toolmaker’s inspection equipment and supplies it with conventional metrology tools, such as verniers and micrometers. It can measure tolerances about ten times smaller than a 3D articulated arm, as positional feedback is from linear scales rather than absolute angle encoders within rotary joints. However, articulated arms a ord more freedom of movement around a part, making them ideal for nonrepetitive applications and custom components.
Founded in 2011, toolmaking and subcontract machining company GT Tooling spent one year using conventional manual metrology equipment to measure components before investing in a 3D articulating arm — a six-axis model with a 1.2-m reach. Three years later, the company moved to a bigger factory and invested in a machining center, which meant larger prismatic parts had to be inspected in two operations. Although satisfactory, the procedure was time-consuming and risked introducing errors during arm relocation.
“We considered manually operated and CNC CMMs. However, the repeatability of measurement on the former was not good enough, while the latter did not o er su cient flexibility. Neither type had the reporting capability that was up to our standards or those of our customers. We also felt that programmable CMMs were better suited to series production because we machine mainly one-o s and small batches,” said Greg Simmonds, owner and director of GT Tooling.
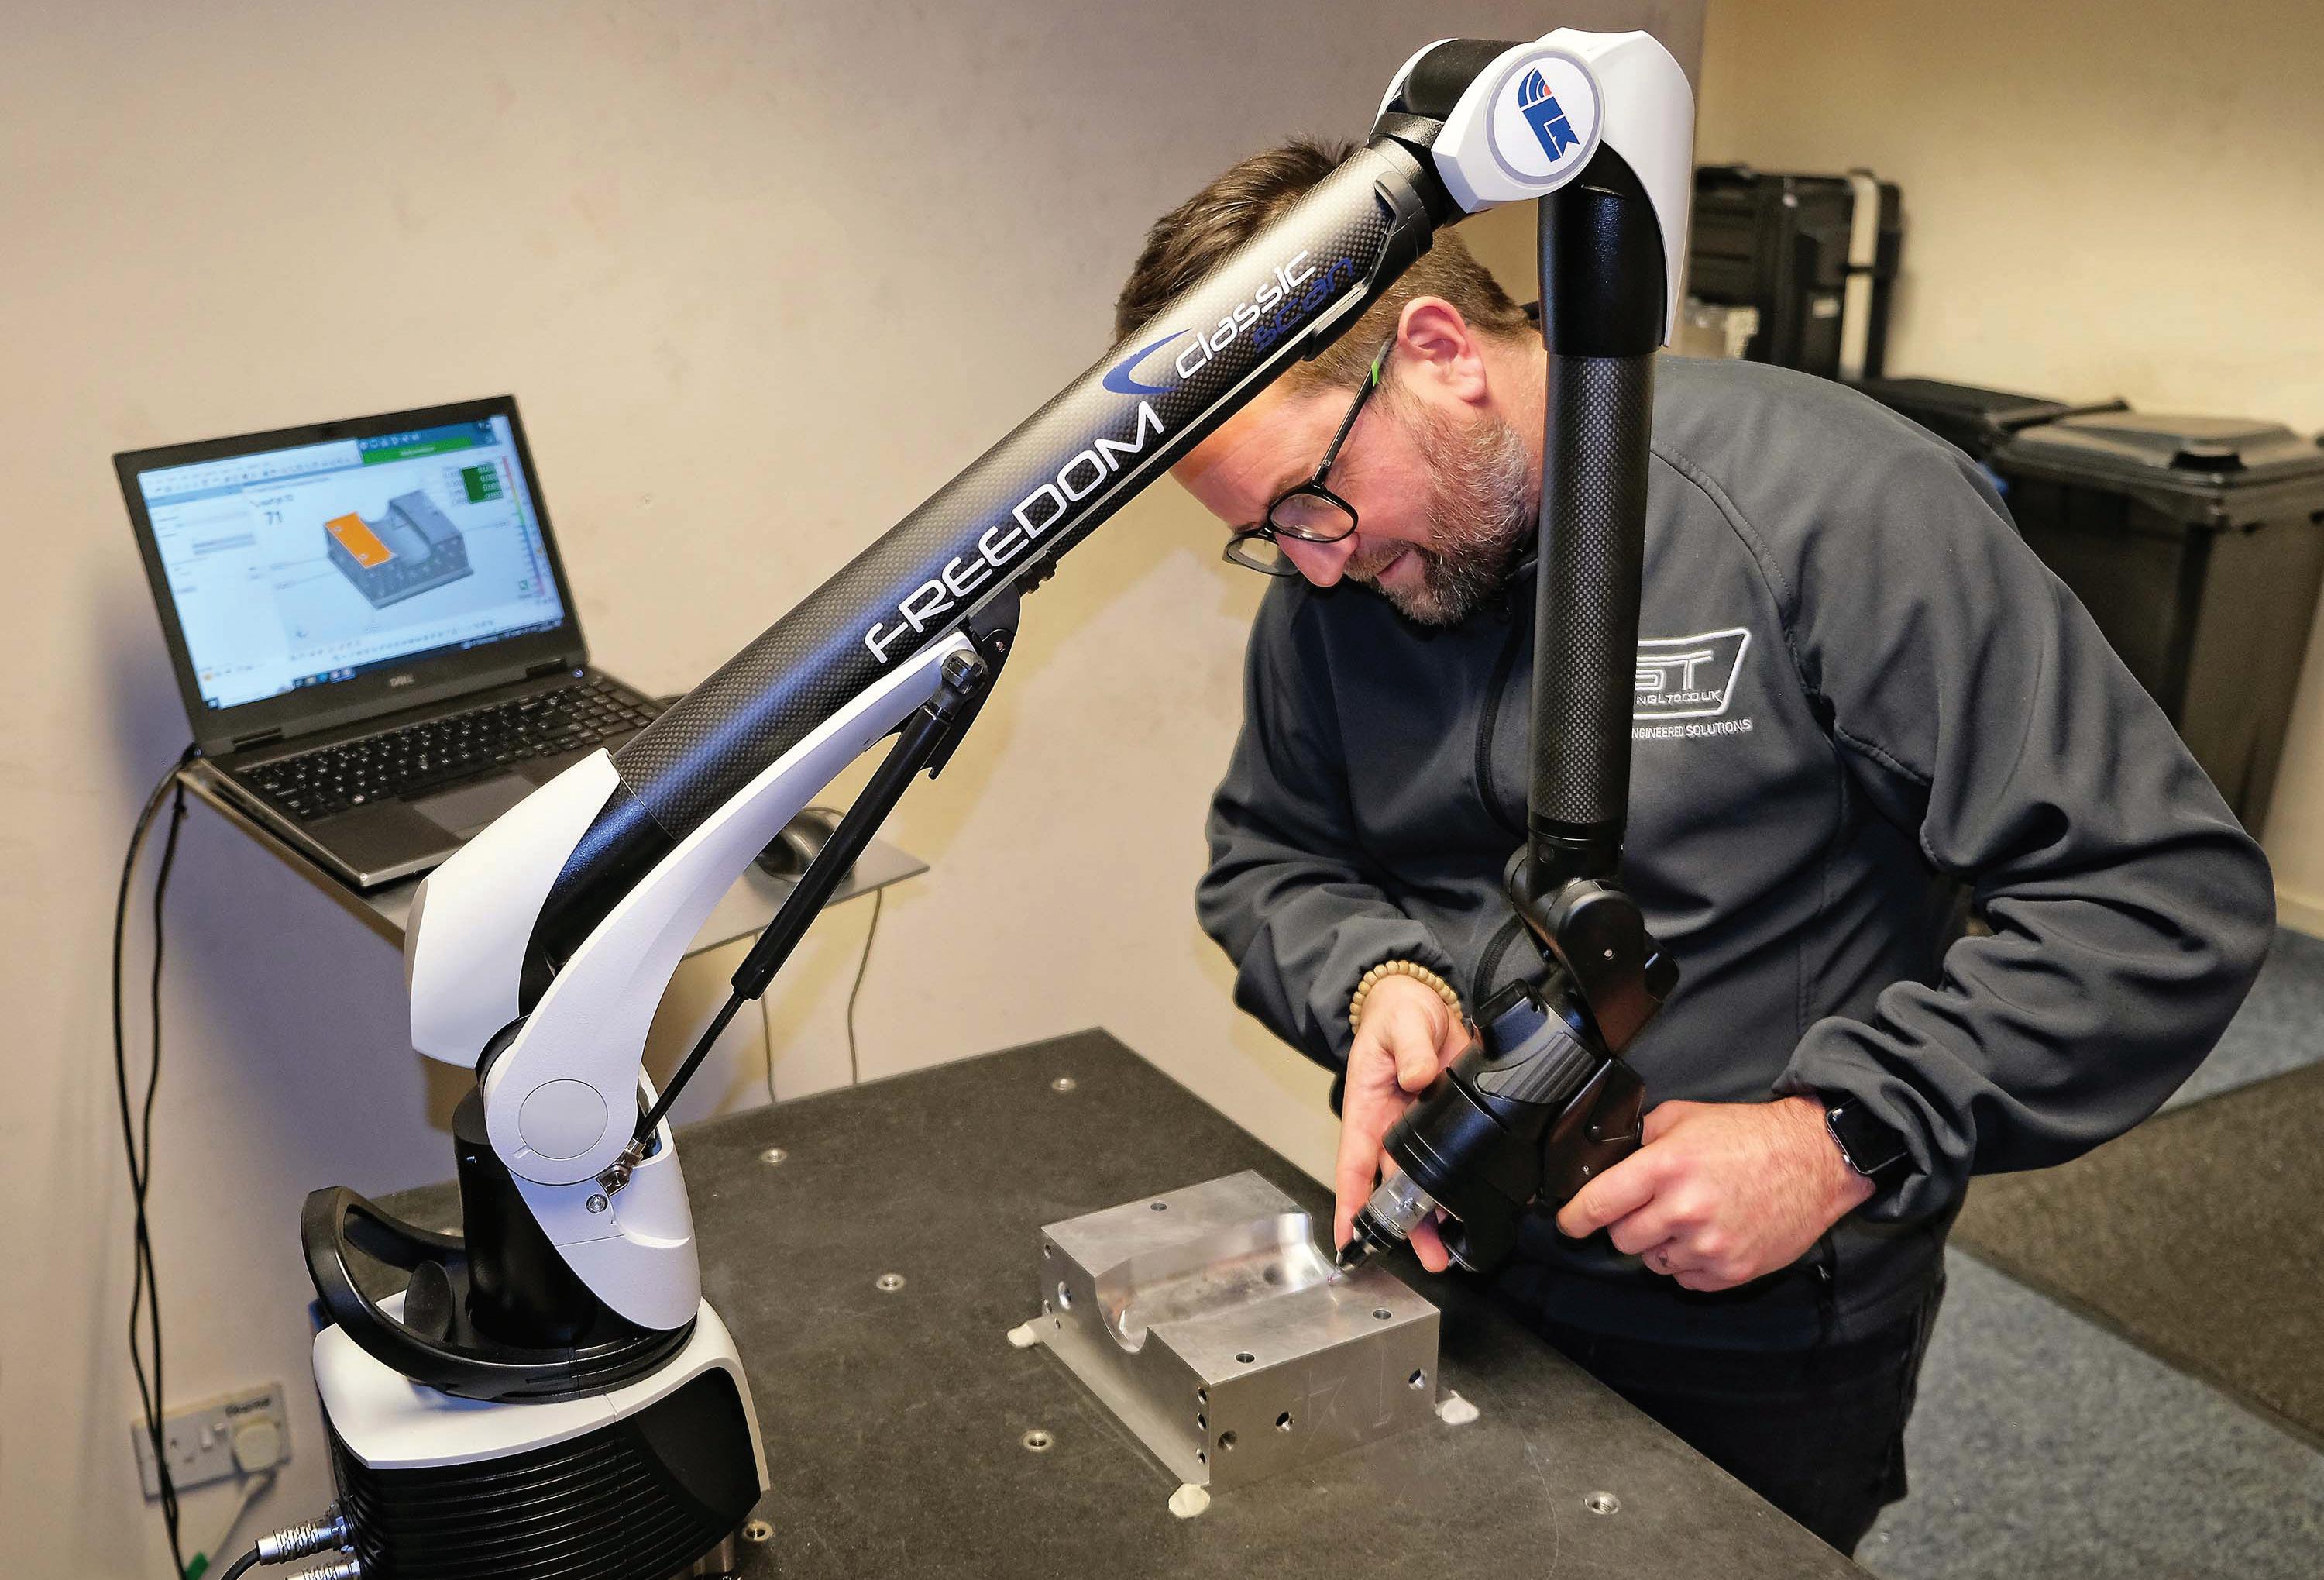
In May 2022, the company purchased a seven-axis Freedom Classic Scan portable arm with a 2-m reach from LK Metrology. The arm provides accurate results when measuring dimensions with ±0.1 mm tolerances. If there is a need to check tighter features, inspectors can use conventional metrology involving bore and pin gauges, for example. The company chose the seven-axis over the six-axis arm to enable laser scanning as an adjunct to touch-probing discrete points. It also sought more comprehensive data collection on free-form surfaces in less time, more comprehensive reporting, and less risk of missing machining errors.

Ryan Leaves, sales engineer and inspector at GT Tooling, confirmed that the entire quality control process — including alignment, inspection, and reporting — is now faster and more flexible with the new arm. Speed is important, as some urgent jobs require a 24-hour turnaround. An internal report typically takes 15 to 20 minutes to prepare, while a full FAIR (first article inspection report) requires about one hour. Inspecting large parts previously required two-arm setups, as Leaves was essentially doing the job twice, but now inspection time is halved.
The resulting documentation is now exactly what the user wants without unnecessary content or interpretation. GD&T (geometric dimensioning and tolerancing) reporting was previously a laborious exercise but is now more user-friendly with InnovMetric’s PolyWorks software.
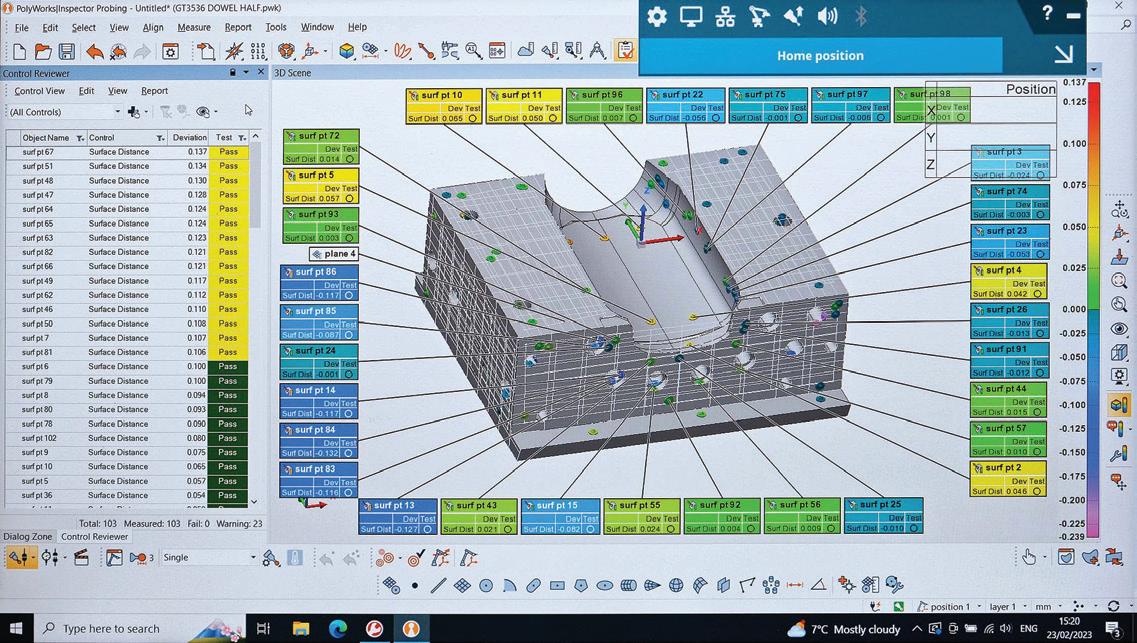


“The PolyWorks Inspector reporting software is easy to use. By pulling out the required dimensions and pressing a button, reports can be manipulated freely into di erent, easily digestible formats to suit each customer’s preference,” said Simmonds. “Until now, we have produced inspection reports on about 40% of our machined components, as not every end user requires one. Now that the process is quicker and easier, we are looking to more than double the number.”
The arm is used almost exclusively on a dedicated inspection table for checking components, but occasionally it is mounted on a machining center table to verify the part accuracy before being removed from its fixture or before further machining.


Other benefits of the laser scanning arm include inspecting delicate and deformable components and reverse engineering legacy components for which no data or drawings exist. The company can use this capability on parts machined in-house to win new customers and to sell an inspection service to other manufacturers on a subcontract basis if there is spare capacity.
