2 minute read
Front image cropping


AFTER
There is a Crop Tool option that has a very useful function, but you might not have seen it. If you need to match a series of images with the same, cropped sizes and dimensions, then Front Image cropping is for you.
Advertisement
BEFORE
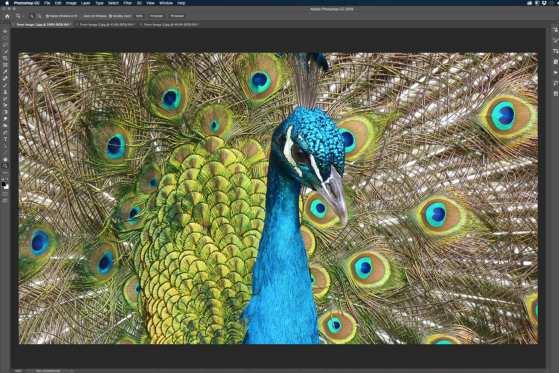
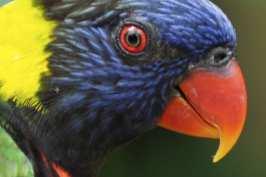
01 We have our example target image cropped and sized, to our preference, in the shape of a peacock. This is the first image document opened and we want all subsequent images cropped to the same proportions and the same pixel dimensions, to match this one.
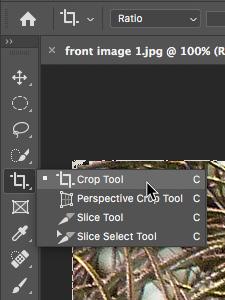
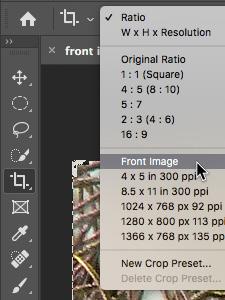
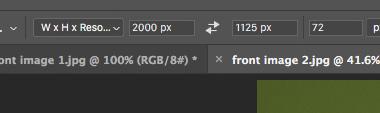
03 Go back to your target image (the peacock in our case), go to the toolbar and click on the Crop Tool (C). Then go up to the Crop Tool options bar and click on the Aspect Ratio box to view the various pre-set options available. Click on Front Image.
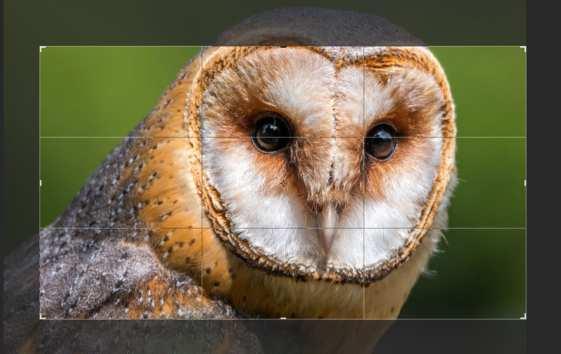
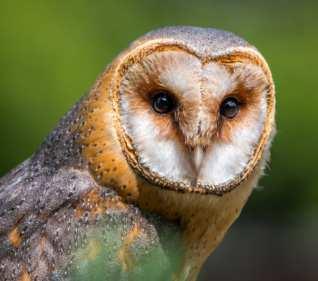
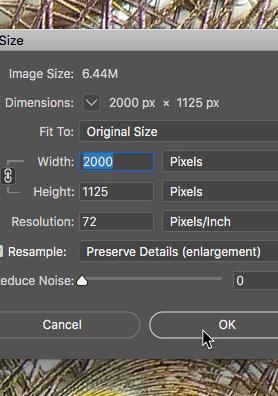
05 The crop box will match the same ratio as your peacock image. You can move and scale the crop box and even though it indicates it is still 3299 x 1855 px, as soon as you commit the crop, it will be resized automatically to match the peacock image of 2000 x 1125 px. 02 The peacock photo is 2000 pixels wide by 1125 pixels high. By comparison, the next image of a barn owl is 3544 pixels wide by 3132 pixels high and the third image of a parrot is 2019 pixels wide by 2694 pixels high. The last two need to match the peacock and there is a smart way to do it.

04 Initially, nothing will appear to change. A crop box will encompass the entire image and the width and height boxes in the options bar will show the image is 2000 x 1125 px. If you click on the next document tab, to view your other images, they will now have a crop box placed on them.
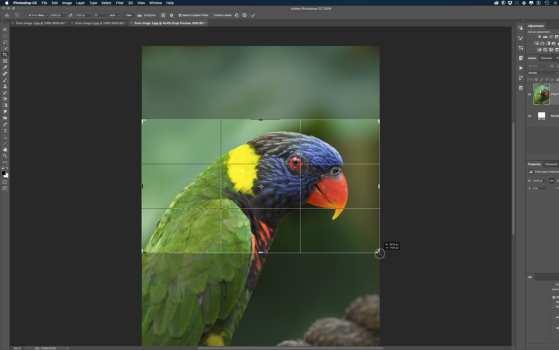
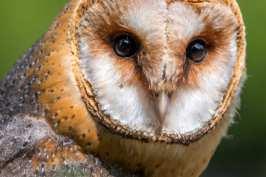
06 Open the next photo. It too will have a crop box ready for you in the correct aspect ratio. Move and scale the box to suit and then, when you commit the changes, that image will also be cropped and scaled to match the target image. Any subsequent images that you open can be altered in this way.