4 minute read
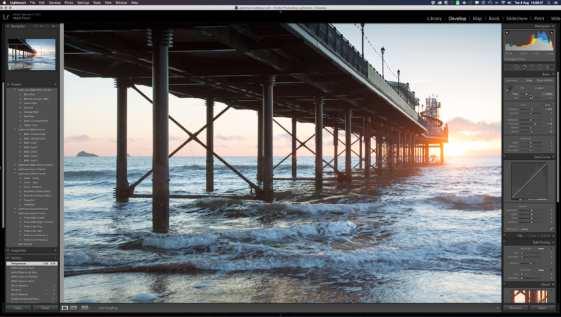
Adjustments using the basic panel


After cropping and straightening, the most common adjustments made are white balance, exposure, tonal balance and colour saturation. Lightroom’s Basic panel is where you can find these features, with an easy-to-use slider interface.
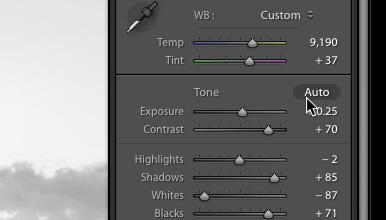
1 You’ll find the Basic panel in the right-hand sidebar of the Develop module. Click on the title bar to open the panel and you’ll see an array of sliders for things like colour temperature, tint, exposure and contrast; also a panel of Tone controls and another one for Presence controls that adjust Clarity, Vibrance and Saturation.
Advertisement
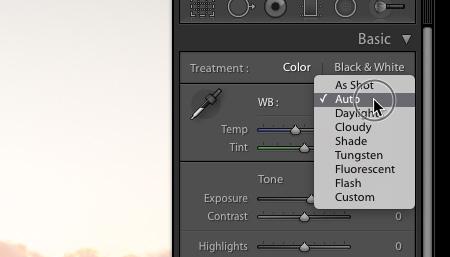
2 Near the top of the Basic panel you’ll find the White Balance controls. This will usually show As Shot by default, indicating that Lightroom is using the white balance setting determined by your camera. If you click on this, you’ll see a context menu with more options. We’ll look more closely at correcting white balance elsewhere. 3 To the left of the White Balance selector you’ll see another tool with an icon shaped like an eyedropper. If you click on this the eyedropper will become the mouse cursor and you can use it to select a white-point to manually set the white balance. If you’ve ever used Adobe Camera Raw you’ll be familiar with this operation.
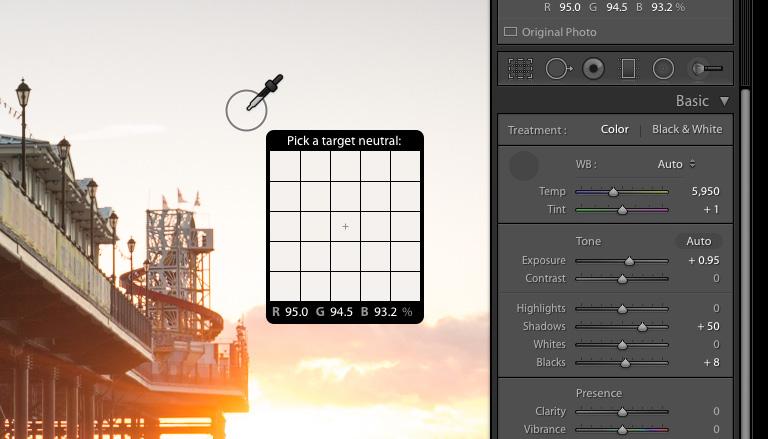
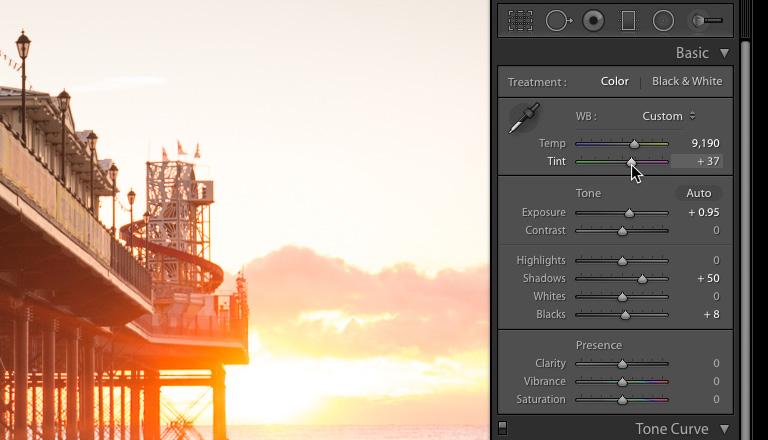
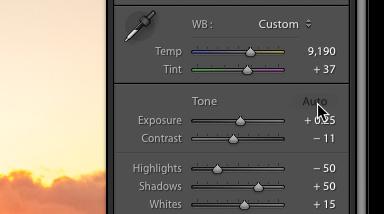
4 Immediately below the White Balance selector you’ll see a pair of sliders for Temp, or colour temperature, and Tint. These controls allow you to make manual adjustments to the white balance and colour cast, which is useful if you’re shooting under unusual artificial lighting conditions that are not covered by any of the white balance presets.
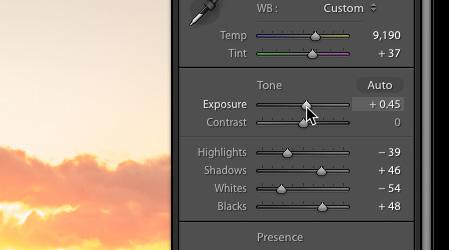
5 Moving further down the panel, we come to the Tone controls, which are divided into two sections; Exposure and Contrast, and Highlights, Shadows, Whites and Blacks. Exposure and Contrast work in exactly the same way that they have done in Adobe Photoshop and most other editing suites for years.
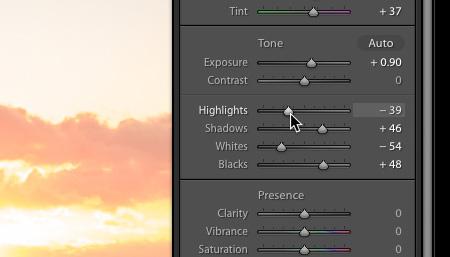
6 The Highlights, Shadows, Whites and Blacks section of the Tone panel is a more recent addition for Lightroom and not found in previous versions of Photoshop. It offers more precise manual control over the relative density of light and dark tones and lets you take advantage of the greater tonal range of raw files.
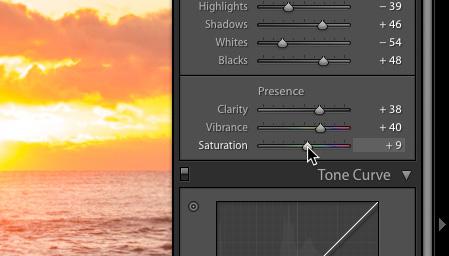
7 The Presence controls are another new Lightroom feature and replace the old Hue, Saturation and Lightness controls that feature in Photoshop. Clarity improves the contrast in the mid-tones of the image by sharpening the edge detail, while Vibrance increases the saturation of only the least saturated colours. 8 If you just want to quickly optimise a photo but aren’t sure in which direction to take it, the Basic panel offers an auto-tone option that will instantly analyse your image and attempt to adjust the tone to bring it closer to an idealised average by equalising the histogram. It’s not likely to be perfect but can be a good starting point.
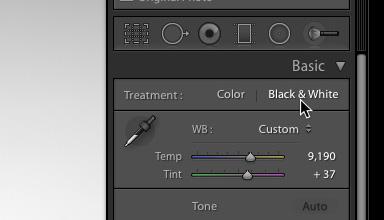
9 The Basic panel can also be used to turn your colour image into monochrome. At the top of the panel you’ll see Colour and Black & White. If you click on the latter you’ll see that the Vibrance and Saturation slider will be greyed out and the image will turn monochrome. You still have full control over the other sliders.
10 Auto-tone also still works in Black & White mode and just like in colour mode it will attempt to equalise the exposure, contrast and distribution of tones to produce an idealised histogram with no clipping. You may find that the results look a little flat though, so use it as a starting point rather than relying on it to finish your images.
Photoshop Elements
Welcome to our introduction to Photoshop Elements, you have an easy and affordable means to find all those elusive images, organise them and manipulate your favourite ones to make them even better. Let’s begin with a few basics. This will gradually build into a comprehensive guide to this very capable image editing package.
Contents
92 What is Photoshop Elements? 94 The Elements home screen 96 The quick mode workspace