2 minute read
One image, two windows


Here’s another very handy hint for you in the shape of a two-screen window. Sometimes, it is useful to be able to view a part of your photo in extreme closeup, while still being able to see the effect you’re having on the overall image.
Advertisement

AFTER
BEFORE

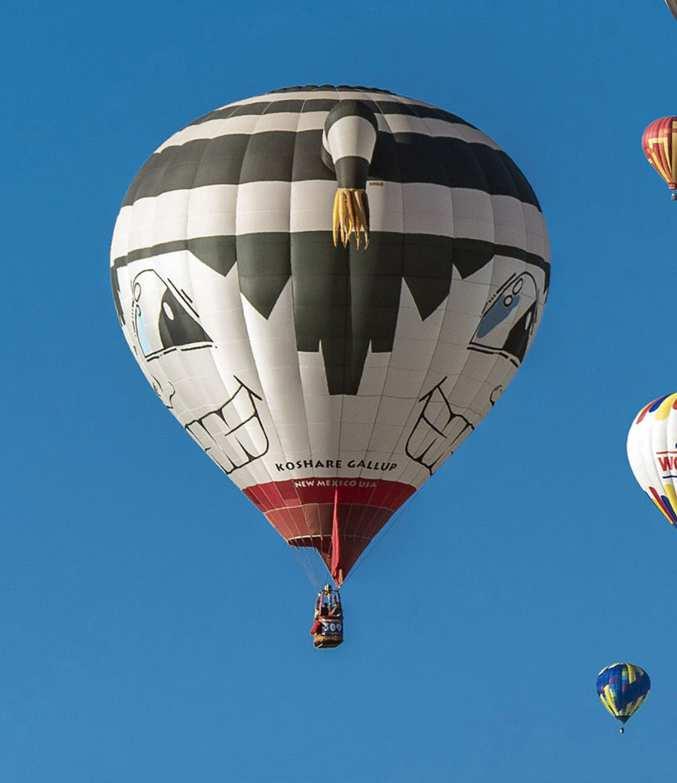
01 This tip uses a colourful image of hot air balloons taking off en-masse into a beautiful blue sky. We want to be able to edit one of the smaller balloons in close-up detail while still being able to see the entire image and what effect we’re having on it, as we work.
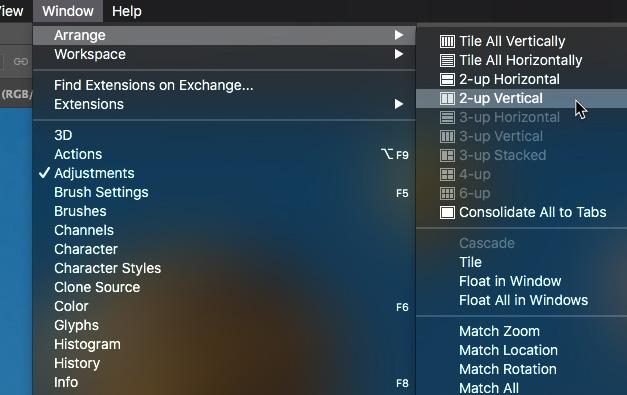
03 Go to Window > Arrange > 2-Up Vertical. You can choose from the other arrangements depending on the shape and orientation of the photo on which you are working. This will arrange both documents vertically, so they are side-by-side in the Photoshop workspace.
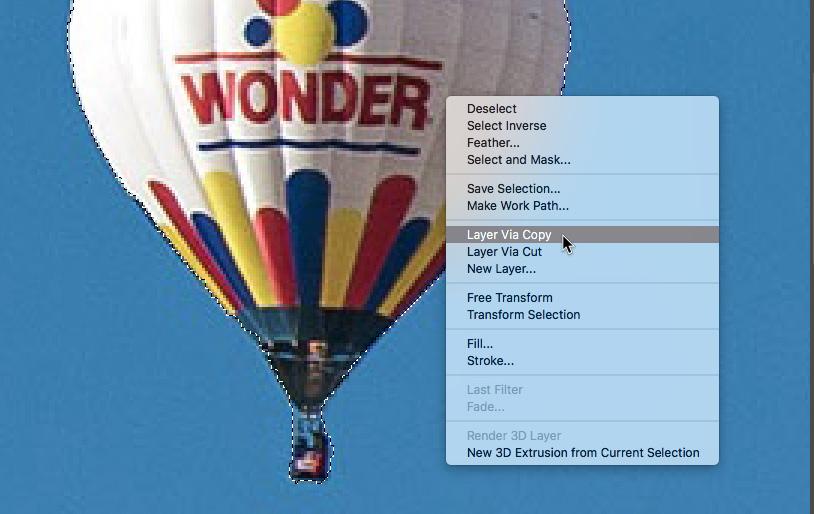
05 We stayed with the 300% window, went to the toolbar and used the Quick Selection Tool to select one small balloon in the middle of the throng. We then duplicated it onto a new layer using the Layer Via Copy command. This new layer was named ‘balloon’. 02 With your main image open, go to Window > Arrange > New Window For One Image. A second document tab will appear with the same name as your current document. It is a duplicate of your photo. Now, you need to be able to see both windows side-by-side to get the most out of this handy technique.

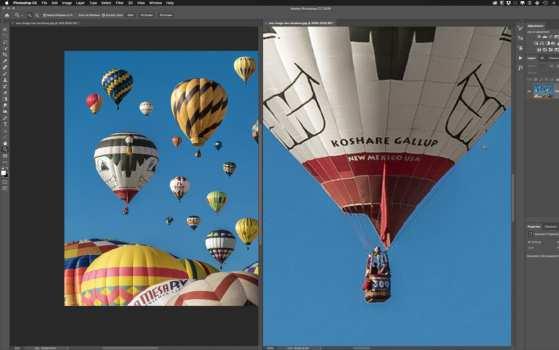
04 The magnification of one window can be different to the other. In this example, the left window is at 50% while the other is at 300%. If you hold the spacebar and drag, you can move each image around individually. Hold Shift + spacebar, drag one image and the other will move at the same time.
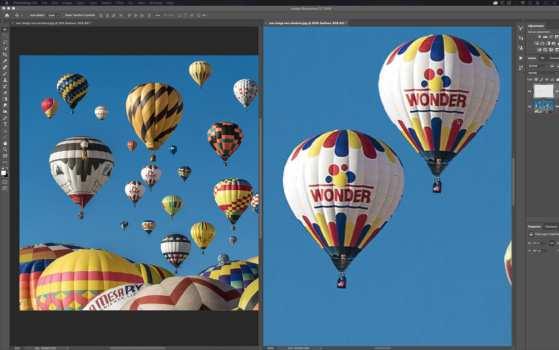
06 Use the Move Tool to drag the copied balloon to another part of the sky. As you do, you will see that not only does the balloon in the 300% window move, but the wider view on the left also performs the same move. You can even switch between windows if you like. You can close one window when you are done.