2 minute read
Create fluffy Pom-Pom Buddies


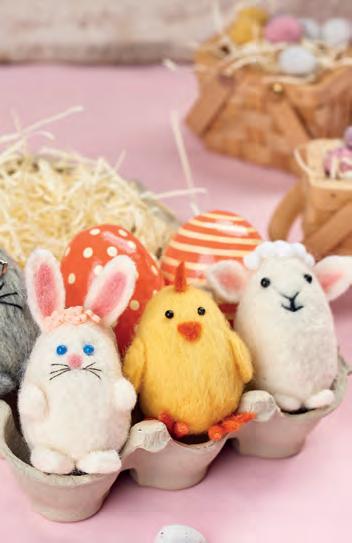
Put a spring in your crafting with this adorable bunny and cockatiel duo
Aperfect crafternoon activity with the kids, pompoms are easy and inexpensive to make – plus they can be made into all sorts of fun decorations. Once you’ve mastered these animals, why not experiment styling your own creatures using card cutouts?
Advertisement
Pom-pom animals
Kit List
◆ Brother ScanNCut SDX1200
◆ Stix2: PVA glue
◆ Corrugated cardboard, pencil and red liner tape (to draw template), or pompom maker
◆ Scissors: small; large
◆ Yarn: grey; white
◆ Card stock: grey; pink; black; white; yellow
◆ Floristry wire, clear
◆ Pearls: pink; brown; black
◆ Hot glue gun and glue sticks
◆ Mini pom-pom, white
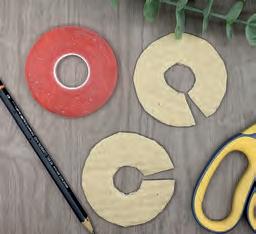
1 Create a cardboard template by drawing around the outside and inside of the red liner tape and cutting out. Repeat so that you have two cardboard circles. Snip through to the centres [1]
2 Put the two cut-out pieces of card together and wrap the yarn around them. Once finished, cut a length of grey yarn ready for the next step.
3 Place the scissors in between the two pieces of card and carefully cut the yarn around the circumference of the circle. Be sure to not let any yarn fall out of the gap in the card circles [2]. Place the length of grey yarn in between the two pieces of card
Craft with the kids
Make the cut
and tie all the cut pieces of yarn together. Remove the card pieces from the pom-pom.
4 Repeat Steps 2 and 3 so you have two pom-poms, but make one smaller than the other. Trim the straggly fibres to create neat ball shapes, but don’t cut off the long length of yarn.

5 Repeat Steps 2, 3 and 4 with white yarn for the cockatiel.
6 Tie the two grey pom-poms together using the long strands then repeat with the white pom-poms. Trim the long yarn tails.
7 To make the rabbit’s ears, add stored image BA-A026 to the digital mat on the ScanNCut.
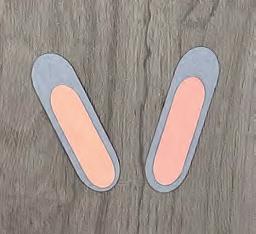
Rotate 90°, resize to 1.75" x 0.50" and cut twice from grey card. Resize to 1.30" x 0.34" and cut twice from pink card. Stick the pink part to the grey part with PVA glue [3]
8
To make the cockatiel’s beak, add stored image AR-C104 part D to the digital mat of the ScanNCut and rotate 90°. Resize to 0.50" x 0.73" and cut twice from black card. Stick the two together to create a beak shape. For the wings, add stored image AR-C008 part E and resize to 1.82" x 1.04". Duplicate to two and flip one. Cut both out of white card. Resize them both to 1.50" x 0.86" and cut both again from white card. Stick the smaller two to the larger two wings. For the feet, add stored image AR-C008 part B to the digital mat and resize to 1.15" x 0.97". Cut twice from grey card and stick together. For the crest, add stored image AR-C104 part C to the digital mat and resize to 0.90" x 1.74". Cut from yellow card [4]

9 Using hot glue adhere the card elements to the rabbit and the cockatiel. Then glue black pearls to the cockatiel for eyes and brown ones to the rabbit. Glue the floristry wire to a pink pearl to create whiskers and glue to the rabbit as a nose. Glue the mini pom-pom to the rabbit as a tail.