
that easily plug into your business.
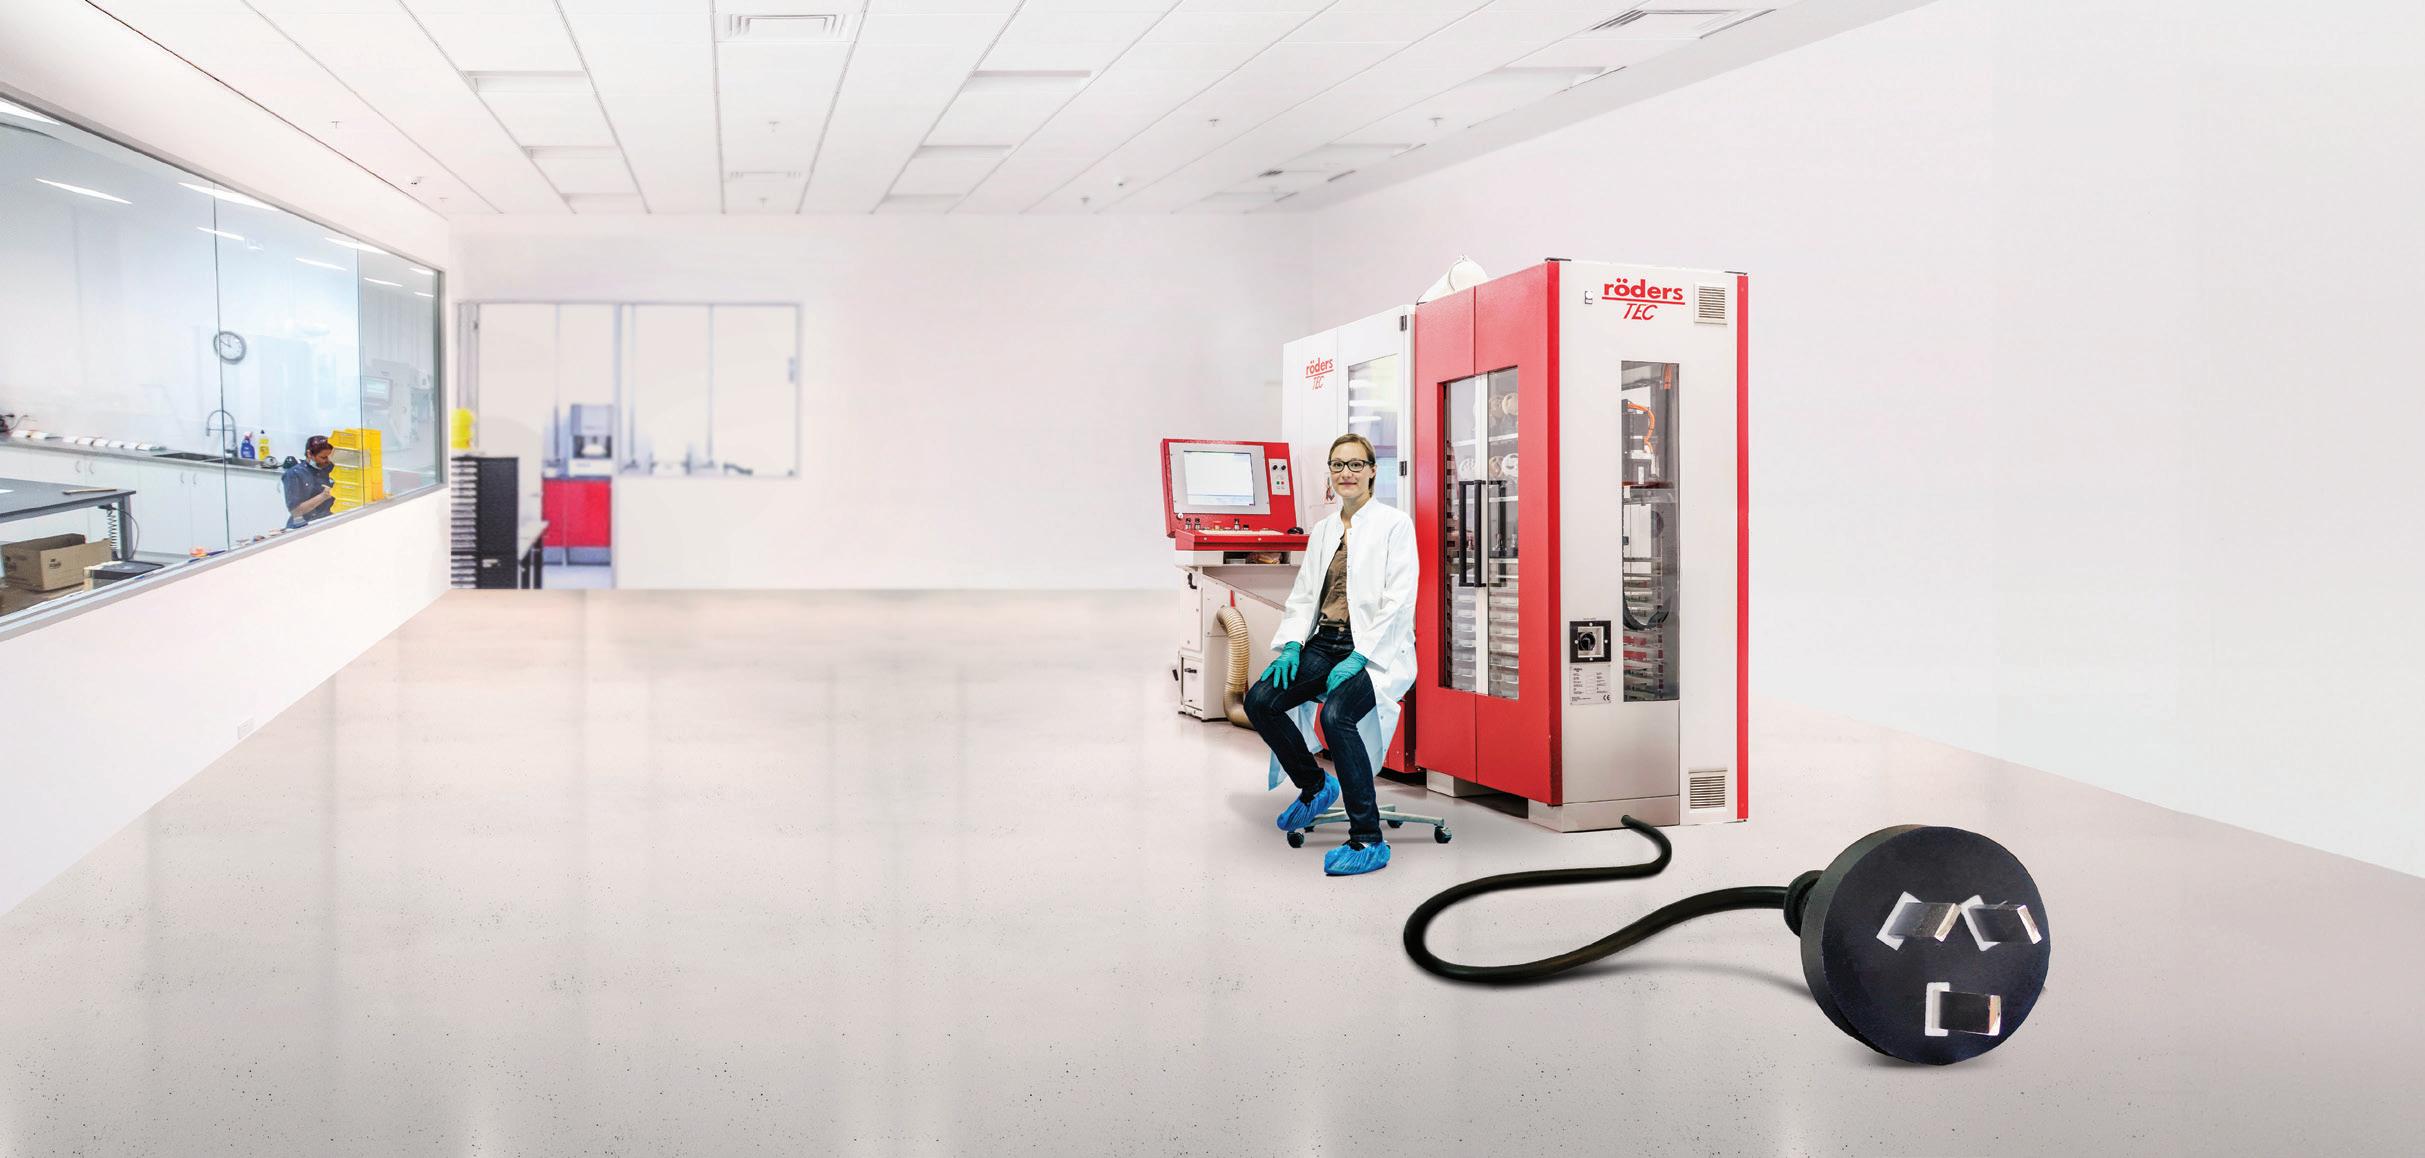
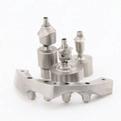
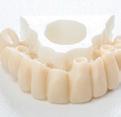
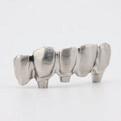
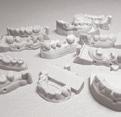
Whether you need assistance with complex cases or during busy periods, our purpose-built milling centre is here to help. Using the latest CAD/CAM technology and Australia’s only Röder’s High-Speed Dental Milling Machines, Dentmill can seamlessly manufacture a variety of top-end quality dental products for your lab.








By Joseph Allbeury
IDS, DDDT25, etc...
If the year ends in an odd number, then that also means the world’s biggest and best dental event is on again in Cologne, Germany. IDS 2025, being staged from March 25-29 at the Cologne fair grounds, will again showcase everything dentistry has to offer and then some. Plenty of evolution will be on display and no doubt, revolution too. I’m expecting every man and his dog to be touting the benefits of artificial intelligence in dentistry and it’s already making its mark. Expect lots of automation as well and let’s face it, the two go hand-in-hand. Certainly laboratories in Australia and New Zealand, where there is a skilled labour shortage, are embracing systems that can automate mundane, tedious tasks and even allow autonomous 24/7 manufacturing without human presence (All good unless you’re a fan of the Terminator movies which may well predict our future). Lucky or not, this will be my 13th “pilgrimage” to IDS and I’ll look forward to catching up with the countless Australians and New Zealanders who likewise make the trip. It is so much more than just a dental exhibition, it really opens your eyes to how massive the industry in which we work actually is. Certainly for anyone who goes by a bucket-list, go to IDS at least once in your life!
Also on everyone’s bucket-list is Digital Dentistry & Dental Technology 2025 which is now being staged on August 1-2, 2025.
After looking at many other venues, we’re again back at the Novotel Sydney Brighton Beach. We love the parking. We love the proximity to the airport. And now we love that the hotel will finally have finished their years-long renovation. The brand new ballroom with water views will be available and the reception and lobby are brand new too. There is also a lobby bar and Cocos Beach Sports Bar. There is the new Ammos Greek Restaurant, Ironbark Steakhouse and a new “Pan-Asian/Fusion” Restaurant. This adds to the Sands Terrace Bar and Restaurant that extends outdoors. The pool complex and outdoor areas are now first class. The owner of the property also now owns Luna Park in Sydney and is committed to excellence. So finally we have a true “destination” for DDDT25
Pushing the event back two months to the start of August both avoids the original dates in what has become a very cluttered May calendar and allows many of the new products being released at IDS to make their way to Australia.
We’re working with speakers and sponsors and exhibitors now to create an amazing event in what amounts to a new venue. Expect lots on full arch restorations, digital dentures, 3D printing, milling, CAD and CAM software, artificial intelligence, automation, I/O scanning, 3D facial scanning, milling, photogrammetry, materials, smile design, implantology, CBCT, cosmetic dentistry, aligners, ortho and more. So register now and SAVE before the early bird expires! Enjoy the edition...
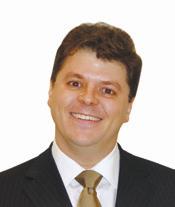
Joseph Allbeury, Editor and Publisher
Next generation of VITA VACUMAT furnaces

VITA VACUMAT furnaces have long been known for their quality and precision. The new VITA VACUMAT 6100 M is continuing this tradition. The new VITA VACUMAT 6100 M combines proven quality standards with innovative technologies. The optimised electronics enable even more precise results, ensuring a consistently high quality of dental work and increased efficiency in the laboratory. The simple operation, the preinstalled programs and the space-saving design have all been retained. These features guarantee easy handling and optimum use of the available space. This makes the VITA VACUMAT 6100 M a clear winner for dental technicians who value reliability, precision and innovation. As a fully automatic furnace with microprocessor-controlled technology, the VITA VACUMAT 6100 M is ideal for use with all dental ceramic firing processes and offers impressive quality and aesthetics. Thanks to its ergonomically optimised design, the furnace only requires a minimal footprint. Two integrated cooling trays support safe storage of fired objects. Innovative materials are used in the combustion chamber of the VITA VACUMAT 6100 M to ensure even more homogeneous heat distribution. The durable firing muffle - made in Germany - and reliable electronics guarantee consistently excellent firing results. The furnace also offers a wide range of monitoring and service programs that maximise working comfort, safety and time savings. One new feature of the VITA VACUMAT 6100 M is the linear cooling with simulation of the object temperature. This function ensures safe and precise firing results by guaranteeing even and controlled cooling. The VITA VACUMAT 6100 M is available now.
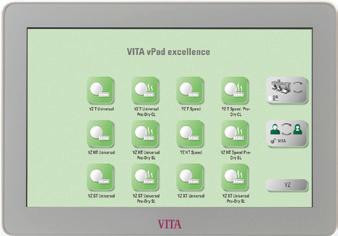
For more information on the VITA VACUMAT 6100 M, visit www.vita-zahnfabrik.com
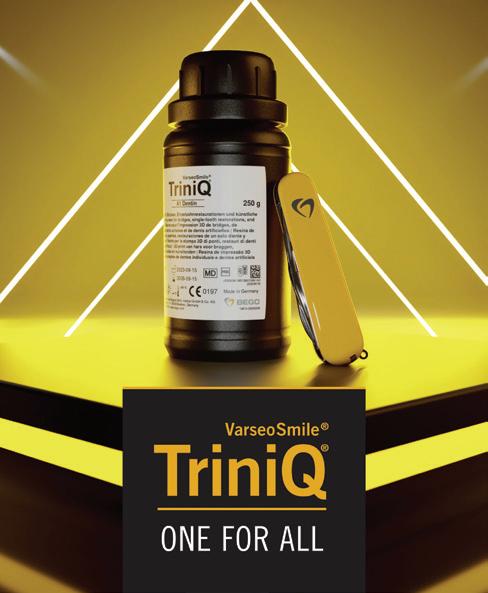
BEGO VarseoSmile TriniQ
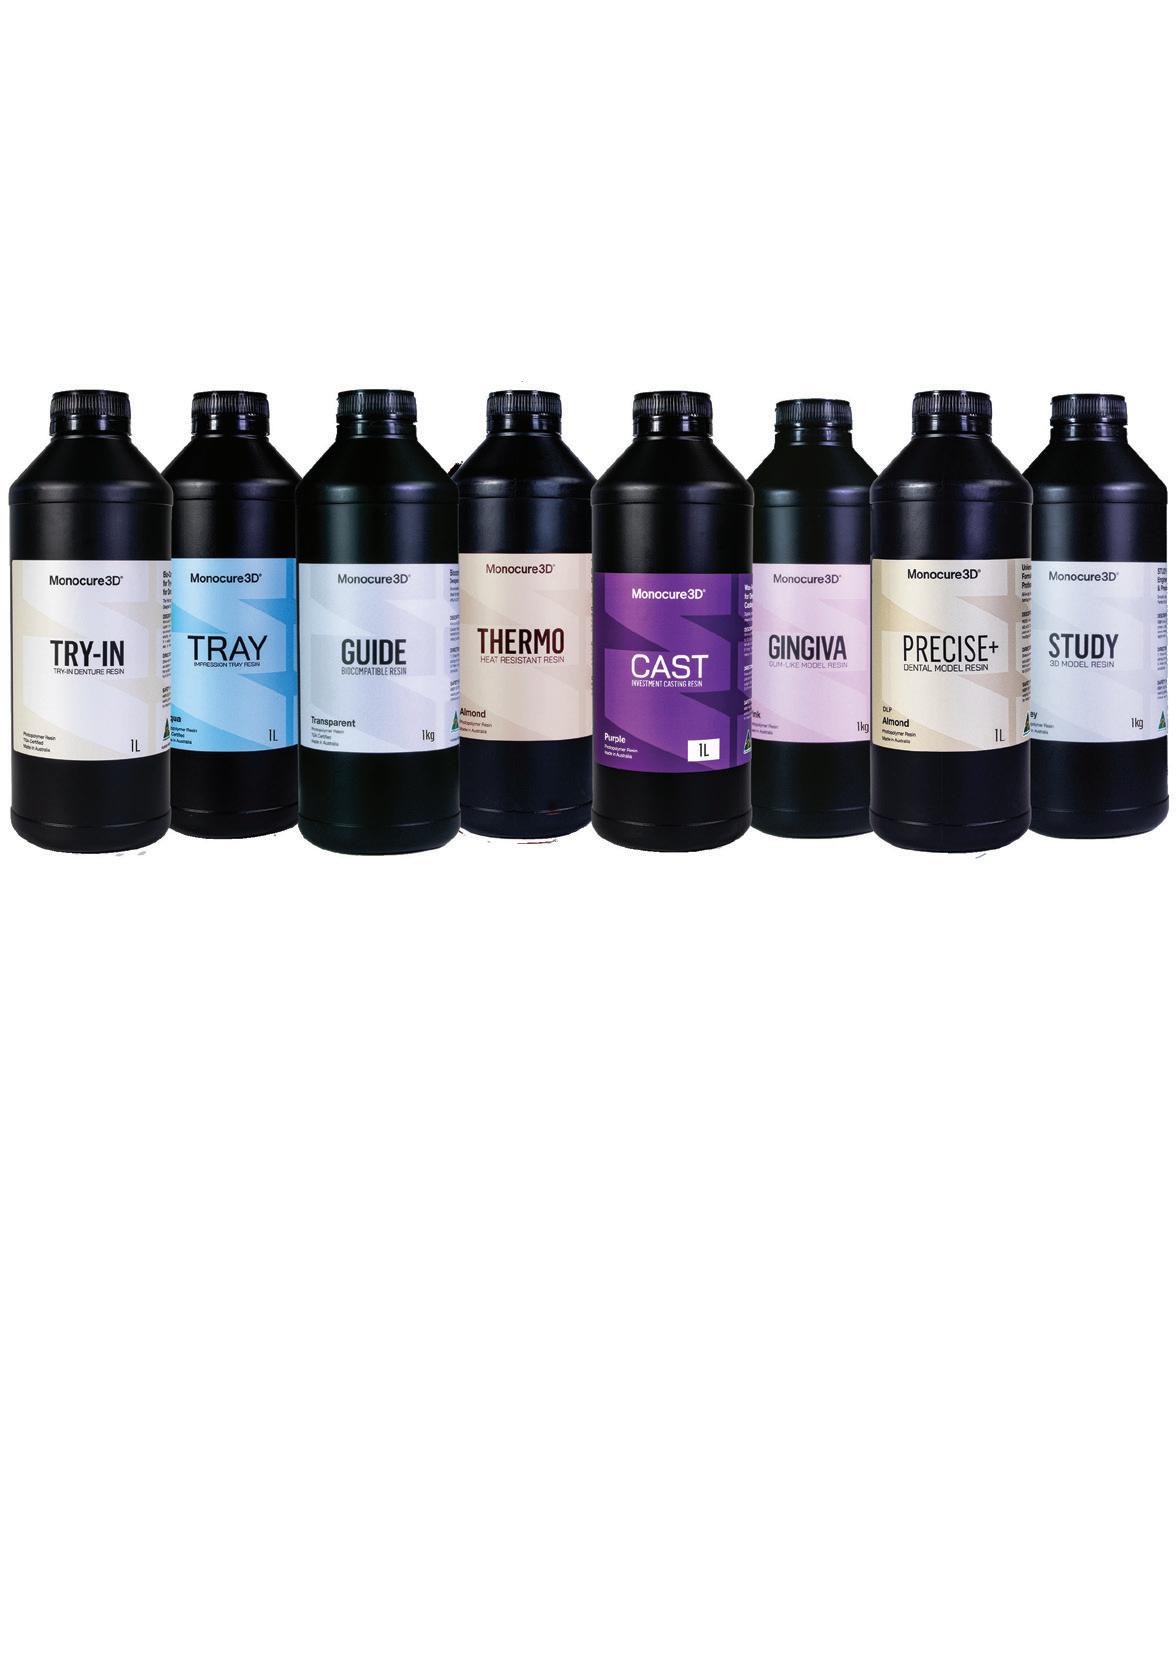
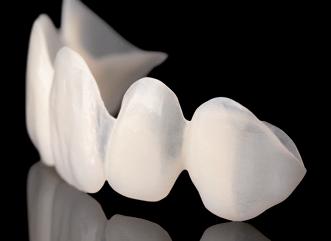
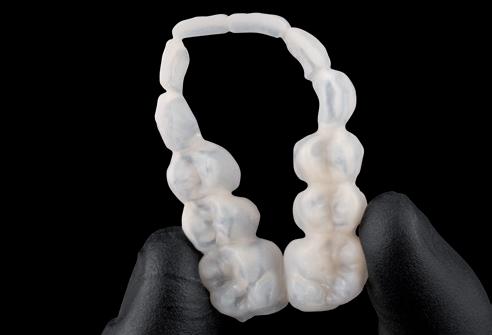
CM Medical has introduced VarseoSmile® TriniQ®, the latest advancement in dental 3D printing materials. Designed for versatility, it supports permanent crowns and bridges, extensive temporaries and denture teeth with exceptional stability and aesthetic quality. Offering 10 VITA® shades, outstanding polishability and superior translucency, it ensures seamless integration into natural dentition. VarseoSmile TriniQ boasts an efficient 3D printing workflow, high bond strength and excellent biocompatibility. Enhance your dental practice with this revolutionary material, providing superior patient care and expanding your treatment capabilities.
Available: CM Medical
Telephone: 1300-466-588
Email: info@cm-medical.com.au
Web: www.cm-medical.com.au
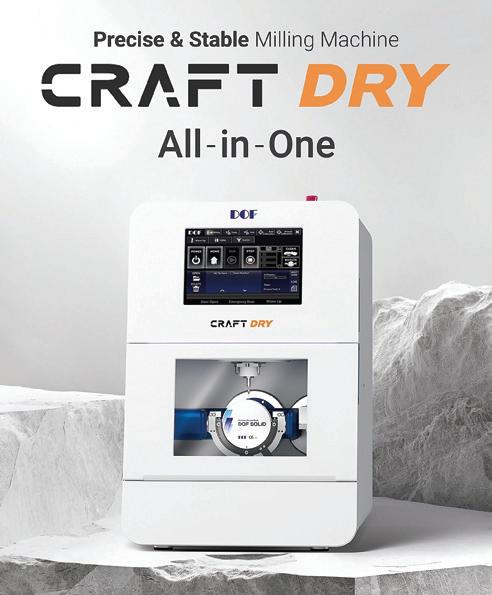
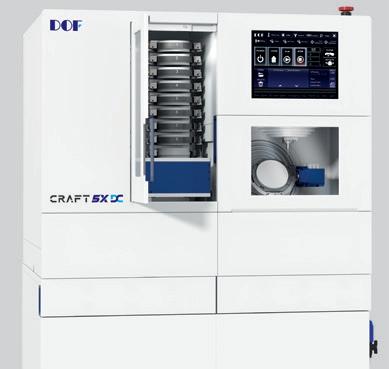
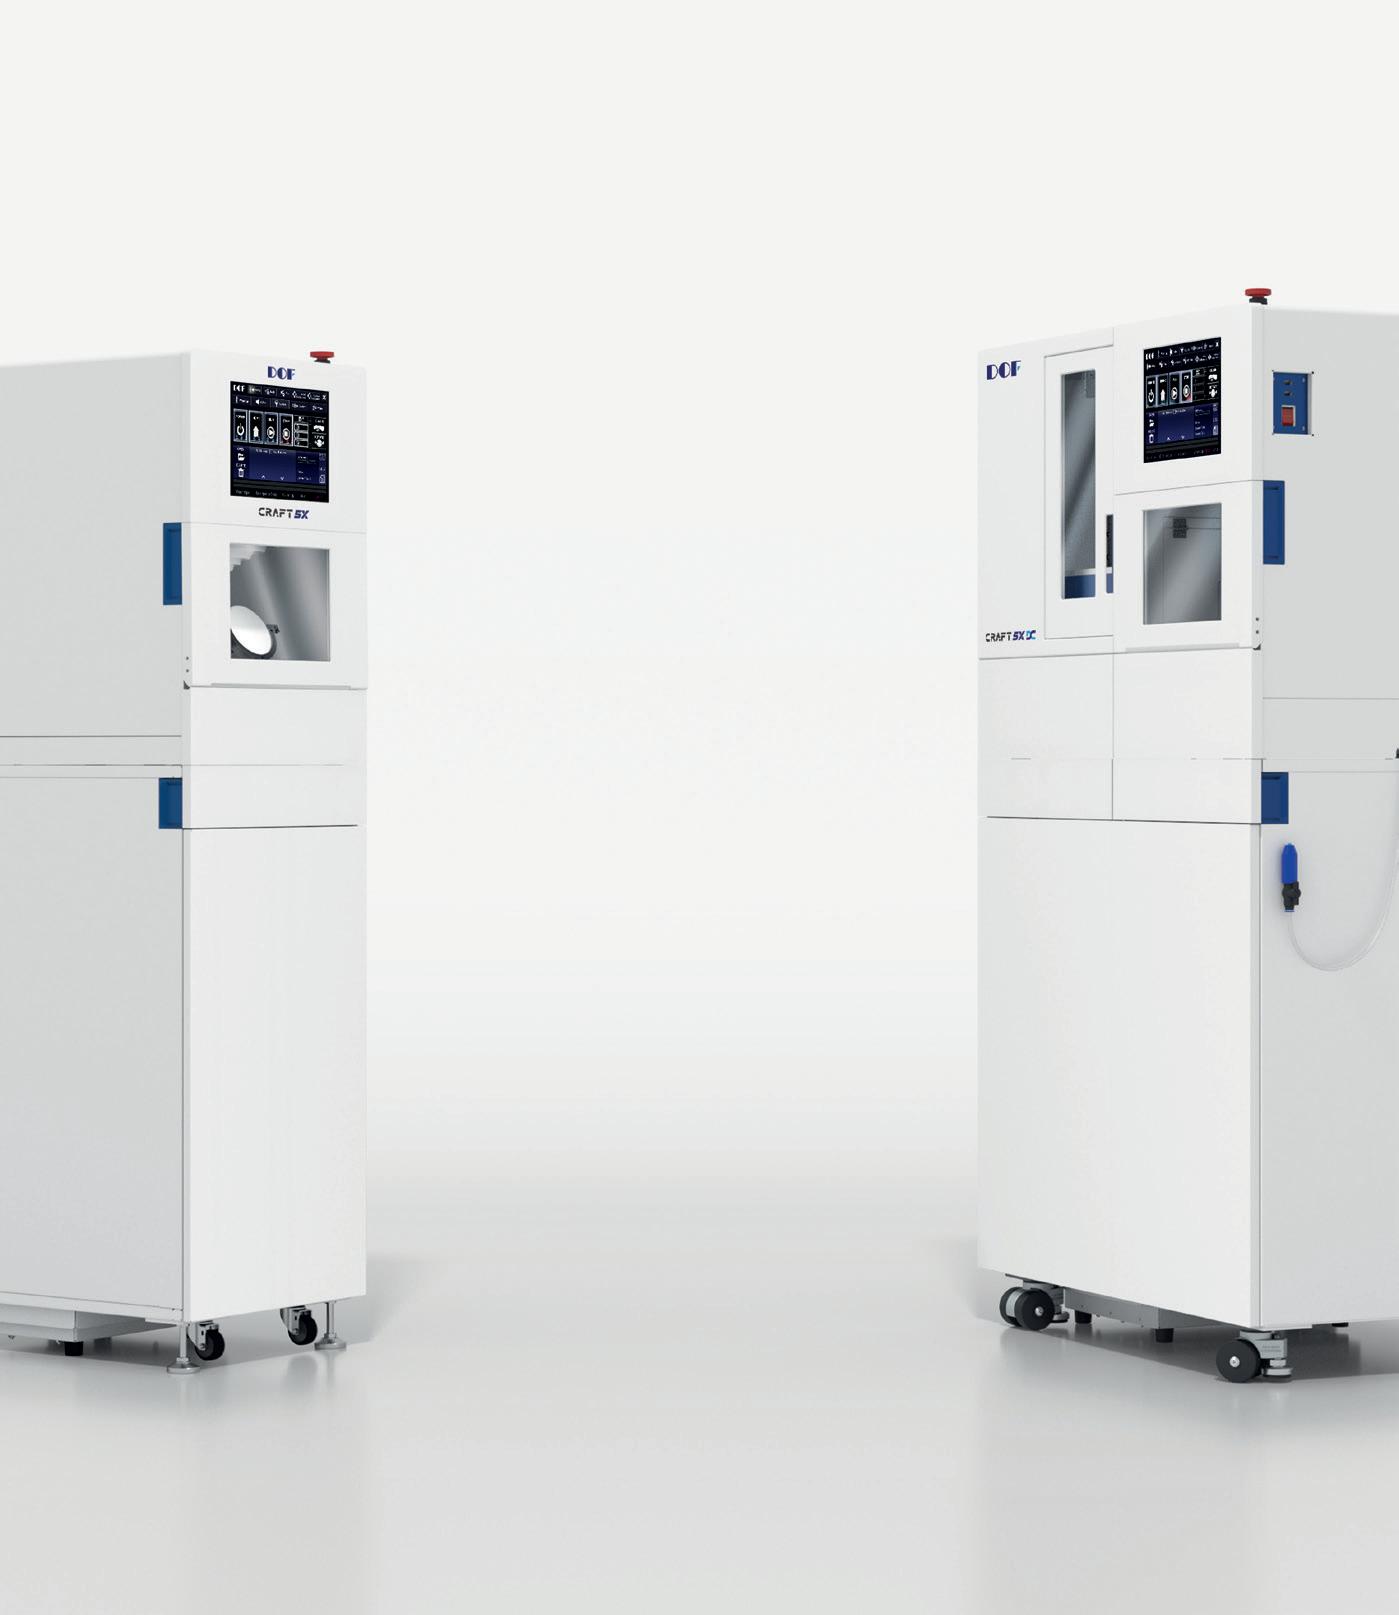
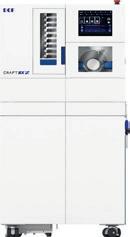
DOF CRAFT DRY All-in-One Milling Machine
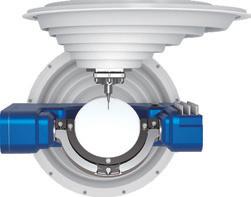
CM Medical has introduced the DOF CRAFT DRY milling machine, designed for precision and efficiency. Featuring an electric high frequency 800W spindle (60,000 rpm) and 5-axis with 90-degree milling, this machine ensures superior performance for milling zirconia, PMMA and hybrid blocks. The snap-in one-touch jig mounting system and automatic tool changer with 21 tool pockets streamlines operations. Complete with a built-in operating system, compressor and dust extractor and housed in a sleek cabinet, the DOF CRAFT DRY is your all-in-one milling solution for your lab with the latest in milling technology.
Available: CM Medical
Telephone: 1300-466-588
Email: info@cm-medical.com.au
Web: www.cm-medical.com.au
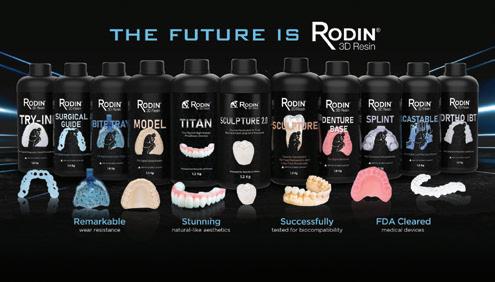
New Rodin 3D dental printing resins
RODIN™ 3D Resin is specially designed for various dental applications such as crowns, bridges, all-on-x, full arches, veneers, dentures, models, surgical guides, occlusal splints and try-ins. RODIN 3D Resin has strength and toughness against high impact and abrasion. Users can expect efficiency and profitability in the digital workflow. RODIN 3D Resin is compatible with popular 3D printers, especially the Ackuretta SOL 3D Printer, which has a validated procedure from printing to curing including the New Ackuretta SOL Plus 3D printer with the XL size build plate. Available: CM Medical - Telephone: 1300-466-588.





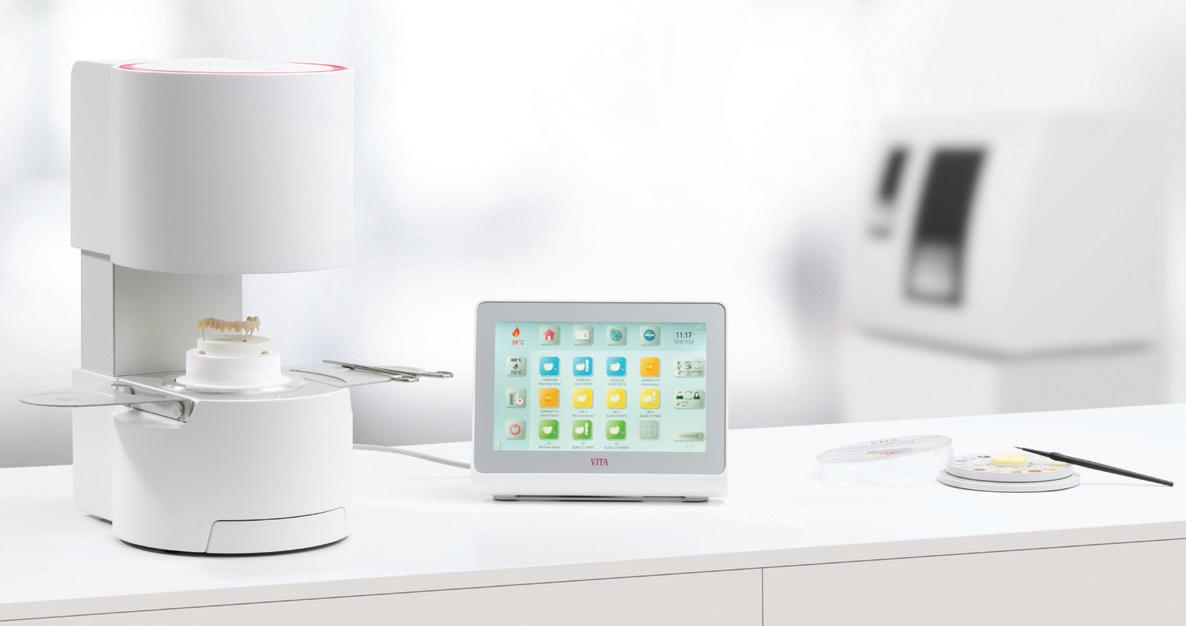
Design meets efficiency: The new VITA Smart.Fire Advanced
VITA Zahnfabrik presents the next generation of the VITA Smart.Fire furnace: the VITA Smart. Fire Advanced. This extensively developed furnace offers numerous new functions that ensure even greater efficiency in the dental practice, as well as in the laboratory.
Extended range of possible applications and increased flexibility
The VITA Smart.Fire Advanced is equipped with a larger firing chamber, which now also offers enough space for 14-unit bridges, creating even more versatility for laboratories. Linear cooling with object temperature simulation, ensures precise and reliable firing results. The new optional and attachable cooling tables,
along with the new firing tray and firing tray pins (four-finger pins and ceramic pins) expand the range of possible uses for the furnace and make it even more convenient to use. The new firing pins are available separately in single-variety replacement sets, as well as in a mixed basic set.
Proven efficiency and user-friendliness
The VITA Smart.Fire Advanced has retained the intuitive operation, preinstalled programs and space-saving design of its predecessor model. This ensures easy handling and optimum use of space. This furnace has been optimised for chairside applications, as well as for laboratory uses and meets all requirements for efficiency, precision and flexibility.
For info, visit www.vita-zahnfabrik.com
About VITA Zahnfabrik H. Rauter GmbH & Co. KG
VITA Zahnfabrik H. Rauter GmbH & Co. KG is a fourth-generation family business in the dental industry based in Bad Säckingen, in southern Germany. For almost 100 years, VITA has been developing, producing and distributing innovative, high-quality products and restoration solutions for dental technology and dentistry. Worldwide, more than 600 employees work for VITA Zahnfabrik, with the objective of being closer to users and customers than anyone else. Areas of expertise range from analog and digital shade determination, denture teeth and veneering materials, press ceramics and CAD/CAM materials and furnaces and dental materials. With scientific expertise and targeted training programs, VITA supports and advises dental experts from more than 125 countries in their daily work.


dentevents presents...
SYDNEY 1-2 AUGUST 2025
NOVOTEL SYDNEY BRIGHTON BEACH
TWO DAYS OF LECTURES AND WORKSHOPS ON DIGITAL DENTISTRY FOR DENTISTS, SPECIALISTS,
DENTAL TECHNICIANS AND DENTAL PROSTHETISTS


2025’s Best Digital Dentistry Event
Join us again or for the first time at Digital Dentistry & Dental Technology No 5 for a fun, exciting and fully immersive learning experience with the best of the best in the new age of dentistry. This year’s program will again cover Digital Smile Design • Digital orthodontics • Intraoral scanning • 3D Facial Scanning • Digital implantology • Digital full arch restorations and full mouth rehabilitations • Digital Dentures • 3D Printing • Milling • CBCT • Materials and applications • Software and more with MORE Hands-on Sessions • MORE Advanced Sessions • MORE New Products • NEW Masterclasses... and more!
REGISTRATION FEES
REGISTRATION FEES
$880 inc gst
$880 inc gst
EARLY BIRD PRICING
EARLY BIRD PRICING
$440 before 24 Jan 2024 price increases $110 on the 2nd of every month INCLUSIONS
$440 before 5 apr 2025 price increases $110 on the 2nd of every month
VENUE DETAILS
VENUE DETAILS
INCLUSIONS
Registration fee includes participation in TWO full days of education (12 CPD hours), all catering and Friday drinks. Multiple lectures and workshops are being run concurrently to allow you to build your own program to suit your specific interests. Price is all inclusive.
Registration fee includes participation in TWO full days of education (12 CPD hours), all catering and Friday drinks. Multiple lectures and workshops are being run concurrently to allow you to build your own program to suit your specific interests. Price is all inclusive.
PROGRAMME DETAILS
PROGRAMME DETAILS
FRIDAY 1 AUGUST 2025
FRIDAY 24 MAY 2024
9.00am - 5.00pm - education 5.00pm - 7.00pm - happy hour
9.00am - 5.00pm - education 5.00pm - 7.00pm - happy hour
SATURDAY 25 MAY 2024 9.00am - 5.00pm - education 12 HOURS CPD
SATURDAY 2 AUGUST 2025 9.00am - 5.00pm - education
Novotel Sydney Brighton Beach - The Grand Parade, Brighton-Le-Sands NSW 2216 - Close to Sydney Domestic and International Airports Check the website for details of discounted accommodation rates for the conference • Ample parking available at the hotel
12 HOURS CPD
Novotel Sydney Brighton Beach - The Grand Parade, Brighton-Le-Sands NSW 2216 - Close to Sydney Domestic and International Airports Check the website for details of discounted accommodation rates for the conference • Ample parking available at the hotel
by Dentevents™
Aesthetic, individual mock-up with the digital workflow
A cost-effective, non-invasive and efficient method to preview the final restoration


The latest software and material innovations have provided dental laboratories and clinics with functional analogue and digital tools to significantly improve patient communication with the restorative team. These are, amongst others, mock-ups and digital smile planification possibilities. Digital smile planification is undoubtedly helpful in understanding and predicting restoration outcomes. Mock-ups, on the other hand, are cost-effective, non-invasive and efficient methods for checking the treatment intraorally, improving the patient’s experience and assessing the restoration. In addition, mock-ups have proven to be valuable tools to enhance communication with patients and between dental technicians and dentists.
In the clinical case presented here, the patient requested a noninvasive restoration to improve the aesthetics of his anterior teeth. The patient had a diastema between teeth 11 and 21 and showed a dentoalveolar disharmony, characterised by the disproportion between the size of teeth and alveolar ridge. The restorative team proposed an innovative solution consisting of Prettau® Skin® zirconia veneers for the patient. Prettau Skin veneers show a thickness of 0.2 mm and are cemented to the natural teeth with zero to minimal impairment of the tooth substance. Independently of how invasive a restoration can be, it might be difficult for patients to accept and get used to a prosthesis, especially if this is meant to be placed in the anterior region. Therefore, to provide the patient with the best possible care, the workflow included the creation of a mock-up. The present article focuses on the digital workflow for fabricating a tailor-made mock-up and its implementation in the patient’s maxilla.
Mock-ups: Indications and advantages
Mock-ups are particularly indicated for diagnostic purposes as well as aesthetic and functional results verification. They can also guide buccal or occlusal reduction and are suitable in cases of worn dentition, shape and length correction, misaligned teeth and chromatic alterations. In cases of bruxism, mock-ups can also help to stabilise the occlusion, relax masticatory muscles by eliminating interfering contacts and define the new occlusion.
No doubt, such restorations can significantly help the patient evaluate their new future smile. When used like temporary prostheses, they help the dentist meet the patients’ increasing demands for quick results, providing an aesthetic solution between impression taking and the final restoration. In this case, the mock-up served as an evaluation tool for functional and aesthetic aspects and a temporary restoration between the digital impression phase and the cementation of the final, ultra-thin zirconia veneers.
However, mock-ups also facilitate clinic-laboratory communication. Thanks to this valuable tool that the patient can wear in the mouth for several months, the dental technician can acquire all necessary information to produce a final prosthetic without damaging the natural teeth. Such information concerns functional and aesthetic aspects, such as occlusion data, vertical dimension, position of the free margin, lip support, phonetics correction or tooth proportions evaluation concerning the patient’s physiology and face anatomy. To resolve possible descending problems, the full PlaneSystem® protocol (MDT Udo Plaster, Germany) can acquire patient’s data digitally and create a snap-on smile to correct improper body posture.
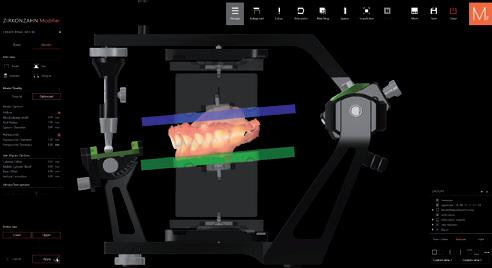
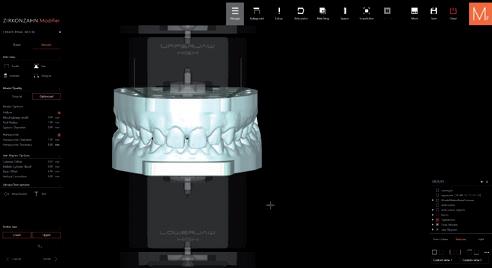
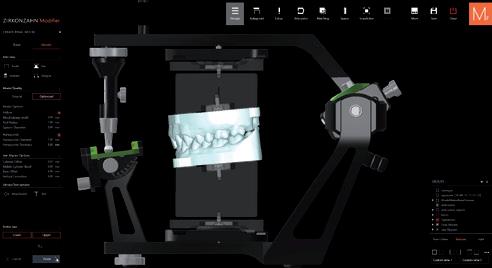
Figure 7. Thanks to the software flexibility, the JawAligner system allows the dental technician not only to save material but also to articulate models independent of their height, since the spacer plates are available in different heights.
Impression taking
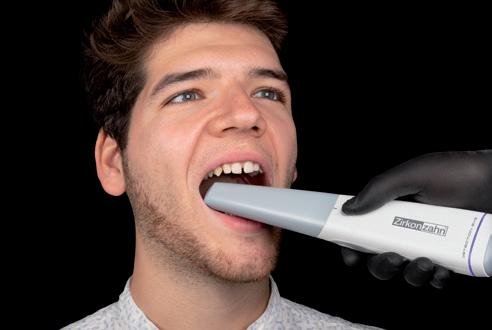
In the first step of the treatment, the dentist digitally recorded the patient’s oral situation using an intraoral scanner. In this case, Detection Eye (Zirkonzahn) was used. The new intraoral scanner allowed the dentist to record the patient’s maxilla in less than 60 seconds without using powders, making the impression more comfortable for the patient. In addition to the scans, the dentist took several 2D photos of the patient’s face to enable a better analysis in the software by the dental technician at a later stage.
Model and mock-up design with digital smile planification
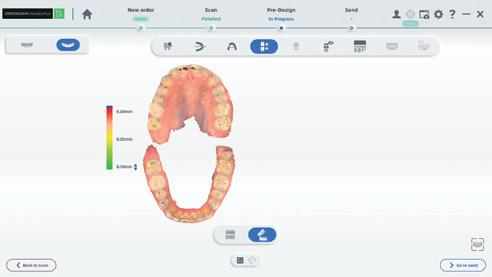
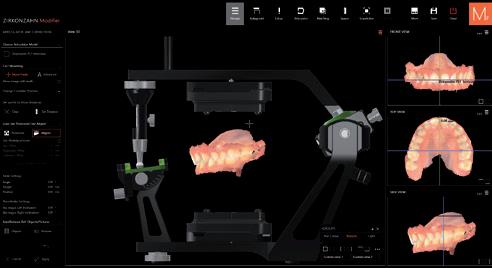
The dentist easily sent the acquired scans to the dental technician via the dedicated cloud. Once the data is received, the dental technician imported all information smoothly into the Zirkonzahn.Modifier design software. Via the Model Maker software module available in the software, the dental technician designed a patient-specific model for the upper and lower jaws. During the design, the model bases were provided with a special connection, for the subsequent plaster-free articulation of the models using the JawAligner system
In the same software, the dental technician designed a wax-up on the model according to the virtual analysis and the dentist’s instructions. The design software has unique functions to create the tooth setup, such as “Precise Movements” and “Automatic Placement” using the Plaster-plane, the multi-view function and the golden radio setup.
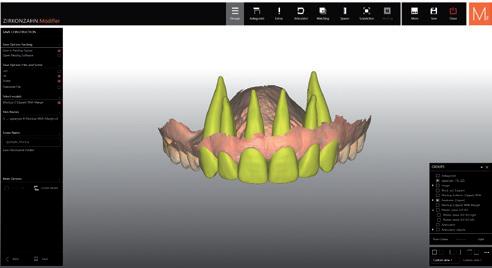
Figure 8. The intraoral scans are combined with tooth libraries provided with roots. The several tooth sets available in the software have different morphologies in order to choose the most suitable set for the patient.
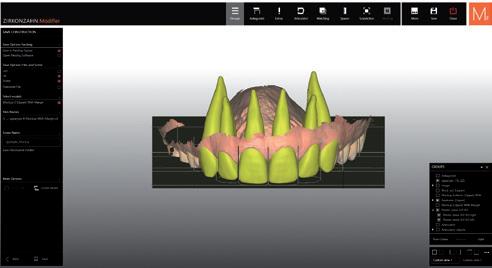
10. In the Zirkonzahn.Modifier software, it is possible to add planes and lines to help the dental technician to place teeth correctly (e.g. Plaster-plane).
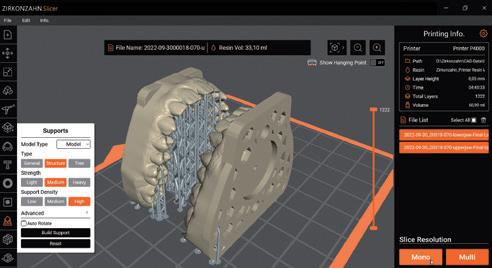
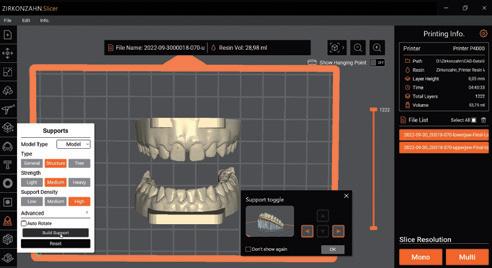
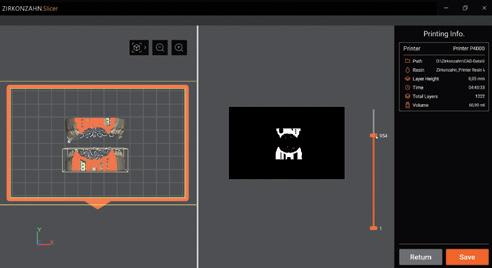
12. If several models have to be printed, it is possible to place the objects vertically adding different kinds of supports.
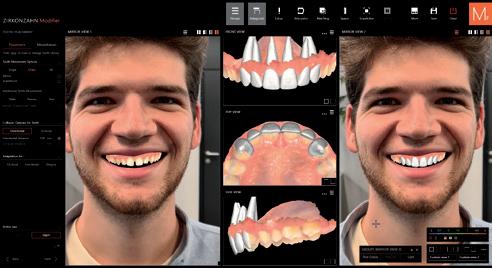
The tooth setup was made with the aid of the patient’s
photos, considering aesthetic parameters.
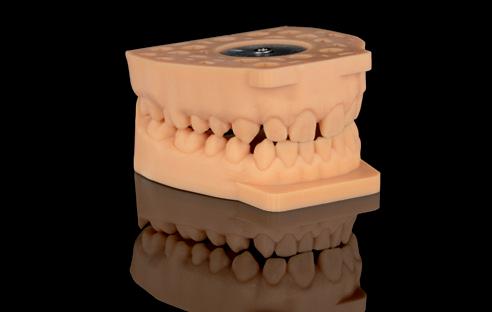
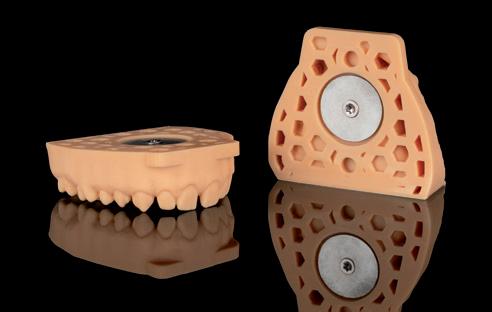
Figures 14a-b. The printed models are provided with the JawAligner magnetic plates, allowing plaster-free articulation.




INDIVIDUAL MOCK-UP

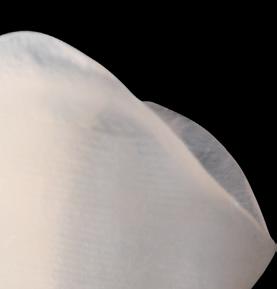
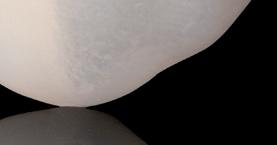
A COST-EFFECTIVE, NON-INVASIVE AND EFFICIENT METHOD TO PREVIEW THE FINAL RESTORATION – MADE WITH MULTISTRATUM ® FLEXIBLE RESIN
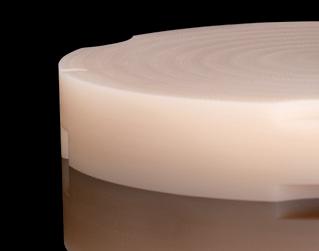
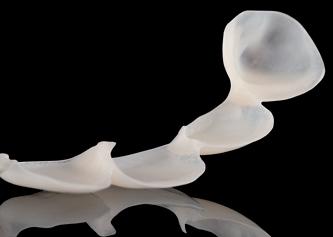
Ultra-thin mock-up made 100 % digitally with Zirkonzahn workflow and produced with Multistratum ® Flexible: a particularly flexible resin with natural colour gradient and high durability, ideal for long-term provisionals and prototypes, from single crowns to full arches. The optimum flexibility of the material reduces the risk of fracture and compensates for possible slightly diverging insertion directions.




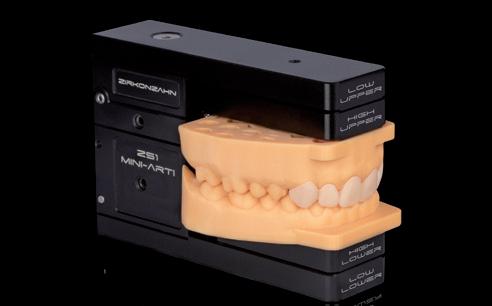
Figures 15-16. The milled mock-up on the printed model; he models mounted into Zirkonzahn’s Mini-Arti ZS1 using the JawAligner. This mini articulator offers a double advantage: It is a practical tool for simulating opening, closing, protrusion, retrusion and laterotrusive movements of single crowns and small bridges, and, at the same time, it is also a valuable device for delivering or discussing with the practitioner any kind of dental job produced from intraoral scanners.
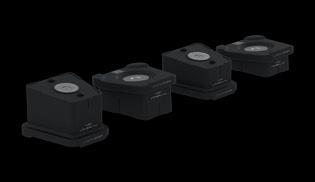
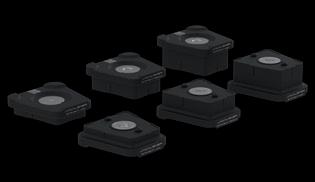
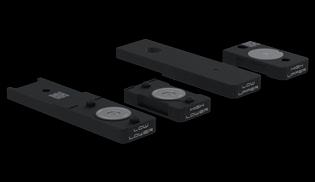
Figures 17a-c. The two sets of JawAligner – one inclined and one straight – enable a plaster-free articulation of models according to the occlusal plane inclination. A third set is available for use in combination with the Mini-Arti ZS1.
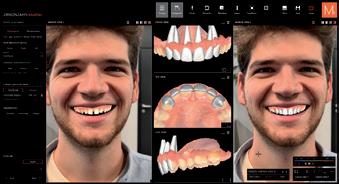
Once created, the digital mock-up was shown to dentist and patient through a simulation on the 2D pictures to obtain a preview of tooth shapes and proportions. Once the prosthetic solution was approved, the mock-up was milled in Multistratum® Flexible resin to perform the intraoral assessment. Before evaluation in the patient’s mouth, the mock-up was also tested in the physical articulator. To do so, the previously designed models were 3D-printed using the P4000 system, which is already provided with pre-configured settings to facilitate printing.
Mock-up verification: Plaster-free articulation on the model and intraoral test
Subsequently, the printed models were mounted into the Mini-Arti ZS1 physical articulator without plaster using the JawAligner system. This system consists of magnetic spacer plates permitting the fixation of the milled and 3D-printed dental models in the articulator without plaster. They are available with different heights, which allow the dental technician to save material and articulate models independently of their height. Moreover, the two sets – one inclined and one straight – enable the articulation of models according to the occlusal plane inclination. In addition, the JawAligner avoids the risk of possible model deformations caused by the hardening process of plaster. After checking, the mock-up was tested into the patient’s mouth to assess functional, aesthetic and phonetic aspects: the prosthesis perfectly fit the patient’s anatomy, meeting all initial requirements. Due to the beautiful aesthetics of the mockup, the dentist opted for using it as a temporary restoration to help the patient get used to the new smile and test masticatory performance and phonetics in his daily routine.

18. The initial situation and the patient’s smile with the aesthetic mock-up.
Precise colour selection using monolithic zirconia shade guides
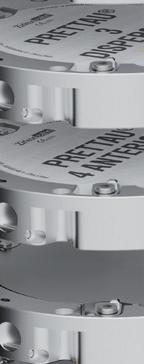
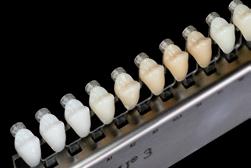
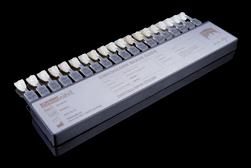
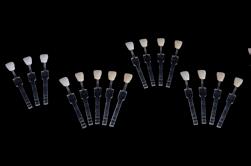
During the same chairside appointment, the dentist selected the most suitable tooth shade for the final zirconia restoration using unique shade guides composed of monolithic zirconia sample teeth (Zirkonzahn Shade Guide Prettau® Line). The sample teeth are available in the shape of a premolar and upper and lower incisor. Since they are made of monolithic zirconia, if the shade guide and the material of the final restoration are identical, it is possible to have an exact colour preview of the definitive restoration. In this case, Prettau 3 Dispersive® zirconia was selected: An exceptionally high translucent material with a triple gradient of colour, translucency and flexural strength.


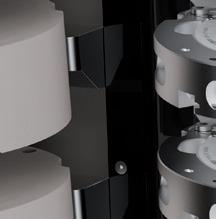


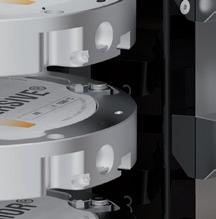
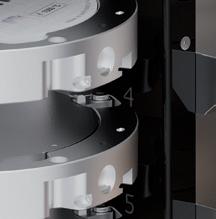
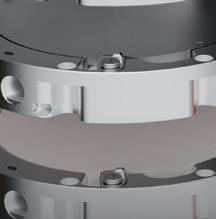

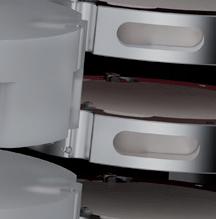
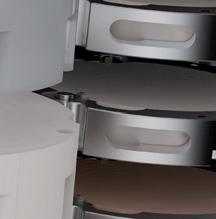
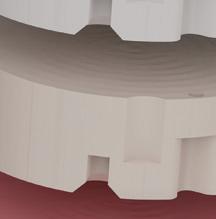
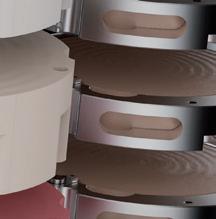


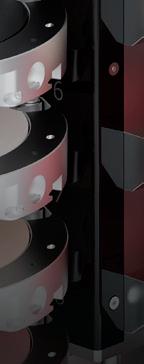

+ Fully automatic blank changer
+ Blank storage for up to 16 or 80 blanks (upgradable)

+ Tool magazines (2x30) with automatic tool changer function


NEW! MILLING UNIT WITH FULLY AUTOMATIC BLANK CHANGER FUNCTION FOR UP TO 16 OR 80 BLANKS (UPGRADABLE)

r.zirkonzahn.com/gzz


+ Teleskoper Orbit SelfLock (Ø 125 mm) for processing material blanks with Ø 95 mm, 98 mm, 106 mm and 125 mm
+ Performance Spindle with max. torque of 200 Ncm at speeds of 6.000 to 50.000 rpm with a peak power of 2.5


Opening a world of where the only limit is your imagination... colour

Opening a world of where the only limit is your imagination... colour
Opening a world of where the only limit is your imagination... colour
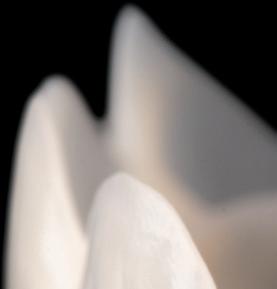
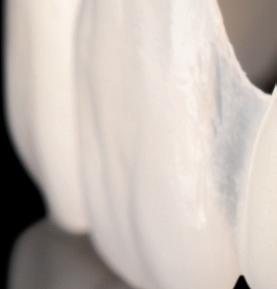
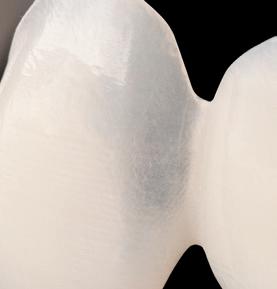
Figures 19a-d. Zirkonzahn Shade Guide Prettau Line is composed of monolithic zirconia sample teeth in the shape of upper and lower incisors as well as premolars. Since they are made of monolithic zirconia, if the shade guide and the material of the final restoration are identical, it is possible to have an exact colour preview of the definitive restoration.
Opening a world of where the only limit is your imagination... colour Opening a world of where the only limit is your imagination... colour

Watch the video to see how flexible the resin is!
IAesthetic material for temporary mock-ups
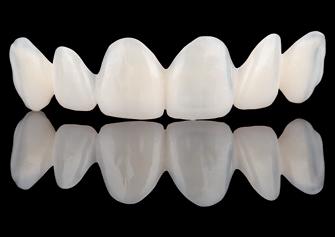
f the mock-up is meant to be a temporary restoration, choosing the material is important. It is essential to select an aesthetic material showing high thickness, flexural strength, chemical inalterability, and mechanical resistance to masticatory stress. For the present case, the dental technician produced the mock-up using Multistratum® Flexible: a resin already provided during manufacturing with a natural colour gradient from dentine to enamel, which lends the restorations a beautiful aesthetic. In addition, the exceptionally high flexibility of the material reduces the risk of fractures to a minimum, permitting the compensation of slightly diverging insertion directions. These characteristics make this material suitable for long-term temporary restorations. The resin can be also characterised by stains to further improve the aesthetic effect.
However, when the mock-up was tried intraorally, advising the patient about the different aesthetic result of the final veneers, which would be fabricated using highly translucent zirconia, was essential. Thanks to the monolithic zirconia shade guide used by the dentist, the patient could preview the colour of the final veneers and be involved in the shade selection before any irreversible choice was made.
Reprinted with permission from from Labline Magazine, June, pp. 96–105.






aussieguard@bigpond.com.au


aussieguard@bigpond.com.au
aussieguard@bigpond.com.au






ONLINE CPD CENTRE
Answer the questions online at www.dentalcommunity.com.au To
(02)


TQuestion 1. Name a main contributor to significantly improve patient communication with the restorative team:
a. Morse Code.
b. Telephone.
c. Latest software and material innovations.
d. None of the above.
Question 2. The veneers suggested were...
a. Prettau Skin PMMA
b. Prettau Skin Aluminium Oxide
c. Prettau Skin Lithium Dislocate
d. Prettau Skin Zirconia
Question 3. The thickness of the veneers can be...
a. 300 µm
b. 200 µm
c. 250 µm
d. 400 µm
Question 4. Mock-ups can...
a. Help stabilise occlusion.
b. Allow the patient to eat ribs with it.
c. Be not useful at all.
d. None of the above.
Question 5. The mockup was milled with...
a. Plaster
b. Multistratum flexible resin
c. Lithium disilicate
d. Wood


Question 6. New disks are available that allow...
a. More work to get individualised results.
b. Less work to get individualised results.
c. Vulcanite restorations.
d. None of thes above.
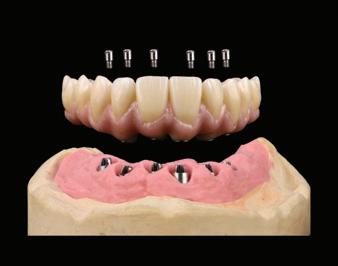
Question 7. The dental parts of the screw-retained implantsupported dentures were designed fully...
a. By manual means.
b. Anatomically.
c. With PMMA.
d. None of the above.
Question 8. Shade effects were created with...
a. Laser beam.
b. Windows 98 Software.
c. Vita YZ Effect Liquid.
d. Food colourings.
Question 9. The strength of the zirconia quoted is...
a. 1100 MPa
b. 1300 MPa
c. 1200 MPa
d. 600 MPa
Question 10. The glaze used was...
a. Vita Akzent
b. Nail polish
c. Walmart Glaze.
d. Brush-on generic glaze.
INSTRUCTIONS:

Making ordinary extraordinary - Part 3
By Dr Andrea Kim, DDS and Kyungsik Park, dT
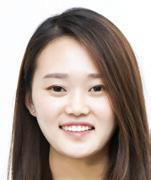

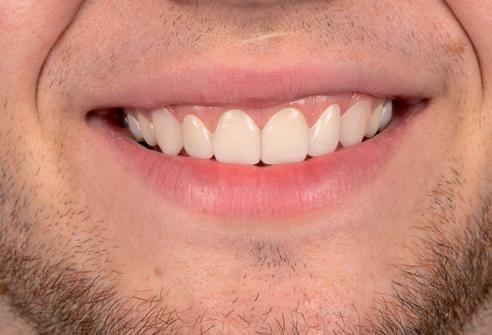
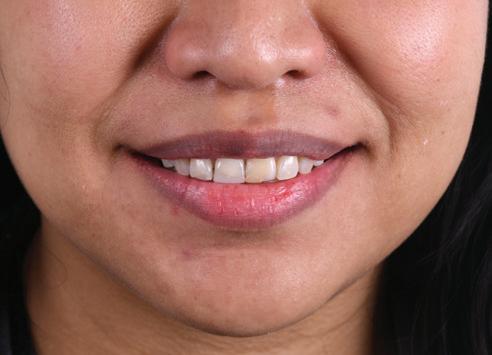
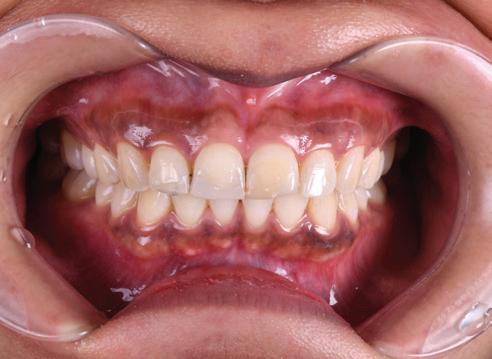
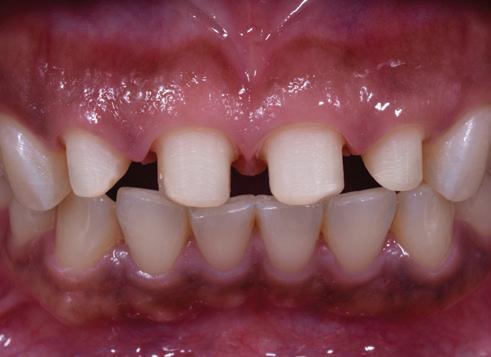
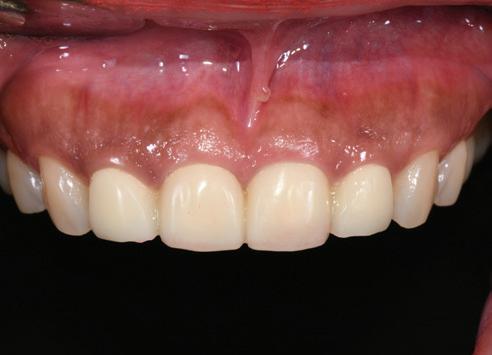
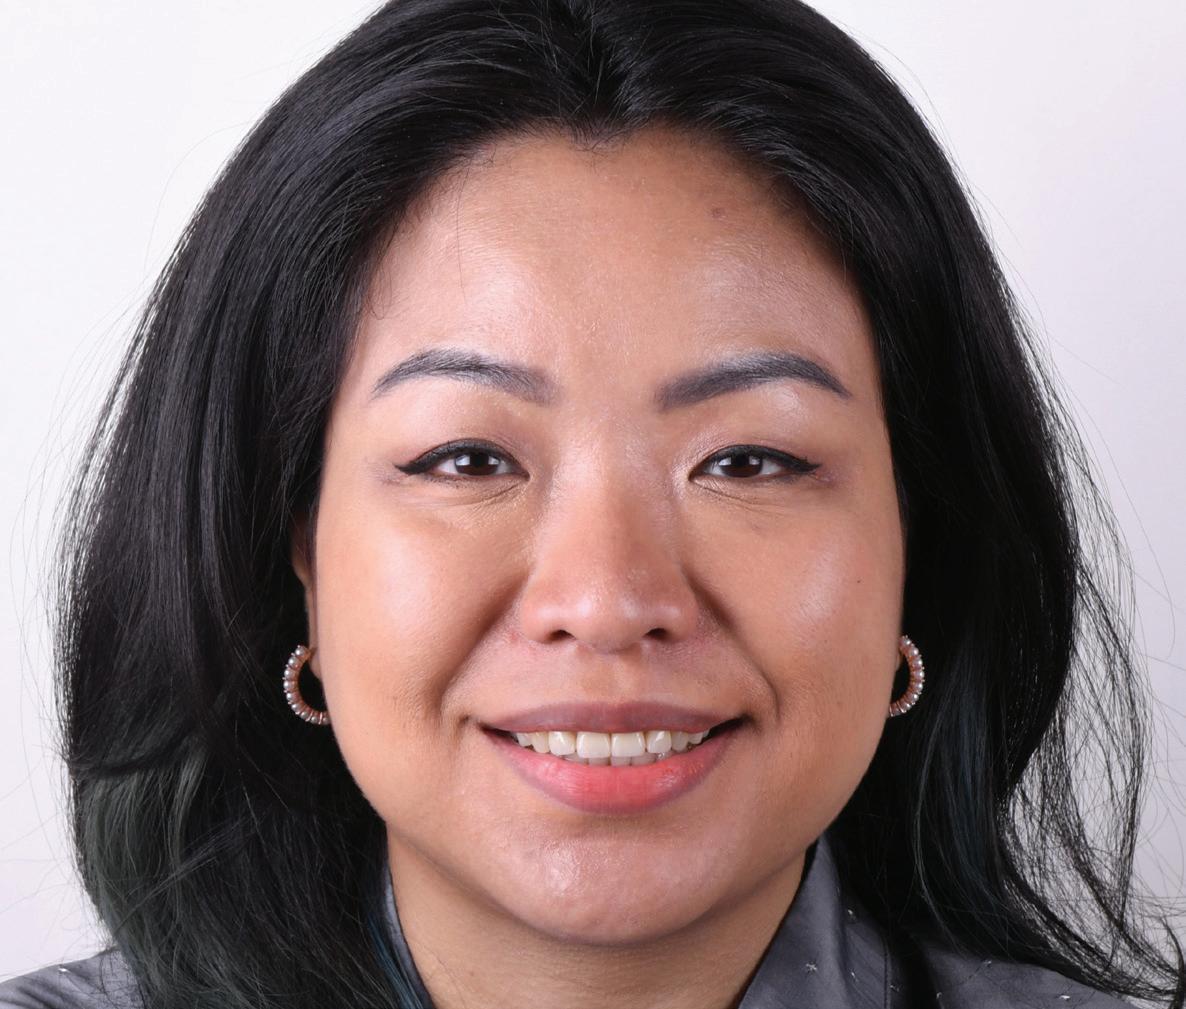
A38-year-old female patient expressed dissatisfaction with the restoration of her front teeth. Specifically, the right central and lateral incisors had been restored using resin, which was anchored by pins. Over time, this resin became rough, discoloured and chipped. The gray color of the pins was also visibly showing through the resin. As a consequence, the incisal lines of the four incisors were not harmonious with the lower lip line. It is presumed that the recurring chipping of the resin and the need for pins were due to improper anterior guidance, which has been a continuous issue. As a result, the patient expressed embarrassment regarding the appearance of her smile and sought a treatment option that could provide a more aesthetically pleasing and natural-looking result (Figures 51-52).
TPlanning
he initial plan was to carefully remove the old resin and metal pin on the incisal portion without causing any harm to the healthy teeth. However, during the removal process, a significant amount of tooth structure was unintentionally removed, specifically on teeth 12 and 11. Consequently, the most suitable course of treatment was determined to be the placement of four upper incisor zirconia crowns after whitening.
Clinical treatment
Pins and old resin materials were meticulously removed from teeth 11 and 12 to ensure the remaining tooth structure was not damaged and to prevent pulp inflammation. New resin cores were added to these teeth, which were then prepared for monolithic zirconia crowns. While the patient was provisionally restored, the teeth were monitored for any symptoms (Figures 53-54).


Fabrication of the crowns in the laboratory
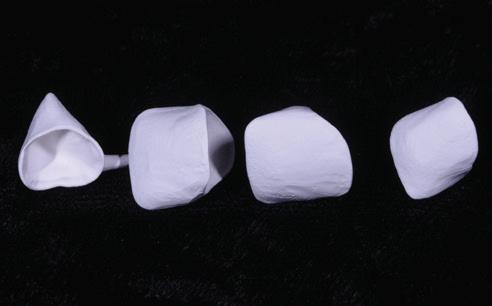
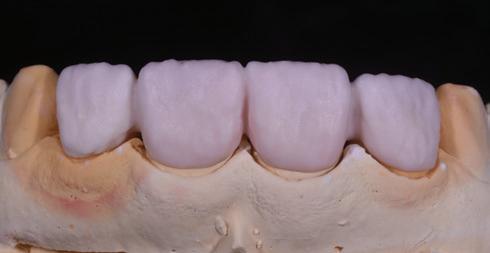
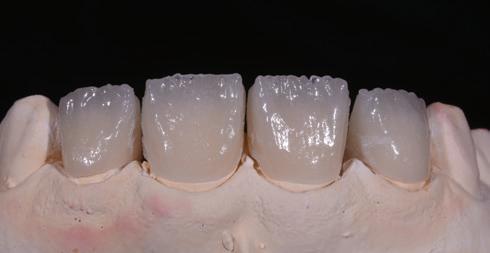
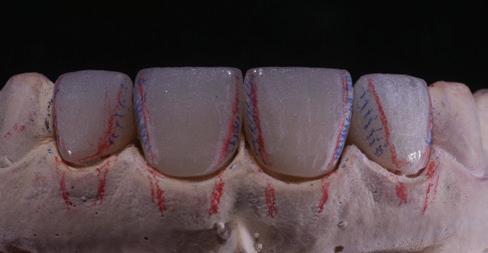
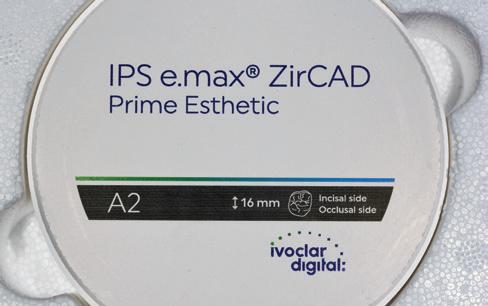
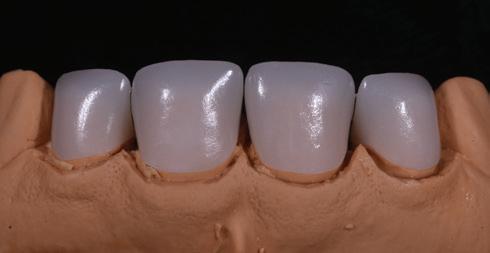
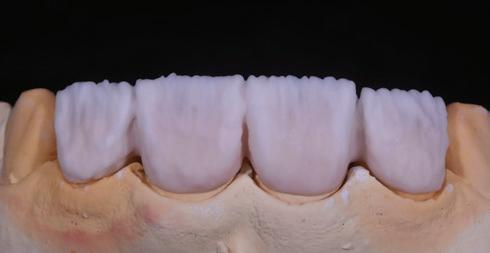
For this case, Ivoclar’s IPS e.max® ZirCAD Prime aesthetics was utilised. The exceptional transparency of the chosen zirconia disc facilitated the fabrication of thin crowns, all while ensuring precise colour reproduction without the need for thick layering. The core design incorporated zirconia extending to the
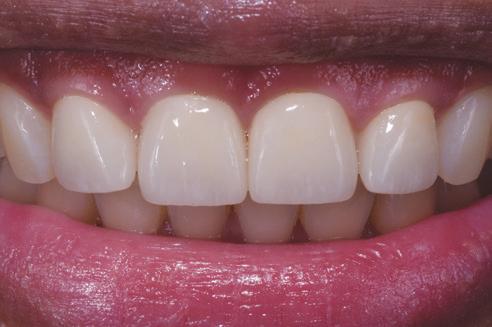
incisal edge, aiming to prevent incisal fractures. Layering was achieved by applying IPS e.max Ceram dentine powder such as OE1, OE2 and T1 to the designed core. Since all four anterior teeth were vital, minimal tooth preparation was conducted to create the crowns, resulting in excellent colour reproduction (Figures 55-56).

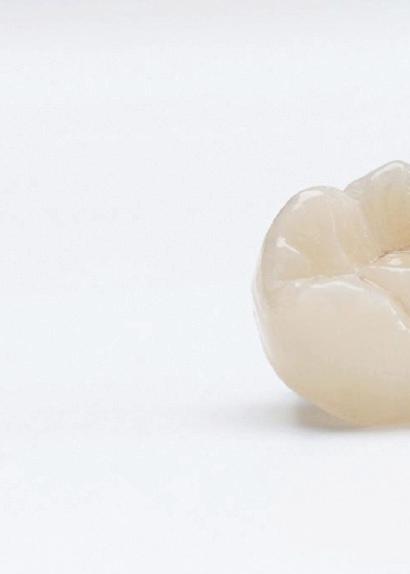



IPS e.max® CAD is used by dentists all over the world and has set standards in quality and material properties for almost 20 years. Designed to prioritise aesthetics and efficiency, it provides reliable solutions for a wide range of patient needs. Clinical studies have confirmed the durability of this material.


ceramic | TECHNIQUES
Result
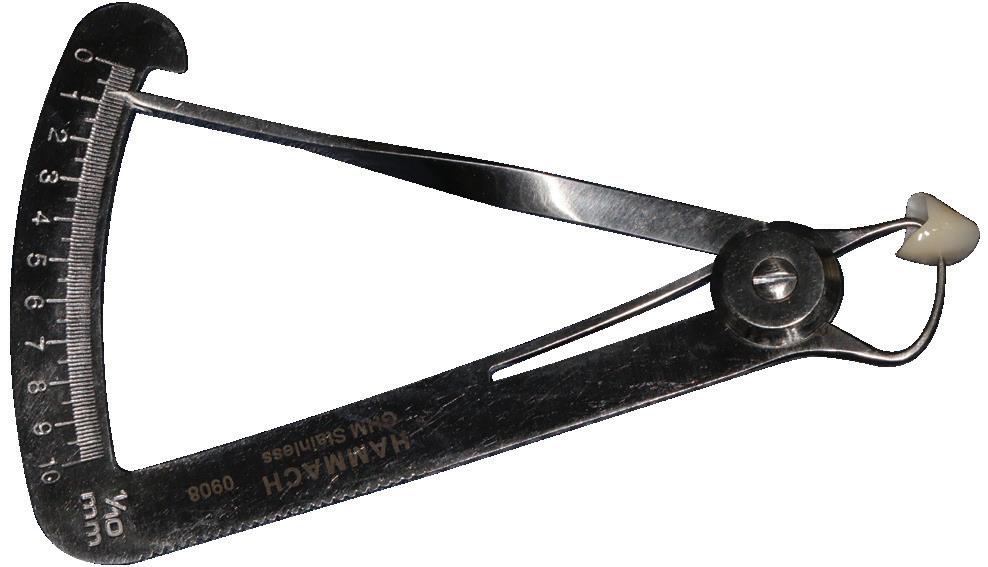
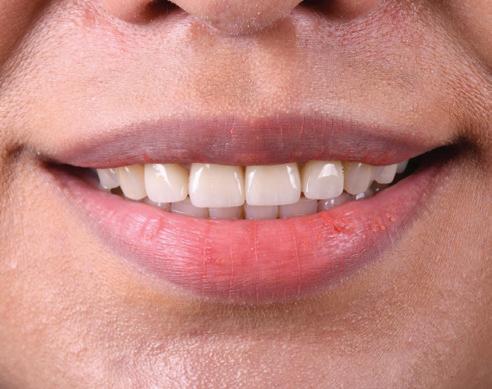
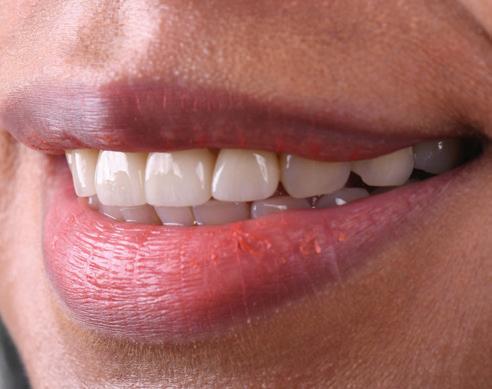
The results showcased the natural shade and exceptional transparency of IPS e.max® ZirCAD Prime aesthetics, even in areas with a thickness of less than 0.7mm. While the preparation guidelines recommend a crown thickness of 0.8mm for anterior teeth, minimal preparation was undertaken because the teeth were vital. Although the two central incisors appeared slightly shorter, the length of the crowns was determined appropriately, considering the patient’s recorded anterior guidance. This approach ensures the crowns will have long-term durability and protection (Figures 63-68).
Conclusion
Today’s advanced aesthetic zirconia materials offer dentists and laboratories a range of options. These can be milled to full contour, providing satisfactory aesthetics and translucency. They are especially suited for clinical scenarios requiring high mechan-
ical stability, thin restoration walls and natural aesthetics. These materials, blending the finesse of aesthetics with the strength of modern ceramics, position themselves as invaluable assets for practitioners, paving the way for more refined, durable and aesthetically pleasing restorative solutions.
About the authors
Dr Andrea Kim, DDS is a general dentist at Global Dental Clinic in Seoul, South Korea.
Kyung-Sik Park is a dental technician who trained at Daejeon Health Sciences College, Korea and Goldman Dental Laboratory in Germany. He has lectured at the Ivoclar International Meeting in Liechtenstein and has been published internationally in leading dental technology journals including Dental Dialogue and Dental Labor. He is President of Natural Line Dental Laboratory in Seoul, Korea; Director of the Natural Line Clinical Research Centre; and an Ivoclar Korea Instructor.
DENTURES
Everything you need to know about fabricating dentures digitally
SYDNEY - JUNE 27-28, 2025
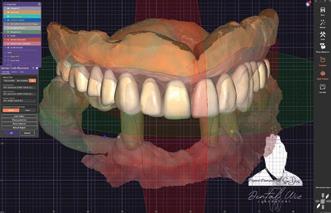

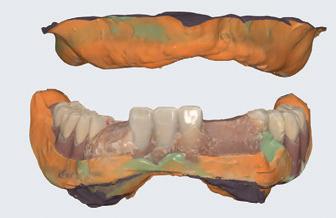
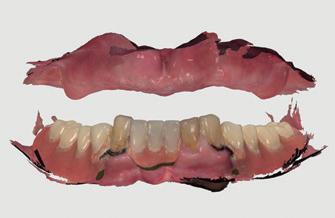
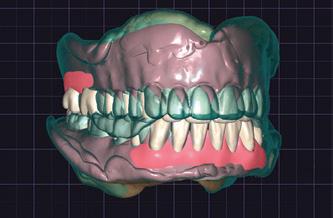
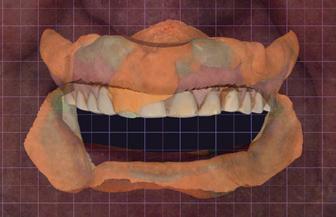
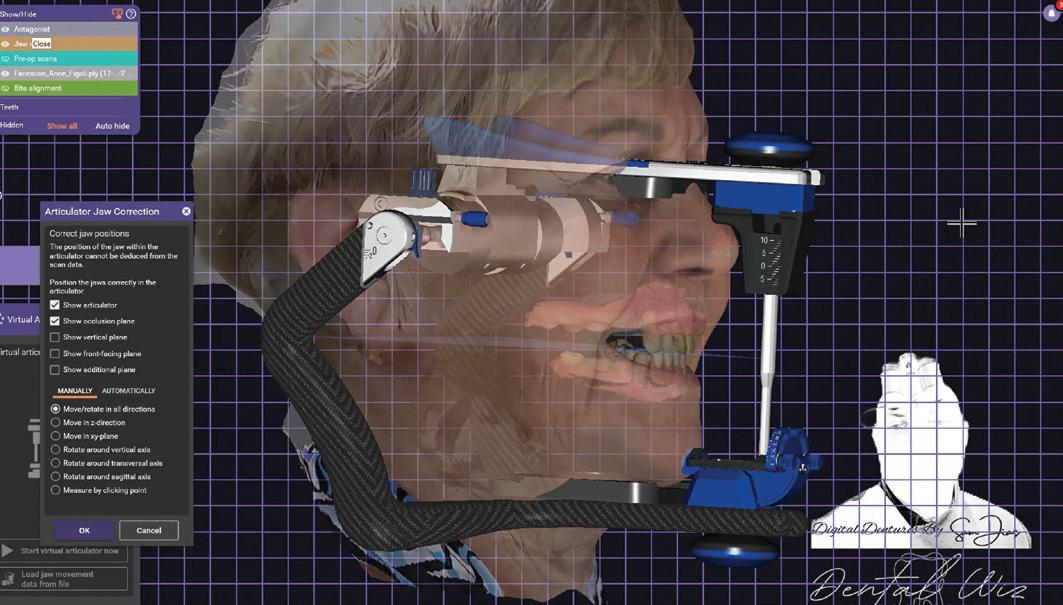
This event is both a lecture documenting why you should choose digital dentures today as the optimal solution for your dental practice or denture clinic together with a LIVE systematic run-through of the process for fabricating both full and partial digital dentures. You will be able to follow Sam Dias as he explains the step-by-step process he uses in his four clinics across Sydney every day.
A demonstration of accurate intraoral scanning and prosthetic design ensures that the outcome won’t be compromised while saving time and money for you and your patient.
The session will conclude with a Q&A session discussing options leading to self-design or aided design as well as the finishing and polishing process.



Teeth straight from the disc: implantsupported dentures like nature intended
By ZT Lukas Wichnalek, ZTM Norbert Wichnalek and ZT Arbnor Saraci
Blanks for the digital workflow now contain toothlike properties that when selected to suit the patient, reduce individualisation or characterisation to a minimum or even eliminate the need altogether. The key is keeping the basic shade fidelity to the specific tooth shade, a natural shade gradient from the neck to the incisal edge and a natural play of light with toothlike effects. Particularly in the case of full-arch implant-supported restorations, ensuring sufficient
stability and functionality in addition to aesthetics, is essential for long-term clinical success. Regardless, functional areas should always be fabricated monolithically, in order to reduce the risk of chipping and fractures.
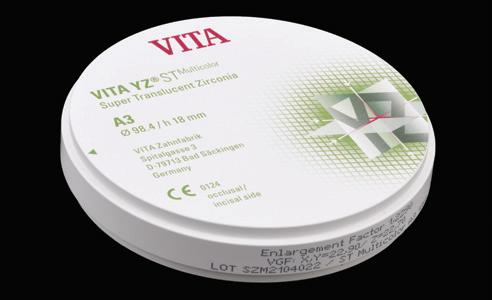
Here, dental technicians Norbert Wichnalek, Lukas Wichnalek and Arbnor Saraci (Highfield.Design - Dentistry Wichnalek, Germany) use a patient case to show how polychromatic VITA YZ STMulticolor zirconia makes the CAD/CAM-supported fabrication of these kinds of restorations reproducible.


Initial situation and material selection
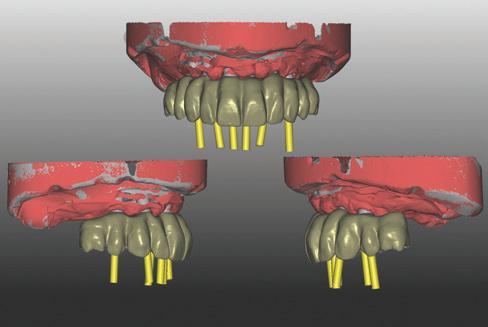
Apatient had lost all his teeth in the upper jaw, due to the frequent consumption of sugary drinks, which had caused carious damage. The patient, who was in his early sixties, wanted a fixed denture again, so a total of six implants were inserted. After healing, osseointegration and sufficient denudation, impression posts were screwed on and a conventional impression was taken. The digital, environment-independent tooth shade determination with the VITA Easyshade V spectrophotometer resulted in an A3 in the VITA classical A1-D4 shade standard on the
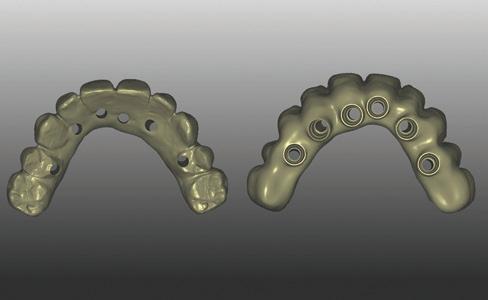
natural mandibular teeth. For this reason, super translucent and polychromatic VITA YZ STMulticolor zirconia in the corresponding shade A3 was selected for the definitive, implant-supported, full-arch restoration. With a flexural strength of 1200 MPa, zirconia with a yttrium content of 4 mol% is particularly suitable for the high loads in implant prosthetics.1,2 In addition, it also offers tooth-like optical properties with a high translucency of 46%.3,4 The precision of the milling process and the sintering shrinkage ensure detailed milling results and an excellent fit when integrating implant-supported denture interfaces.5
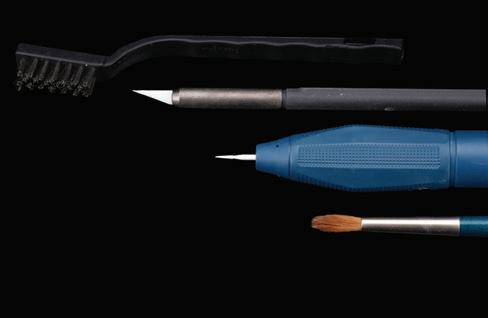
9. The raw zirconia is processed with a stainless steel brush, zirconia scalpel, zirconia milling bur and paint brush.

11. The VITA YZ EFFECT LIQUIDS can be used to generate shade effects prior to sintering.
Morphology and texture in raw zirconia
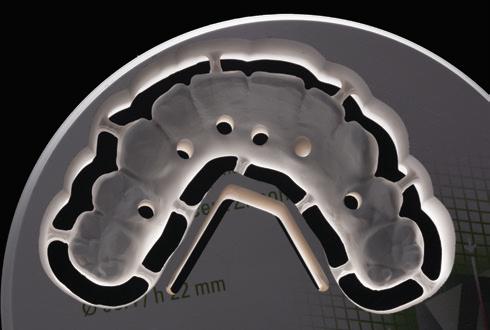
Amaster model with implant analogs and gingival mask was fabricated based on the impression. This was digitised in the Medit T710 laboratory scanner (MEDIT, Seoul, South Korea) so that the virtual design from VITA YZ STMulticolor could be carried out in the exocad software (exocad, Darmstadt, Germany). Finally, the milling job was sent to the Imes-icore 350i PRO milling unit (Imes-icore, Eiterfeld, Germany). The basic shape had already been precisely created after the milling process.
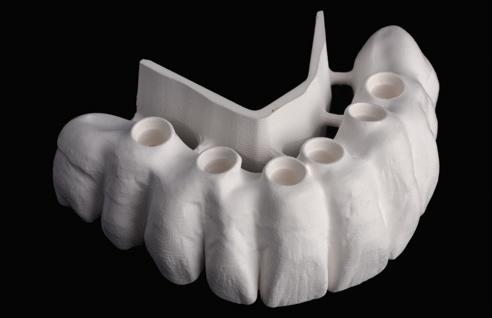
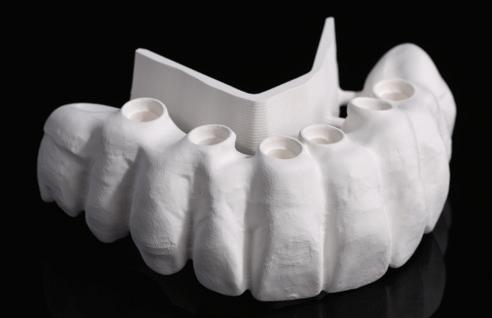
10. The implant-supported denture superstructure after manual incorporation of the shape and texture.
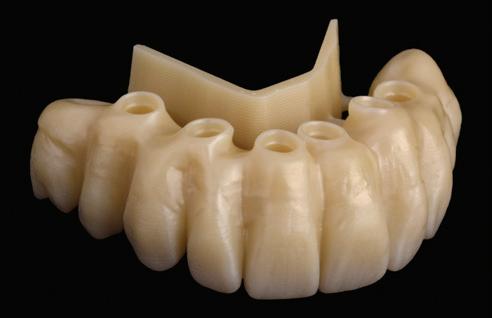
12. The implant-supported superstructure after sintering.
The final details of the morphology and the texture were then incorporated into the raw zirconium. The instruments used included a handpiece with a zirconia milling bur, a zirconia scalpel, a stainless steel wire brush and a paintbrush. The finishing work for the white chalk stage was carried out under a lamp to be able to play with the light and shadow and to use the contrast to follow the progress of the work. The goal was to create a morphology and texture that no longer required any reworking after sintering. After a final check under the lamp, the first shade effects could be established.
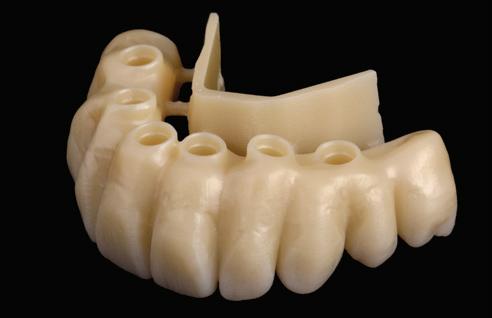
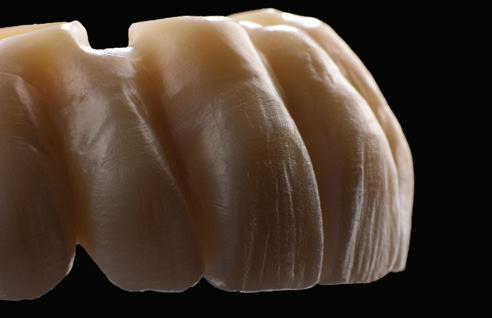
15. The natural morphology and texture are visible in the detailed view.

17. A shade guide made from the
ceramic | TECHNIQUES

14. The functional surfaces were designed and manufactured to be consistently monolithic.

Figure 16. Four materials of the veneering ceramic VITA LUMEX AC were sufficient for reproducing the gingiva.
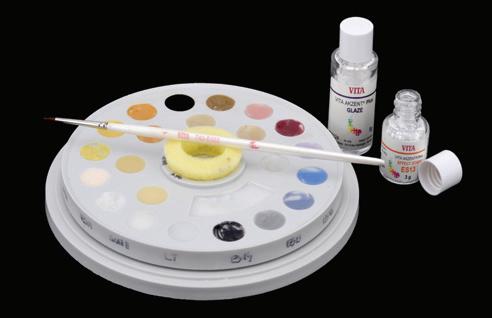
Figure 18. It only took a few brushstrokes with the VITA AKZENT Plus stains to characterize the teeth.
TInfiltration of shade effects
he VITA YZ zirconia system also includes EFFECT LIQUIDS for infiltration prior to sintering, which are matched to the material. This can be used to create homogeneous patient-specific shade effects down to the depth of the zirconia. The cervical area was then given a more intense shade using VITA YZ EFECT LIQUID Chroma A. EFFECT LIQUID Blue was used to create a bluish translucency on the distal and mesial ridges of the ante-
rior teeth and on the cusp tips of the premolars and molars. A vertical play of color was incorporated vestibularly with lines of EFFECT LIQUID Chroma. The depth of the occlusal surfaces was given a subtly increased intensity with EFFECT LIQUID Chroma Orange. After appropriate drying under a heat lamp, the implant-supported denture construction was finally sintered.
ceramic | TECHNIQUES
Individualisation and surface finishing
After sintering, the mucogingival areas were reproduced with the universal veneering ceramic VITA LUMEX AC, with only three different gingiva materials required to visually simulate the patient’s anatomy. The papilla areas were given their natural appearance using VITA LUMEX AC GINGIVA rosewood, while GINGIVA nectarine was used for the alveolar and cervical regions. The remaining areas were completed with GINGIVA light rose. After the first firing, the entire veneering area was given a homogeneous coating of translucent ENAMEL Clear to give the underlying model preparations a deep, three-dimensional effect. After firing the veneering ceramic, a final surface enhancement was carried out using the VITA AKZENT Plus staining system.
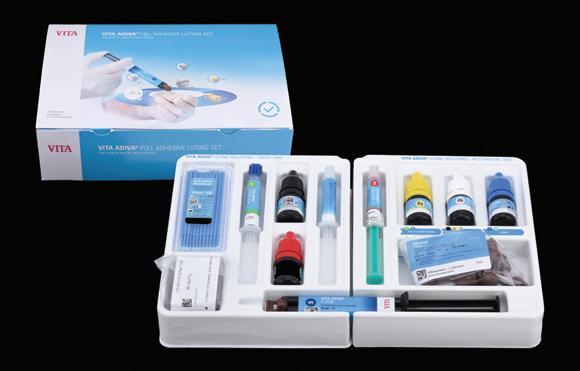
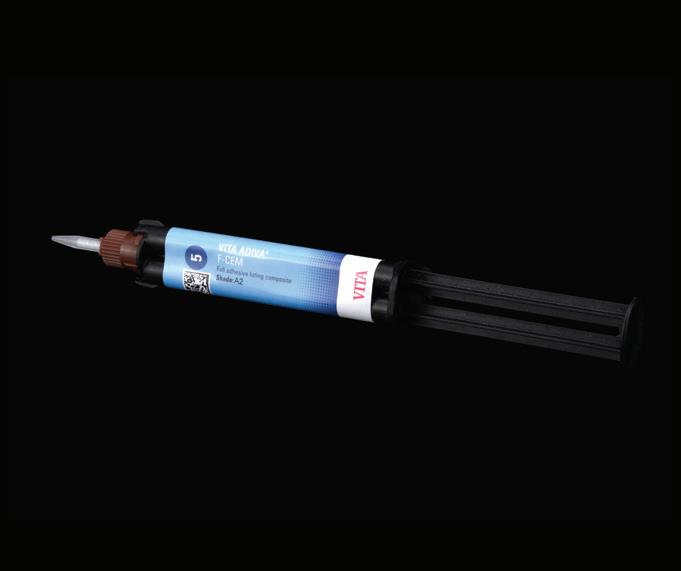
VITA AKZENT Plus BODY STAINS 02 (BS02) was used to intensify the cervical area and the dentine body in yellow-brown. The canines were made even more chromatic in the area of the dentine body with BS04 (olive-grey) than the other teeth. Incisal effects were incorporated using EFFECT STAINS 10 (purple) and 11 (blue). After the fixation firing, the glaze was applied with VITA AKZENT Plus GLAZE SPRAY, which allowed for a thin, homogeneous and fast application. After glaze firing, the implant interfaces were inserted into the implant-supported denture superstructure using the VITA ADIVA universal luting system.
Focusing on form, texture and function
The shade-accurate and polychromatic zirconia
VITA YZ STMulticolor was the basis for creating a highly aesthetic implant-supported denture restora tion with minimal individualisation. In the tooth area, only minimal characterisation was required after sin tering. The key to this was a focus on tooth shape and texture in the vestibular region. The manual work could be carried out quickly and easily during the chalk stage. The static and dynamic functional areas were consistently fabricated monolithically, so that the chipping issues feared in implant-sup ported dentures are prevented without any aesthetic compromises. As the connectors can be designed to be stronger than with fully veneered frameworks, this also reduces the risk of fractures in the overall construction. Having to completely veneer implantsupported denture substructures is now a thing of the past. In addition, other elements like artistic talent, physical condition and personal mood take a back seat, as the teeth are essentially already in the blank. The pictures of the lifelike and robust restoration speak for themselves.

Right Choice. Right Shade.

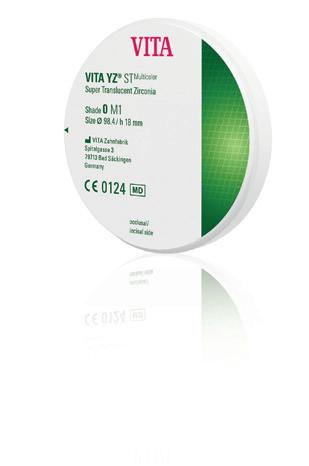
VITA YZ® ST Multicolor
Super Translucent Zirconia.
• High strength (1200 MPa) for precise processing and predictable results
• Fascinating esthetics and high shade reliability thanks to the VITA Shade Formula
• Speed sintering in under 60 minutes
ceramic | TECHNIQUES
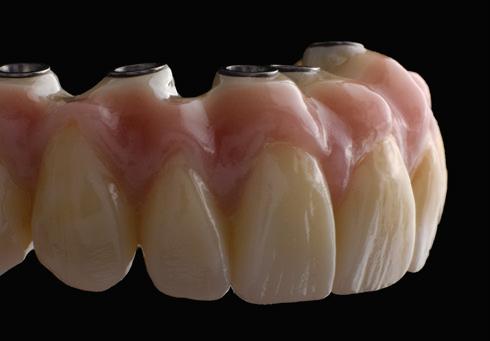
Figure 22. The finished restoration with the adhesively cemented implant interfaces.
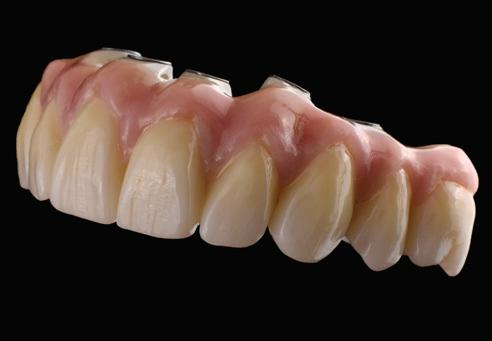
Figure 24. The tooth morphology and surface texture appeared absolutely natural.

Figure 26. The completed restoration showed a red and white aesthetic after a single casting.
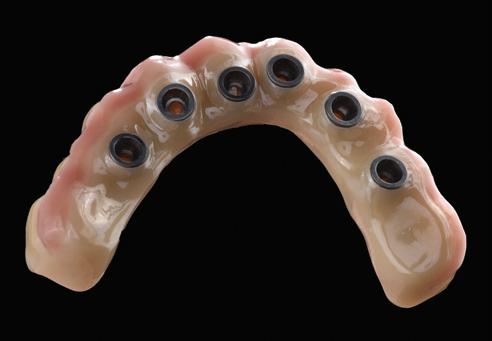
Figure 23. The minimal layer thickness of the gingival individualisation is visible in the basal view.
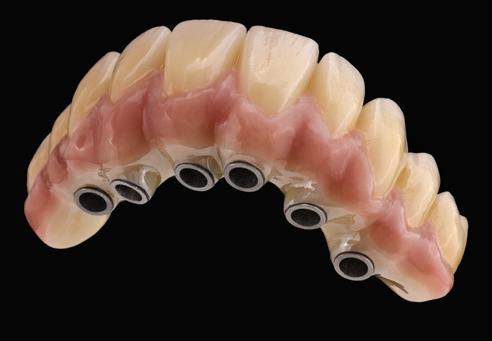
Figure 25. Infiltration, individualisation, characterisation and fixation were coordinated.
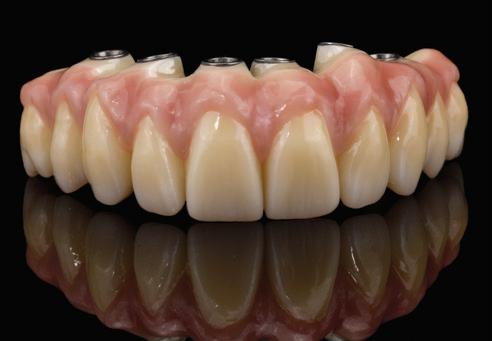
Figure 27. The teeth made of the polychromatic zirconia VITA YZ STMulticolor appeared just as nature intended.
References
1. Rohr N, Balmer M, Müller JA, Märtin S, Fischer J. Chewing simulation of zirconia implant supported restorations. J Prosthodont Res 2019 Jul; 63: 361-367.
2. Spitznagel FA, Röhrig S, Langner R, Gierthmuehlen PC. Failure Load and Fatigue Behavior of Monolithic Translucent Zirconia, PICN and Rapid-Layer Posterior Single Crowns on Zirconia Implants. Materials (Basel). 2021 Apr 15; 14(8): 1990.
3. Devigus A, Lombardi G. Shading Vita YZ substructures: influence on value and chroma, part I. Int J Comput Dent 2004 Jul; 7: 293-301.
4. Sen N, Isler S. Microstructural, physical, and optical characterization of hightranslucency zirconia ceramics. J Prosthet Dent 2020 May; 123: 761-768.
5. Att W, Komine F, Gerds T, Strub JR. Marginal adaptation of 3 diff. zirconium dioxide three-unit fixed dental prostheses. J Prosthet Dent 2009 Apr; 101: 239-47.
DIGITAL DENTURE SOLUTIONS


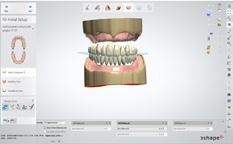


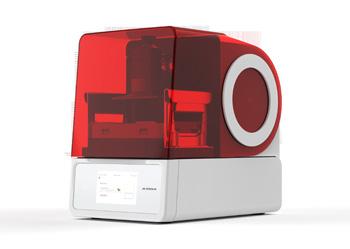
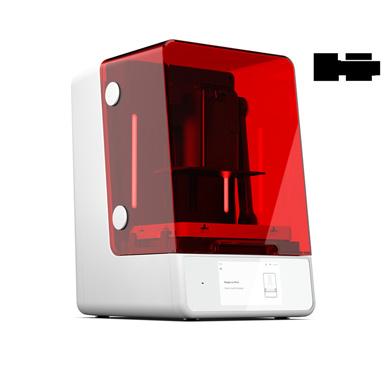

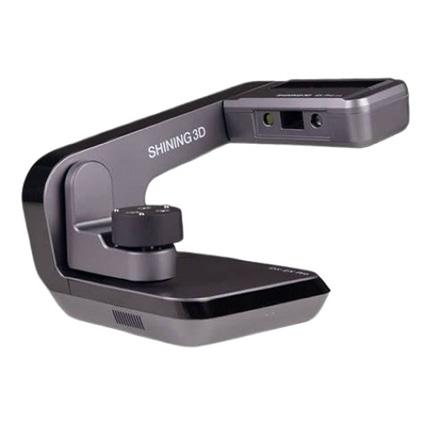



Materials for retainers and aligners
By Peter Herring, Adv Dip Dent Tech, ACCDP
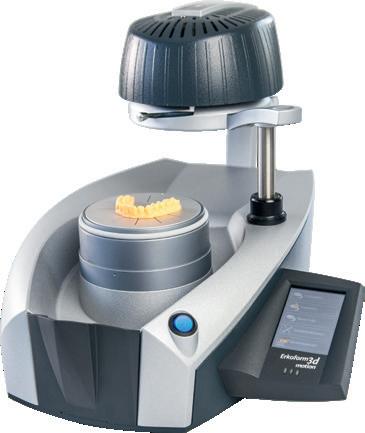
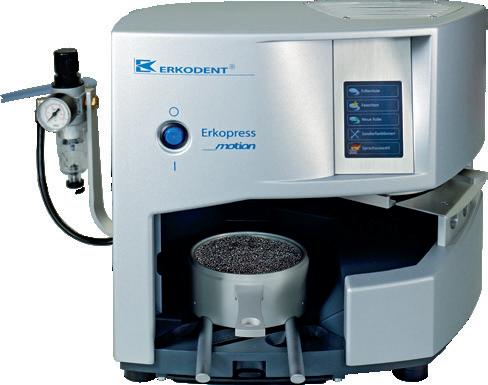
The popularity of clear aligner systems has significantly transformed modern orthodontic and dental practices. One notable shift has been the growing trend of manufacturing thermoformed retainers and aligner appliances in-house. This change allows dental professionals to offer faster turnaround times, greater customisation and enhanced control over treatment processes. In response, manufacturers have developed a broader range of specialised materials designed to meet the diverse requirements of these techniques, focussing on improved durability, flexibility and patient comfort. These materials not only enhance the functionality of the appliances but also optimise the outcomes for patients. Below, we describe three of the most useful tested materials for in-house production.
Erkodur (PETG)
This is the traditional aligner/retainer material proven over years - crystal clear, impact resistant, comparatively hard, good shape memory. Thicknesses of 0.5mm, 0.6mm, 0.8mm and 1.00mm are the most commonly used for orthodontics.
Density: 1.27 g/cm3
Modulus of elasticity: 2200 MPa
Elongation at break: 40%
Flexural strength: 69 MPa
Water absorption: 0.2%
Temperature resistance: 63°C
Erkodur-al (Copolyester)
Anewer material optimised for the production of aligners. Crystal clear and virtually invisible in situ, Erkodur-al is viscoplastic (approx. 35% softer than Erkodur) and very fracture resistant with excellent shape memory. Produced in 0.6mm, 0.8mm and 1.00mm thicknesses. Very easily thermoformed.
Density: 1.19 g/cm3
Modulus of elasticity: 1462 MPa
Elongation at break: 179%
Flexural strength: 59 MPa
Water absorption: 0.5 %
Temperature resistance: 85°C
Erkoloc-pro (PETG/TPU)
Very comfortable two-layer aligner material, hard/soft, clear, impact resistant, very good shape memory. Produced in 1.00mm (0.6 hard/0.4mm soft) and 1.3mm (0.9 hard/0.4mm soft) Both thicknesses can also be used for aligner systems, either through the entire treatment regime or at strategic points in the process.
Density: 1.27/1.12 g/cm3
Modulus of elasticity: 2200/27 MPa
Elongation at break: 40/590
Flexural strength: 69/- MPa
Water absorption: 0.2%
Temperature resistance: 63°C
Erkodur-al 0.8 mm (Copolyester)
Third-par ty product 3-layer 0.75 mm (TPU/TPU/TPU)
Erkoloc-pro 1.0 mm (PET-G/TPU)
Third-par ty product 3-layer 0.75mm (PET-G/TPU/PET-G)
Third-par ty product 0.8 mm (TPU-PET compound)
Erkodur 0.8 mm (PET-G)
Third-par ty product 0.8 mm (TPU)
Comparative long term force loss of various materials, starting from initial force development.
About the author
Peter Herring is a dental technician, prosthetist and a regular contributor to eLABORATE. He is the Australasian and Indonesian distributor for Erkodent products and spends his time between offices in Perth and Bali. He also operates a busy Australian lab dedicated to thermoformed appliances. He can be contacted at pjh@erkodent.com.au or for general enquires, call Freecall 1800-242-634.
