Patching one fixture or a fixture range The following procedure makes use of the automatic cursor movement from field to field for efficient data entry. When patching a range, all range members receive the same assignments except as noted below. Alternatively, you can use softkeys at any time to make entries in specific fields, such as to individualize labels when fixtures are patched as a range. 1. Fixture Number: Enter the fixture number or range. Fixtures are entered in order, starting with “1”. Press [Enter]. 2. Label: Can be assigned with Expression Off-Line. See Expression OffLine, page 310. 3. Personality: Enter the number of the personality from the list of personalities you have available. Alternatively, scroll through the personality choices with the [+] or [–] keys. Press [Enter] to select. 4. Start Channel3, 4: Enter a number for the first channel to be assigned to the fixture(s). If entering a range, picking the Start Channel assigns a sequential start channel to every fixture in the range. Press [Enter]. 5. DMX512 Start3,5: Enter the number of the desired DMX port. Press [Enter]. The cursor remains in the DMX512 start field but moves to the right of a slash inserted in the field. Enter an address for the fixture within the DMX port (1-512). If entering a range, picking the DMX address assigns a sequential address at that port to every fixture in the range. Press [Enter]. 6. Remote Dimmer: If the personality signals that the fixture has its own dimmer, an “n” automatically appears in this field. If the fixture needs a remote dimmer, enter the dimmer’s number. If entering a range, picking the dimmer number automatically assigns a unique dimmer to every fixture in the range. Press [Enter]. 7. Swap Focus: If you use a pointing device, pan level adjustment is normally on the X-axis and tilt level adjustment is normally on the Yaxis. Regardless of where pan and tilt level adjustments are assigned, you may reverse these assignments with Swap Focus. Follow the onscreen prompt or toggle with the [+] or [–] keys to switch between swap and normal. Press [Enter]. 8. Flip: Normally, when the control to which pan or tilt is assigned is increased, the level increases too. You may invert this relationship for pan or tilt with Flip, which can be used to “mirror” two moving lights. In Fixture Patch, Pan is prompted first, tilt second. For each, follow the onscreen prompt or toggle with the [+] or [–] keys to switch between flip and normal. Press [Enter] to complete each assignment. 9. Intensity Channel: Identifies the channel number of the fixture’s intensity channel.
3.
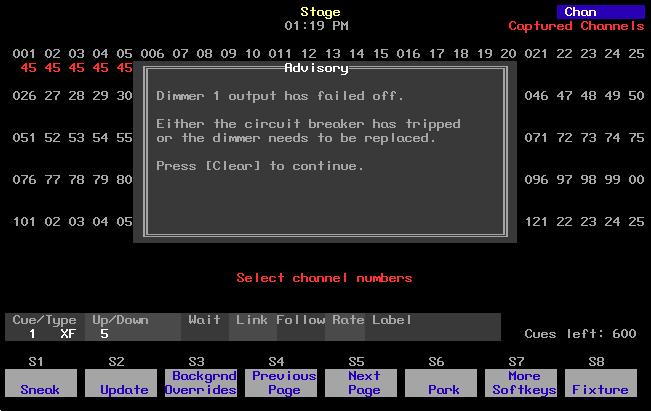
An Advisory appears if you choose a Start Channel or DMX512 Start address that overlaps patchings for other fixtures. A Warning appears if the start address is too high. Press [Clear] to remove the Advisory or the Warning and make other selections.
4.
After a fixture’s start channel is selected, levels can be set for the fixture’s attributes and recorded into cues. The console will not control the moving light, however, until DMX512 addresses have been set.
5.
The port and starting address must be set so that there are enough DMX512 outputs for all the attributes of all the fixtures.
Chapter 6 Adding moving lights to the show
69