120
Chapter 6
Posting, Sharing, and Managing Files
You can name the document library just about anything you want and include spaces, punctuation characters, and even items that are no-nos in other names, such as percentage symbols and exclamation points. The name of the document library will also appear in the Document Library list in the Web Parts group so that you always have the option of adding the library to another page if you like.
Adding Documents Now to make the library functional, you need to add some files. You can do this by uploading files one at a time, or you can upload multiple files at once. When you’re first creating the document library, you might want to add all the files you’ve saved using the multiple upload feature, and then as you expand the files later, add them one at a time. This section describes both processes.
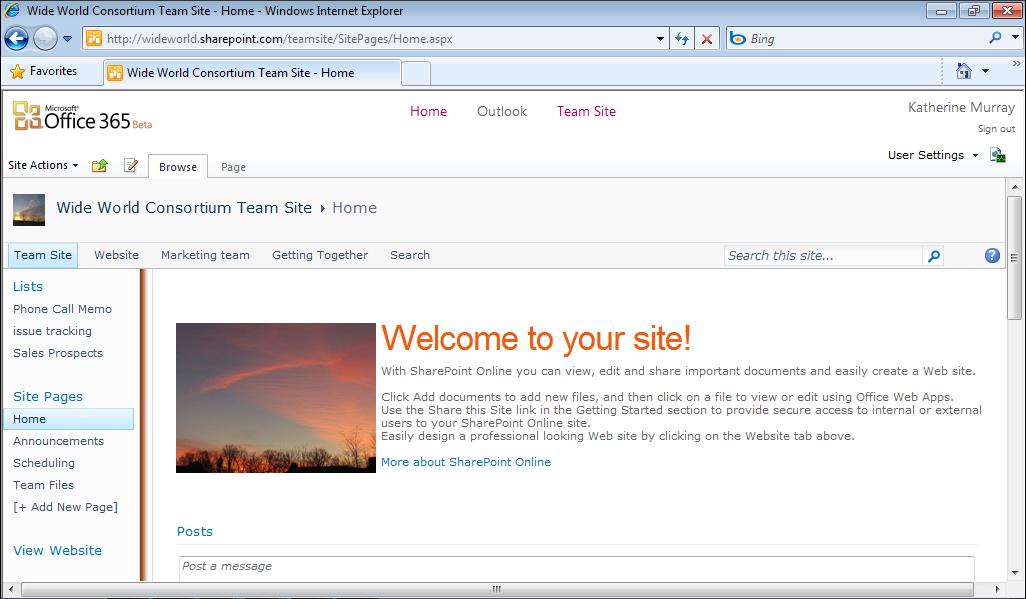
Posting Single Documents Here are the steps for uploading a single document: 1. Begin by clicking the Add Document link beneath the document library. (See
Figure 6-2.)
FIGURE 6-2 Click Add Document to begin adding documents to your library.
2. In the Team Files – Upload Document dialog box (shown in Figure 6-3), click the
Browse button. 3. Navigate to the folder containing the file you’d like to add. Click it and click Open. 4. Click OK to close the Upload Document dialog box.
The file is added to the list, and the type, name, date the file was last modified, and name of the person who modified the file are displayed in the document library.