144
Chapter 7
Adding and Managing Workflows
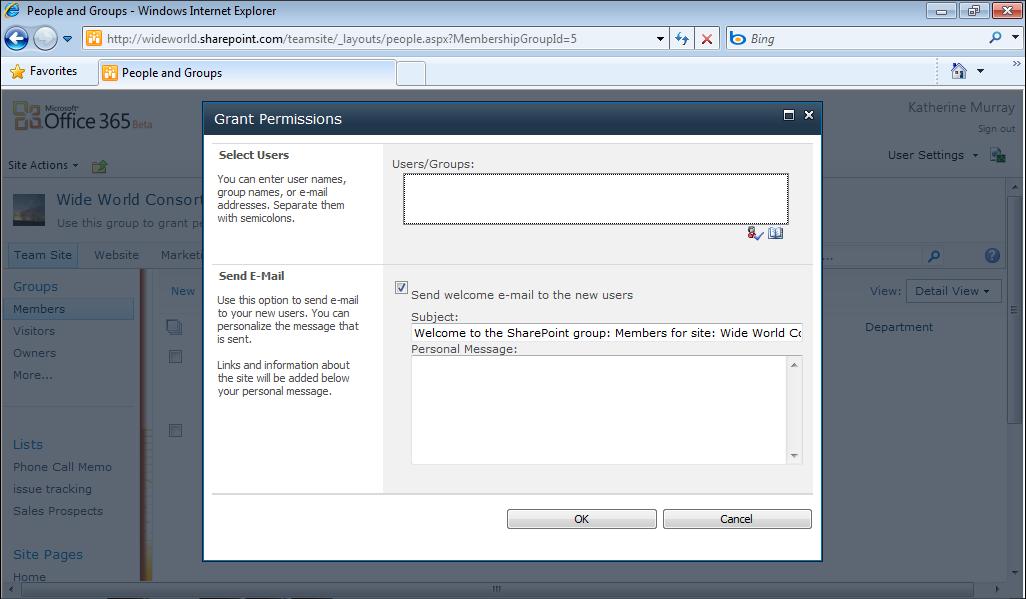
6. In the E-mail Message Details section, you tell the workflow whether to generate
an email message automatically and, if so, which pieces of information you want to include. Select the Send E-Mail Message check box to send the message, and either type the information in the To and Subject fields or leave Include Task Assigned To and Use Task Title selected to include those information items automatically.
7. In the Body area, leave Insert Link To List Item selected if you want only to send
the link to the triggered task. Alternately, you can type a message to let the recipients know what you want them to do with the task. 8. Repeat steps 3 through 7, choosing your options and specifying behaviors that are
carried out when the middle task in the workflow is triggered.
9. Click OK to finish creating the workflow.
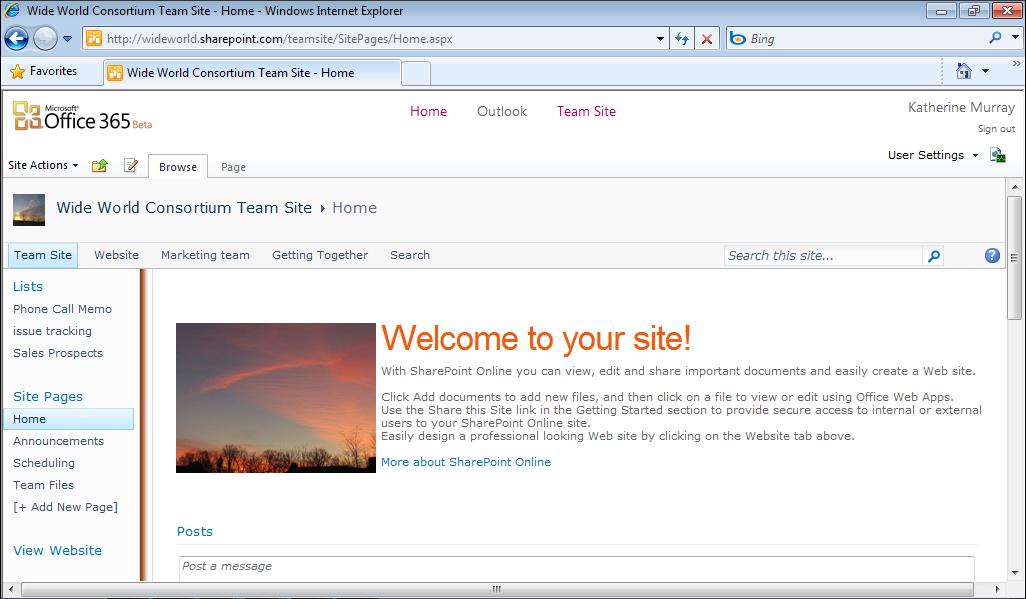
After you finish creating the workflow, you’re taken back to your Issues Tracking list. The workflow will be applied to your project when you create the next task in the process.
Editing Your Workflow If you want to change the workflow settings you have selected, click the Issue Tracking list in the left navigation panel. Display the List Tools List tab and then follow these steps: 1. Click Workflow Settings in the Settings group on the far right side of the ribbon. 2. Choose Workflow Settings. 3. In the Workflows screen (shown in Figure 7-5), click the name of the workflow you
want to change.
FIGURE 7-5 Display Workflow Settings, and click the name of the workflow you want to change.