158
Chapter 8
Working with Office 2010 Web Apps
When you’re finished adding content to a Word file, save and close the document by following these steps: 1. Click the File tab in the Web App. 2. Click Save. 3. Click File again, and click Close.
This saves the changes you made in the Word file and closes Word Web App. You are returned to your SharePoint document library, where you can create, view, or work with other files.
Note
Excel autosaves the changes you make to the worksheet, but interestingly enough, there is no way to close the worksheet beyond simply navigating away from the page. Excel Web App saves the worksheet for you, though, so clicking the Back arrow to return to your Home page or document library won’t cause any loss of data.
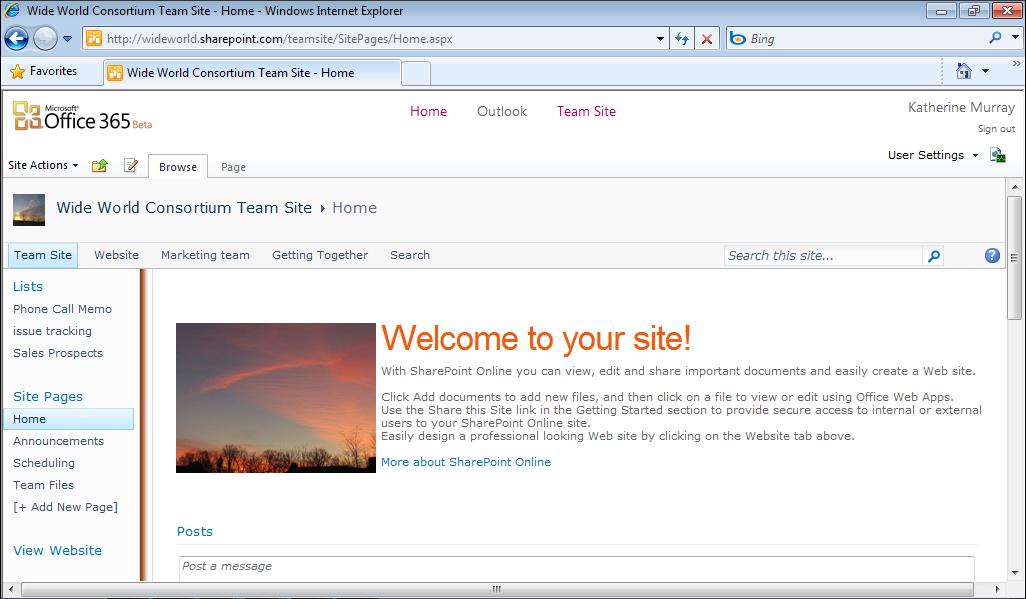
Working with an Existing File In Chapter 4, “What Your Team Can Do with Office 365,” you learned how to create document libraries and post files so that your team members can get to them easily. When you want to work with a specific file—for example, perhaps you want to review the sales projections your manager just posted—you can choose whether you want to view or edit the file in the Office Web App. When you are working on a file, it is locked so that other users can’t change the file while you’re working on it. After you close the file, it is made available to your teammates for editing. Here are the steps: 1. Click Team Site at the top of your Office 365 Home page. 2. Display the document library where the files are stored. 3. Click the arrow to the right of the file name. (See Figure 8-5.) 4. Click one of the following:
View In Browser, if you simply want to review the file
■
Edit In Browser, if you want to be able to make changes in the file
■
Edit In Microsoft Word, if you want access to all editing tools in the full version
■
of Word and you have Office 2010 installed on your computer. The file opens in your browser window, and you can edit or review the file as you’d like.