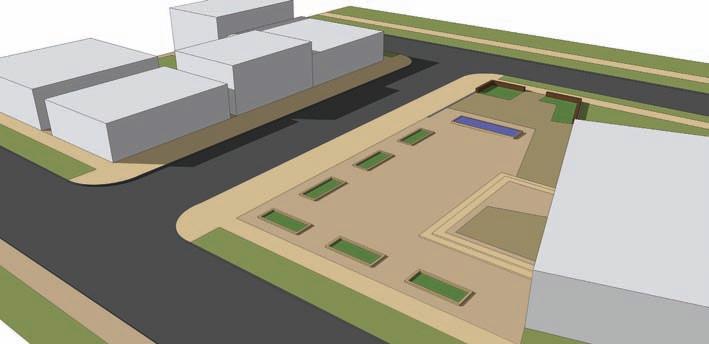
Campus Quad—Area 2 For this tutorial, locate Area 2. Carefully follow the diagrams for the drafting and placement of arcs and edges. You will need to create a wireframe that surrounds three sides of the green to be able to generate the desired terrain. 1. Identify Area 2 in the example model. Pinpoint the areas described in Area 2 that will be
referenced in the tutorial. You are going to add a subtle slope to the steps and landscape area. The idea is to simulate steps that tie into the landscape or Green. Ledge 1 Back wall
Step location 1
Step location 2
Step location 3
Step location 4
Ledge 2
2. Starting with the Back Wall location, copy the top edges of the wall (facing toward the
Green) downward, snapping the copied edges to the intersections of Ledges 1 and 2. This is the first set of edges that will be used to generate a simulated terrain.
238
Part 3: The Sandbox Tools


