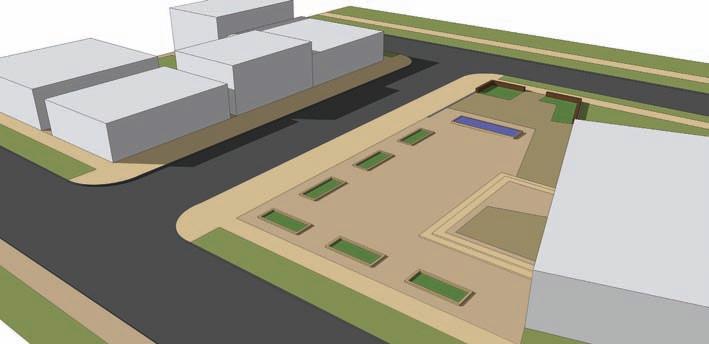
This is easier to accomplish in AutoCAD than in SketchUp. Add lines as needed to create closed perimeters around surfaces. Draft all the lines on the 01 – Flatwork Base layer.
Organizing Site Objects The second set of information that you will need to organize includes the site elements and objects. All site objects should be composed as AutoCAD blocks. AutoCAD blocks are like SketchUp components; they are a bundle of linework composed as a single entity of information. Editing a block affects all similar blocks. As reviewed in Chapter 16, AutoCAD blocks automatically convert to components when they are imported into SketchUp. This allows the previous 2D block to be swapped with a 3D SketchUp representation of the object, quickly populating a model with site elements and vegetation. If an object (or set of objects) is not a block, redraft it as a block. For example, if there is line work that represents pedestrian lights but they are not blocks, create a new block to represent the pedestrian light. Then copy the new block over the current linework that symbolize the pedestrian lights. See Creating AutoCAD Blocks, below, on how to generate new blocks.
Identifying the Objects Sift through the plan and identify any site elements to be included in the SketchUp model (Fig. 17-13). Turn off all the other layers. Create new blocks to represent objects if necessary.
Creating AutoCAD Blocks Identify any object that needs to be a block. Follow these standard steps to create a block. Copy and paste the generated block in the appropriate site plan locations. 1. Draft the linework for the block on Layer
0 (make Layer 0 current). 2. In the CAD menu, type block. This will
bring up the Blocks menu. 3. Choose the Select Object button. 4. Select the linework composing the object. 5. Check the Convert Selected to Block box. 6. Provide a name for the block at the top of
the menu. 7. Select OK.
310
Part 4: AutoCAD to SketchUp
Fig. 17-13: Turn off all the linework except the site objects and site elements.


